This article describes options to manage users, roles and permissions through Users & Permissions menu.
TABLE OF CONTENTS
Access Users & Permissions from burger menu on the top right.
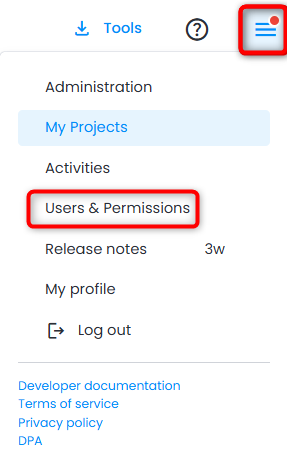
Users & Permissions gives access to Users, Groups, Roles and Permissions tabs.
Users tab
Users tab lists all users who have been invited to the account.
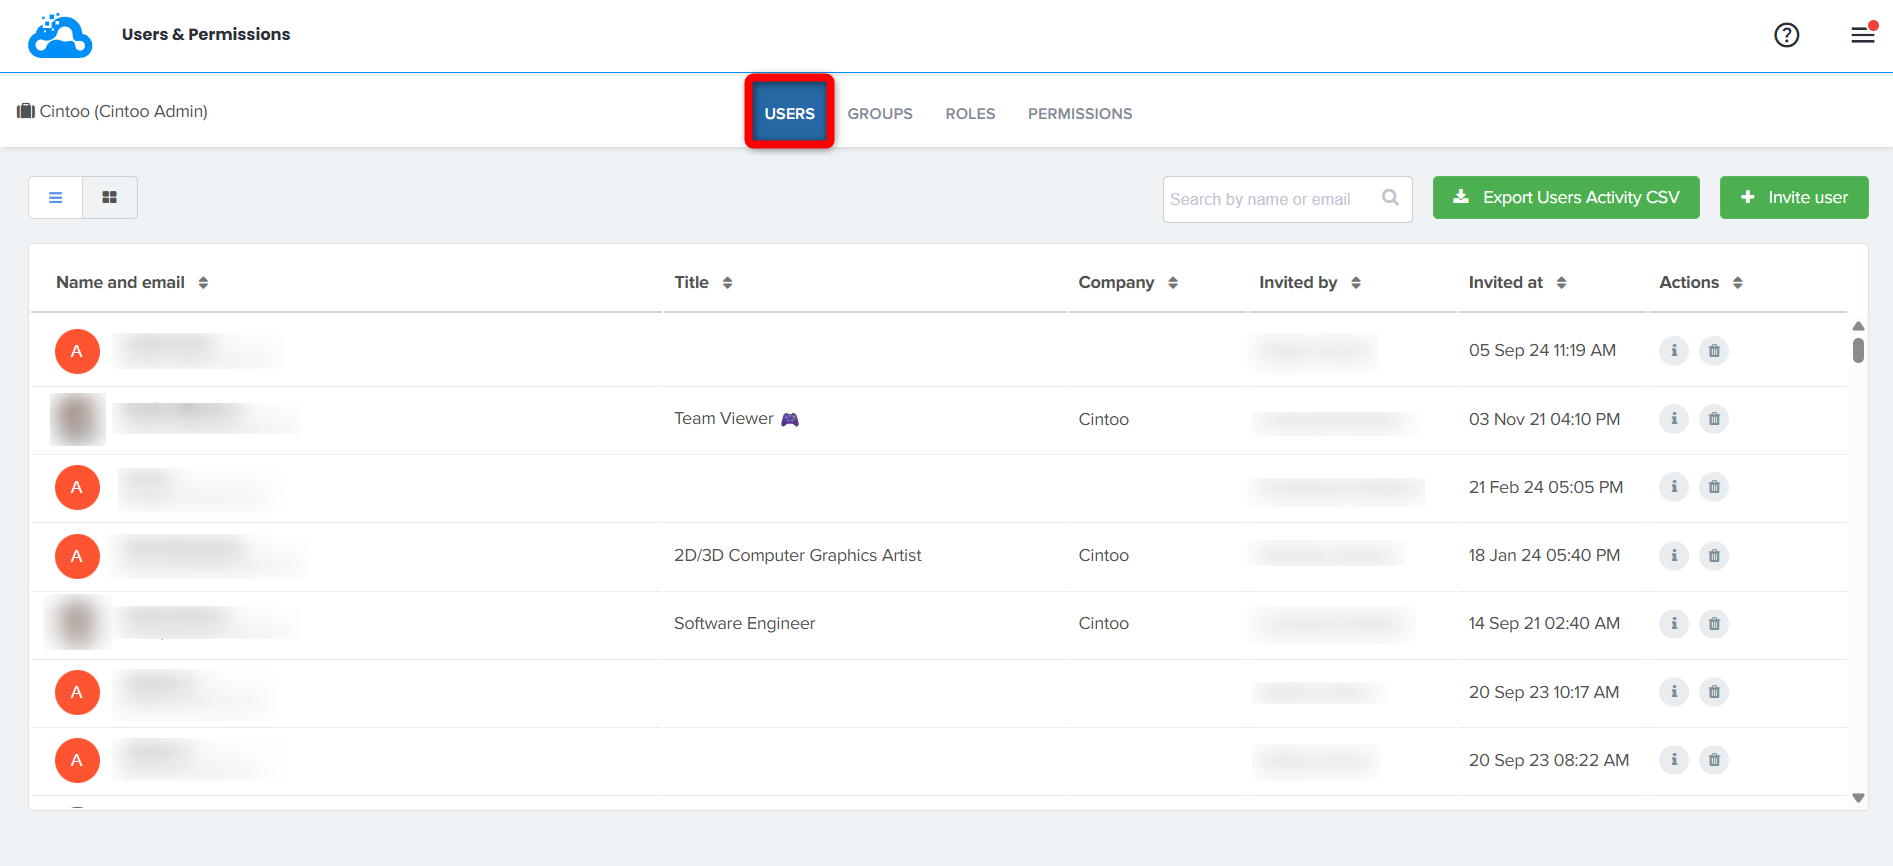
- The table also indicates Invited at and Invited by information giving information about who invited the user and when.
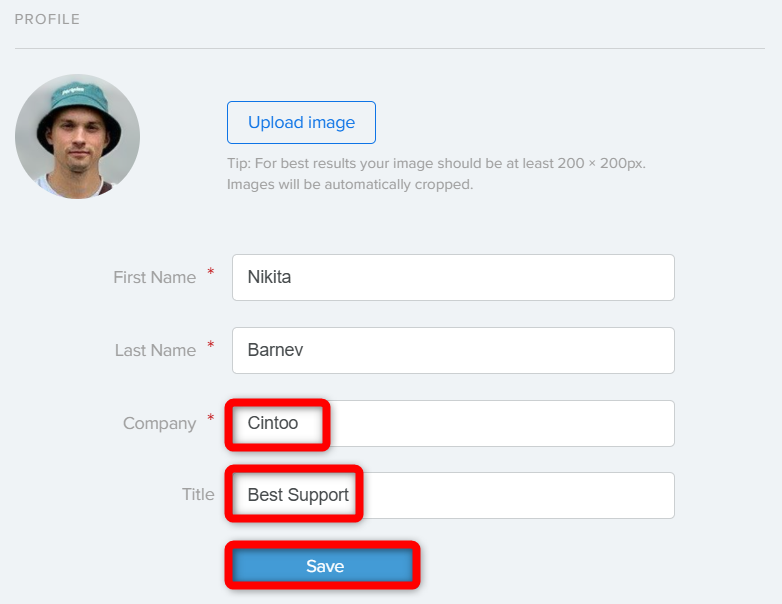
- Company field is mandatory and is being set during user account creation, Title is not; both could be changed by the user in My Profile menu from the burger menu on the top right. Change the values in corresponding fields and click Save to apply any changes.
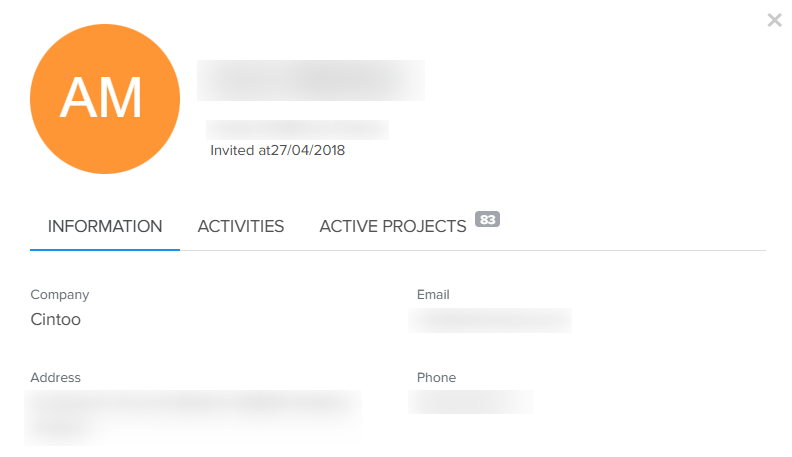
- By clicking on "I" icon in Actions column next to a corresponding user or on the user row, it's possible to discover user information, latest activities and the list of active projects for the account for this user.

- Remove a user from the account by clicking on a trash bin icon next to a corresponding user.

- Invite new users to the account without adding them to any projects by clicking on Invite user.
Choose to either invite users one by one or in bulk in the corresponding tabs in Invite users to join your team window.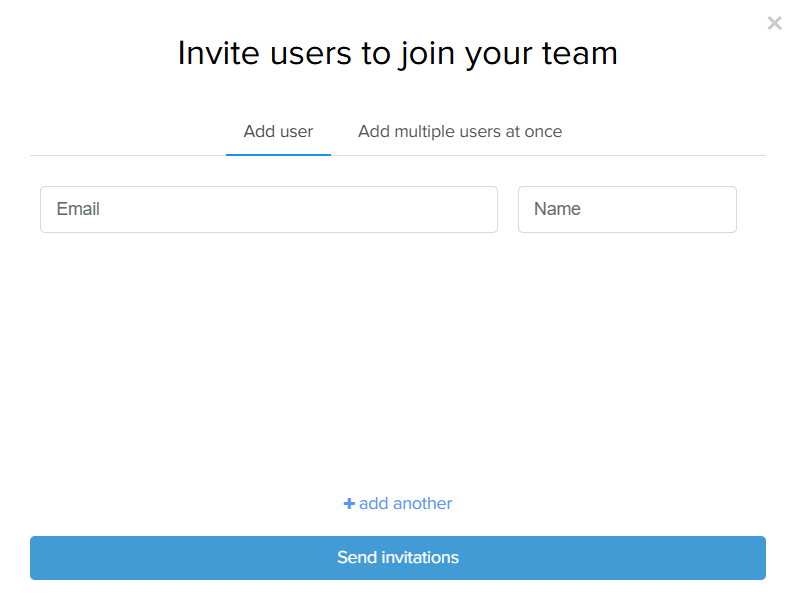
- Create a report about users activity by clicking on Export Users Activity CSV.
The report consists of the following columns: Email, First Name, Last Name, Company, Invited At, First Activity, Last Activity.
Add multiple users at once
Invite users to join your team window opens on Add user tab, where users are entered one at a time: fill in Email and Name, click + add another for each additional user, then click Send invitations.
To invite a longer list in one operation, switch to Add multiple users at once tab.
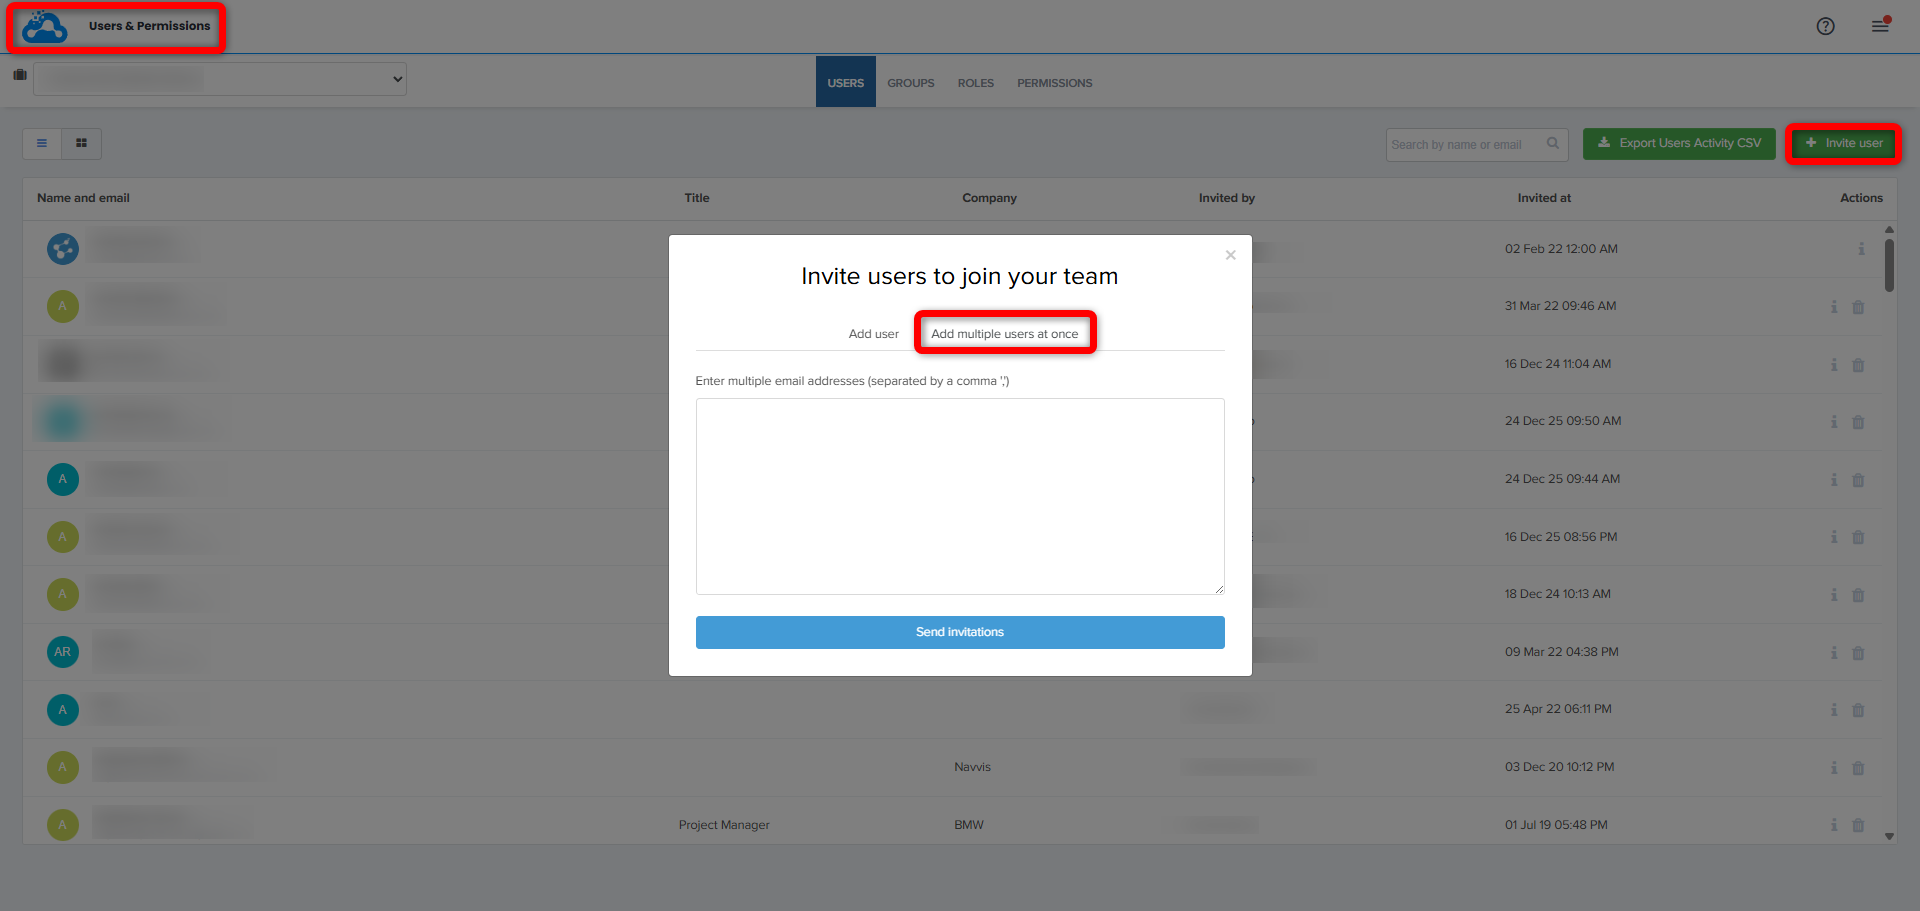
- Click Invite user in Users tab.
- In Invite users to join your team window click Add multiple users at once.
- Type or paste email addresses in the text box, separating them with a comma (,).
- Click Send invitations.
Already invited users are ignored if included in list - they receive no second invitation.
Note: this tab accepts email addresses only - it has no Name field. Use Add user tab instead to set a name for each invited user at invitation time.Whichever tab is used, invited users are added to account without being assigned to any project. Assign them to projects afterwards as described in Adding Members to a Project.
Groups tab
Groups tab allows to create new groups and manage them to better control the team's and external users access to resources.
Add groups by following the instructions Create groups.
- Open group details by clicking either on the group name or on pen icon in Actions column.

- Edit group name and description by clicking on pen icon next to the group name.
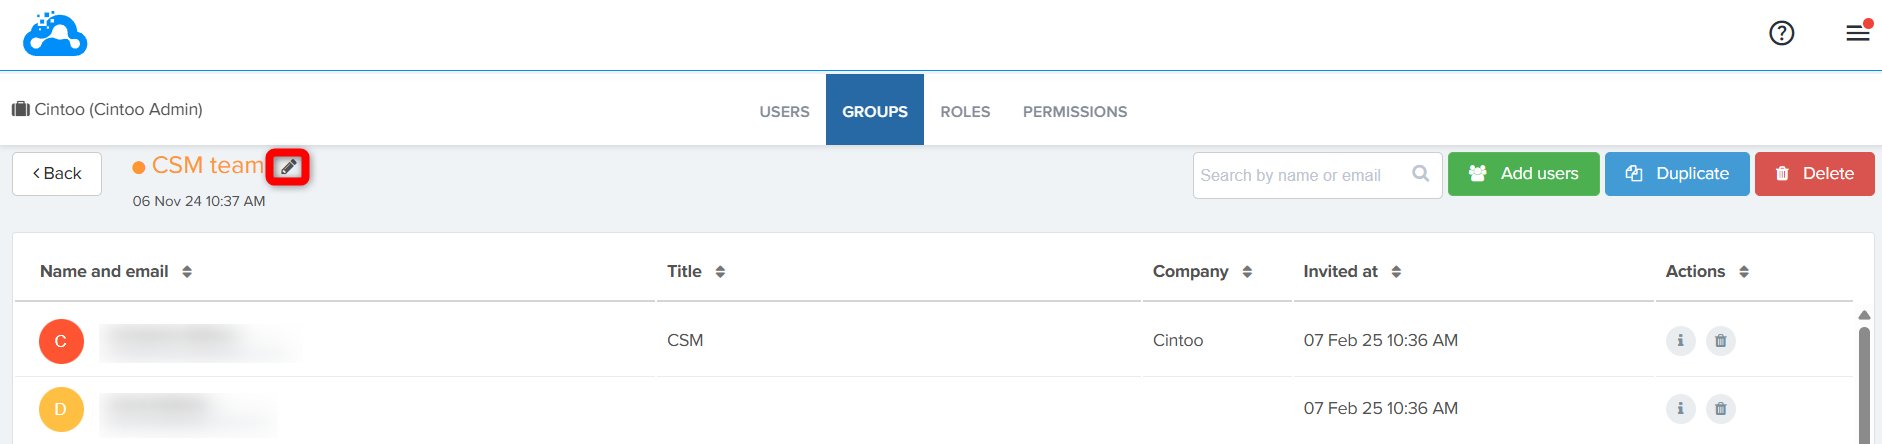
Add users, Duplicate a group or Delete by clicking on respective buttons.

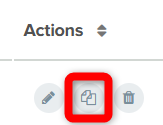
- Duplicate a group by clicking on copy icon next to a corresponding group
In Duplicate group dialogue enter the name of the new group and click Duplicate.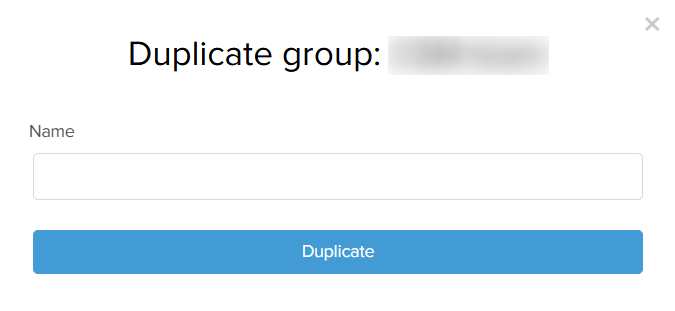
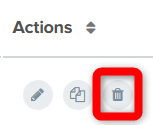
- Delete the group by clicking on trash bin icon next to the corresponding group.
Confirm by clicking Delete.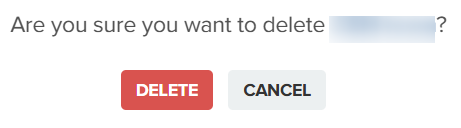
Roles tab
In Roles tab, the table shows a list of predefined roles that cannot be changed as well as custom roles which are fully customizable.
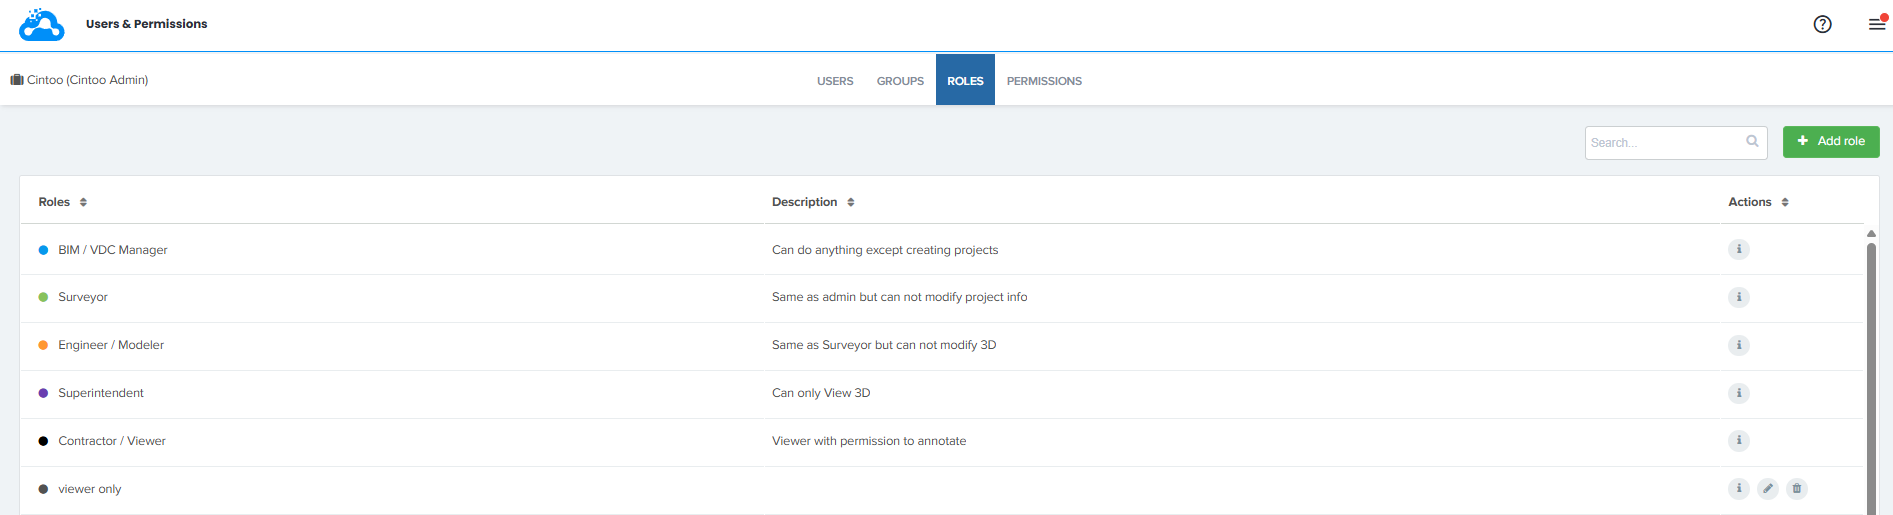
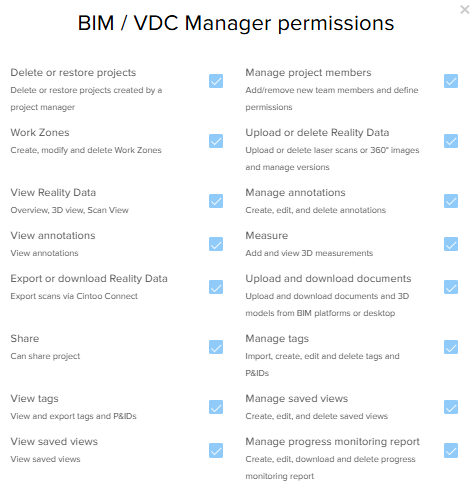
To consult permissions included in each role click 'i' icon next to a role.

This opens Permissions window with all the corresponding permissions listed.
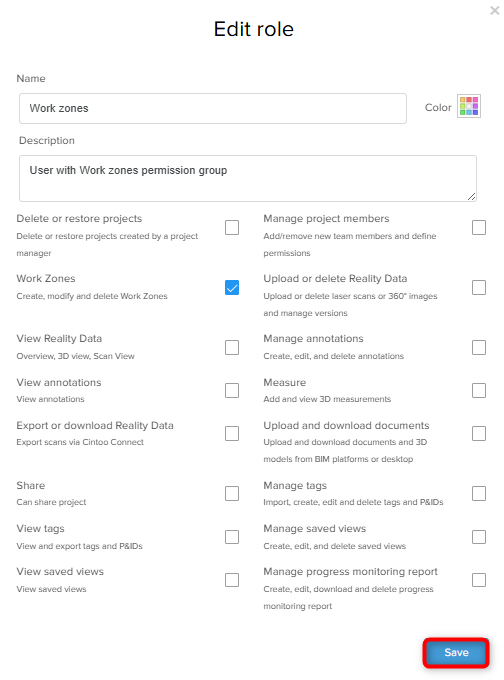
For custom roles additional Edit and Delete actions are available.

Edit action opens Edit Role menu where it's possible to add or remove certain permissions, change role Name, Description and Color. Click Save to apply any changes.
Add Custom Roles
To add a custom role click Add role.
In opened Create custom role window choose:
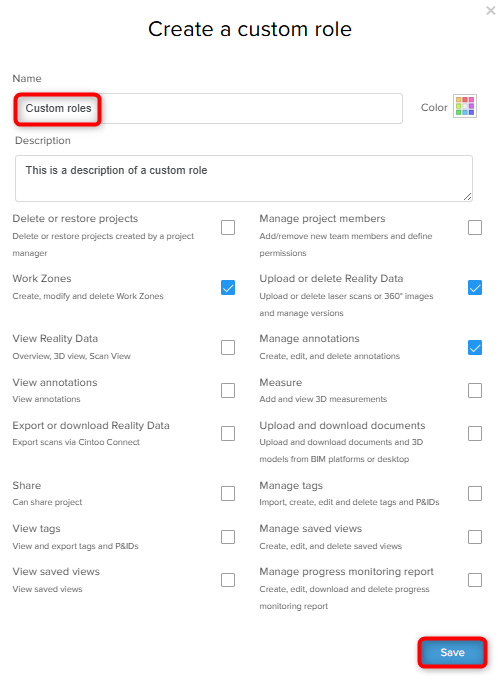
- Name
- Color (optional)
- Description (optional)
- at least one permission
Click Save to create a new custom role.
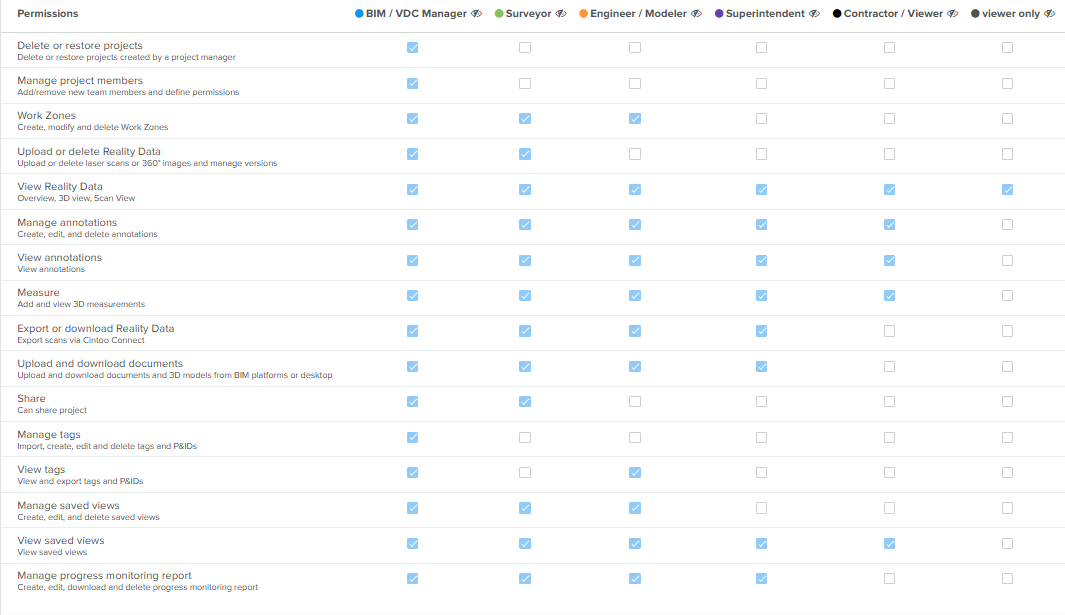
Permissions
This tab consists of a table of roles with corresponding permissions including custom roles.
Outputs
- Created groups and custom roles become available at the account level for any project created in the account.
- Project Managers, Administrators and Account Owner can see and edit all the groups and custom roles created, thus facilitating the management and synchronization of this information.
- Project managers and users with required permissions (displayed in the Users & Permissions tab within the Permissions section) such as BIM/VDC manager role are responsible for managing users in projects. They are the only ones who can add or remove users from a particular project and should be contacted in case any changes needed.
Was this article helpful?
That’s Great!
Thank you for your feedback
Sorry! We couldn't be helpful
Thank you for your feedback
Feedback sent
We appreciate your effort and will try to fix the article