This article describes how to import 360° images in Cintoo provided that those 360° images have been geolocated and are in the same coordinate system as 3D scans.
Permissions: users with roles including Upload or Delete Reality Data permission can import, edit and delete 360 images with Cintoo Connect.
TABLE OF CONTENTS
- Beta feature
- Step 1 – Prepare 360° Images
- Step 2 – Upload 360° Images using Cintoo Connect
- 360° Images Display
Beta feature
This is a beta feature starting Dec 14th, 2020. Being a beta feature:
- Access to it is valid for all Cintoo subscribers.
- 360° images do not count as scans in scan count
- Maximum number of 360 images that could be uploaded to Cintoo is limited to the number of scans included in the subscription.
For example, for a subscription for 5000 scans, it is possible to upload up to 5000
360° images.
Warning: 360° images are 2D only, so it's not possible to use them to add Annotations (that are linked to a 3D point) or to make measurements. They are used for display only.
Step 1 – Prepare 360° Images
360° images must be stored in a single folder together with a CSV file containing information about location and orientation of each panorama. Expected formats are the following:
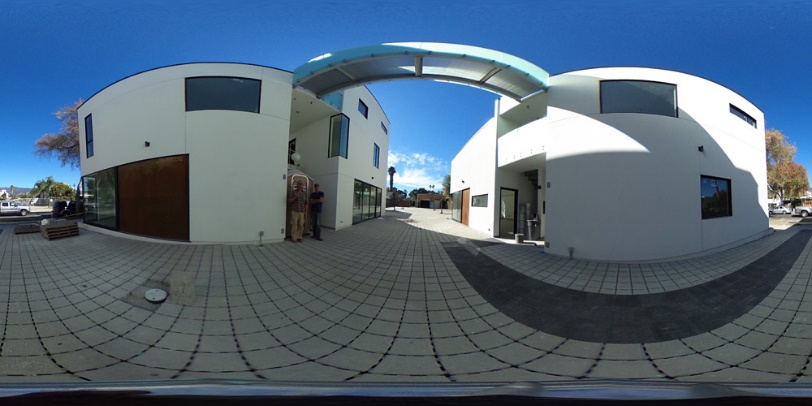
All the 360° images will need to be spherical images in JPEG or PNG. Example spherical image.
The same folder will need to include a CSV file that contains 360° image name (with extension), location and orientation, for each 360° image.
The CSV file will need to be as follows:
- Use comma ',' as column separator
- Column for file name must be named filename
- Filenames should have their extension (.jpg or .png) included
- For position, name columns as x, y, z
- x, y, z values must be in project measurement units, in the same coordinate system as the scans
- Orientation needs to be given as a quaternion or as a simple heading
Note: since both quaternion notation and heading are supported as orientation, it is not possible to have heading and quaternion in the same CSV. It is either one or the other, otherwise Cintoo Connect will reject it.
Using quaternions for orientation
- Name columns as qw, qx, qy, qz
- That way, the first line should look like (the order does not matter): filename, x, y, z, qw, qx, qy, qz
- It would be qw = 1 and qx = qy = qz = 0 for no rotation with quaternions

Using a heading value for orientation
Create a column named heading in the CSV file.
Heading parameter represents the angle in degrees, a rotation around Z axis. From the top view, a positive angle represents a rotation in the clockwise direction (towards east).
Note: when using heading there will be no rotation applied around X or Y axes. We assume that 360 images are well aligned vertically (the plane crossing "equator" line must be parallel to XY plane), otherwise image will look as it is not straight (a straight building would look like it has some slope).
The angle takes as reference the middle of the image and the north direction:
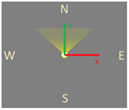
- Heading set to 0 degrees means that the user will see the middle of the image when looking towards north (+Y).
- Heading set to 90 degrees means that the user will see the middle of the image when looking towards east (+X).
- Heading set to 180 degrees means that the user will see the middle of the image when looking towards south (-Y).
- Heading set to 270 degrees means that the user will see the middle of the image when looking towards west (+X).
Note: Navigation Map at the bottom right corner can help to find out which direction a user is facing currently.
Step 2 – Upload 360° Images using Cintoo Connect
Use Cintoo Connect to upload 360° images.
Click Cintoo Connect in the drop-down Tools menu on the top right or use the following link to download the latest version of Cintoo Connect.
This beta program starts with Cintoo Connect version 1.12.

1. Create a specific work zone by clicking Work Zone from Add drop-down menu on the top right.

2. In this work zone, open Data tab and click Prepare & upload on 360 Images tile or click 360 Images from Add drop-down menu on the top right. Cintoo Connect will launch.

3. In the opened 360 Images tab enable or disable Blur - Faces:
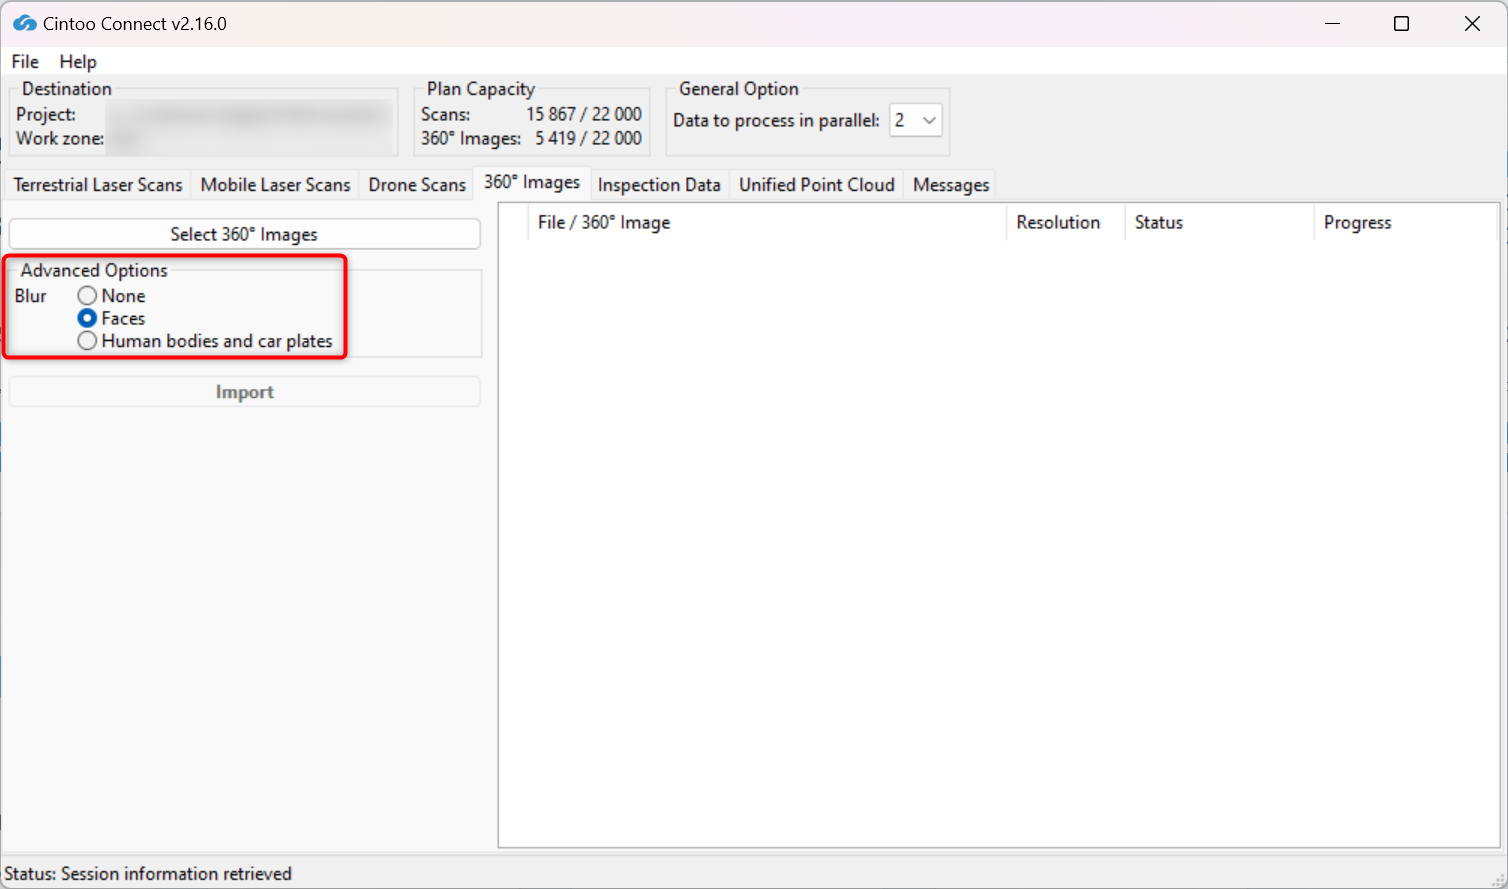
- This option is enabled by default, choose option None to not apply any blurring.
- This option automatically blurs faces captured in any panoramic images included in the scans being uploaded to Cintoo.
- Blurring cannot be undone in Cintoo after scans have been uploaded.
- Any files uploaded without Blur Faces option enabled must be deleted from Cintoo project and re-uploaded with the option checked to apply automatic face blurring.
4. Enable or disable Blur - Human bodies and car plates:
- This option is disabled by default, option Faces is chosen.
- Enable this option to automatically blur human bodies including faces and car plates captured on any panoramic images included in the scans being uploaded to Cintoo.
- Blurring cannot be undone in Cintoo after scans have been uploaded.
- Any files uploaded without Blur Human bodies and car plates option enabled must be deleted from Cintoo project and re-uploaded with the option checked to apply automatic blurring.
Warning: use carefully only if it is imperative, as scan import time might be doubled with the option enabled.
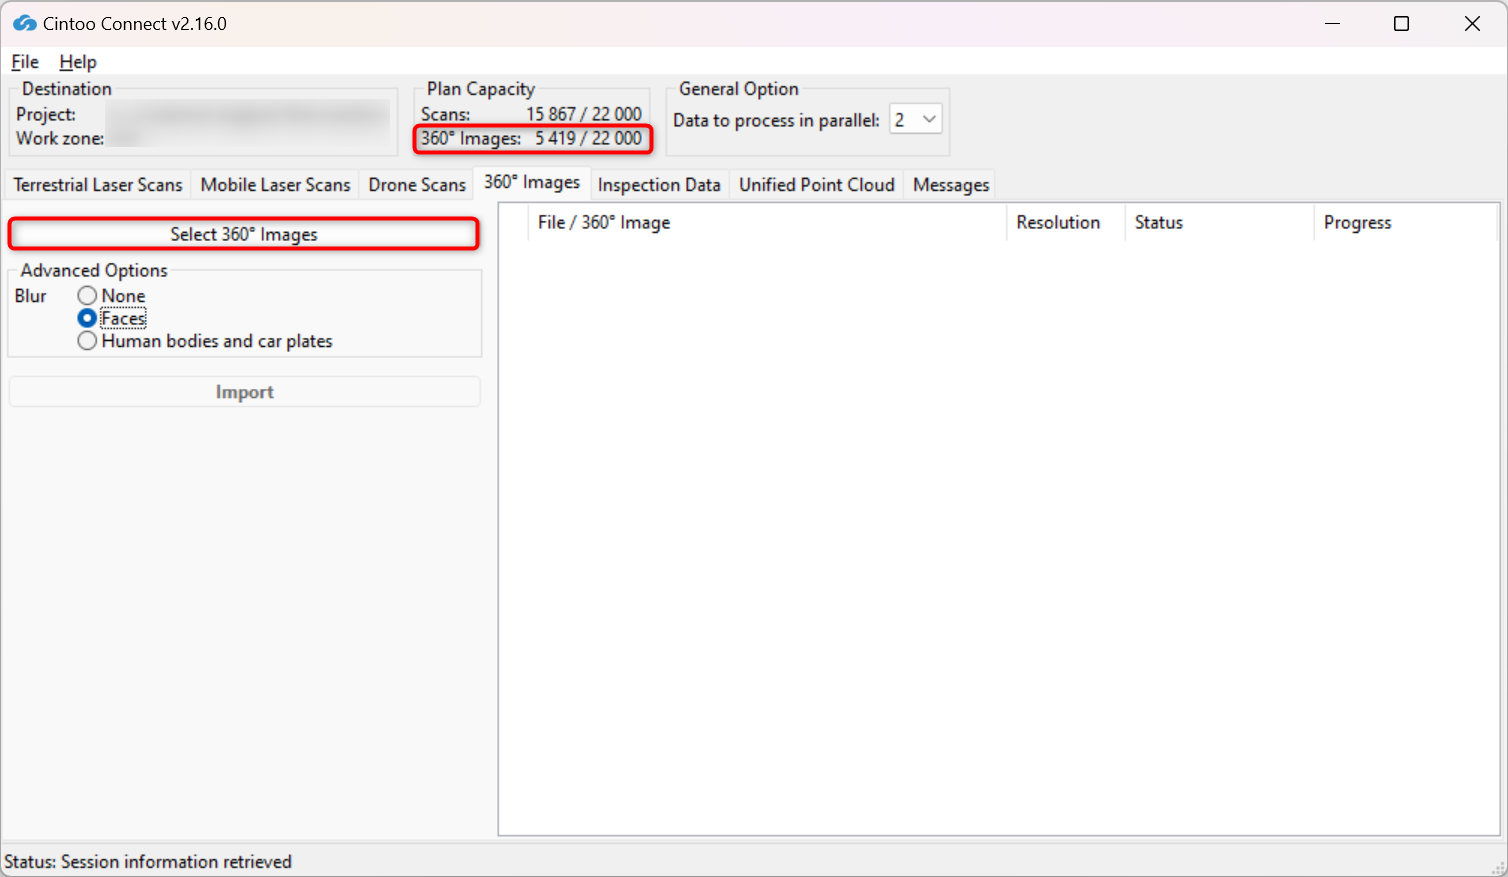
5. Click Select 360 Images. Select a CSV file that lists spherical images. CSV must be located in the same folder as panoramic images.
360° images subscription capacity is displayed on top.
360° Images Display
360° Images will be displayed in Data tab with a dedicated icon.
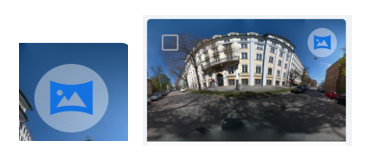
In Overview Map, 3D View and Navigation Map, 360° Images will appear as green icons.
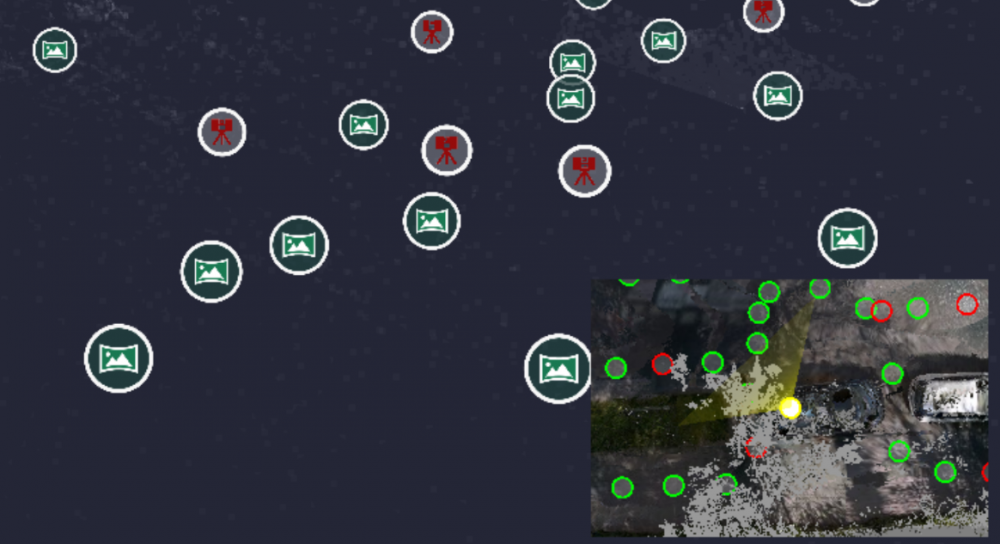
It is possible to navigate from a scan to a 360° image, a 360° image to a 360° image or a 360° image to a scan.
Was this article helpful?
That’s Great!
Thank you for your feedback
Sorry! We couldn't be helpful
Thank you for your feedback
Feedback sent
We appreciate your effort and will try to fix the article