This article describes all the actions that could be performed with Cintoo tags.
Permissions: users with roles including View Tags and P&IDs and Manage Tags and P&IDs permissions can edit tag lists and tags, move tags, export tag lists.
TABLE OF CONTENTS
- Edit a Tag List
- Edit a Tag
- Move Tags
- Search for Tags
- Viewing Tags and Tag Properties (Metadata)
- Copy Link for a Tag
- Validate Tags
- Link 3D Tags with 2D Tags (P&ID)
- Export Tag List
- Include Tags in a Share Link
Note: unlimited tagging capacity is available only with TWIN edition, while BIM edition users do not have access to this functionality.
Contact us via sales@cintoo.com to know more about the upgrade.
Learn more about editions BIM and TWIN.
Edit a Tag List
From Tag Explorer
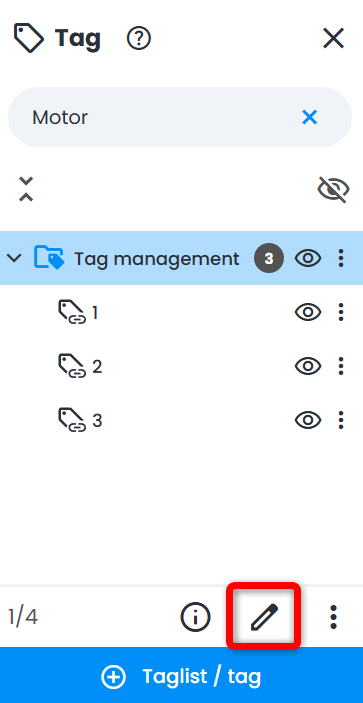
1. In 3D View, click Tag Explorer icon on Explorer toolbar.

2. Click on a tag list to edit, and then click Edit icon at the bottom of Tag Explorer.
- If there are no tag lists displayed in Tag Explorer, see Create a List of Tags.
3. In Edit tag list panel Name, Color, Description, and Metadata fields can be modified at any time.
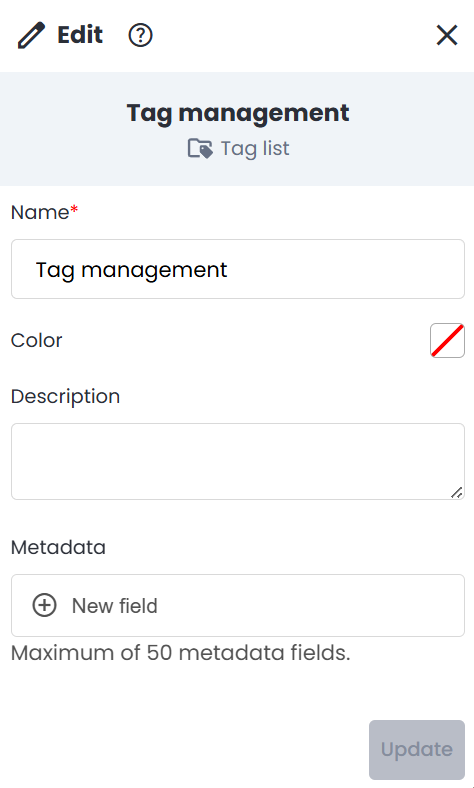
4. Click Update to save any changes.
From Data Tab
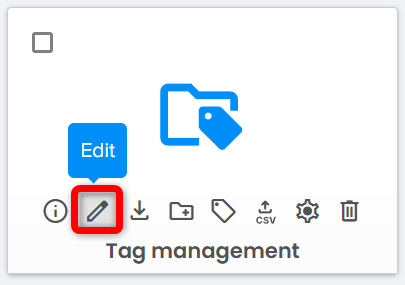
1. In Work Zone Explorer, navigate to work zone that contains a tag list to be edited.
2. Hover the mouse cursor over a tag list and click Edit icon.

3. In Edit tag list panel Name, Color, Description, and Metadata fields can be modified at any time.

4. Click Update to save any changes.
Edit a Tag
From Tag Explorer
1. In 3D View, click Tag Explorer icon on Explorer toolbar.
2. Click on a tag to edit, and then click Edit icon at the bottom of Tag Explorer.
Note: if there are no tags displayed in Tag Explorer, see Create a tag.
3. In Edit tag panel ID, Description, Bounding Box and Metadata fields can be modified at any time.
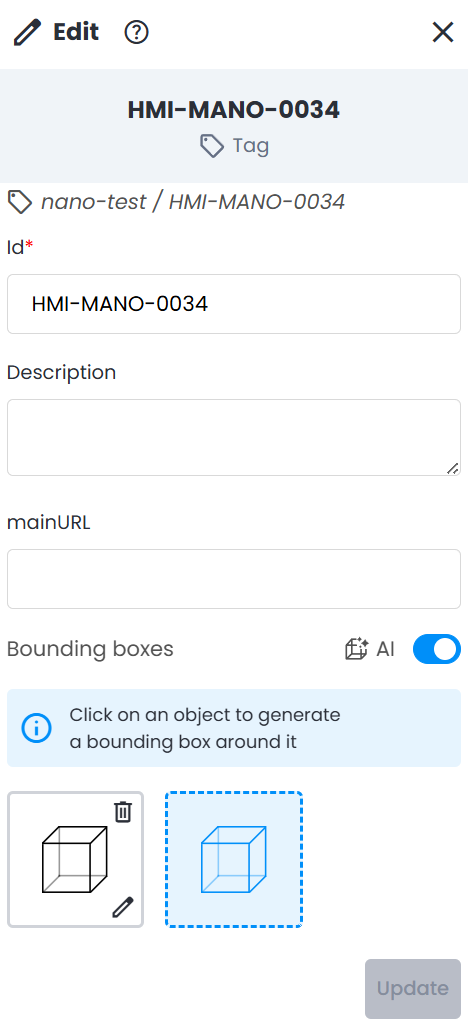
4. Click Update to save any changes.
From Data Tab
1. In Work Zone Explorer, navigate to work zone that contains a tag list with tags to be edited.
2. Click on a tag list to see individual tags, then select Edit icon for the tag to be modified.
3. In Edit tag panel ID, Description, Bounding Box, and Metadata fields can be modified at any time.
4. Click Update to save any changes.
Move Tags
In Tag Explorer it is possible to use drag and drop method to move tags from one tag list to another.
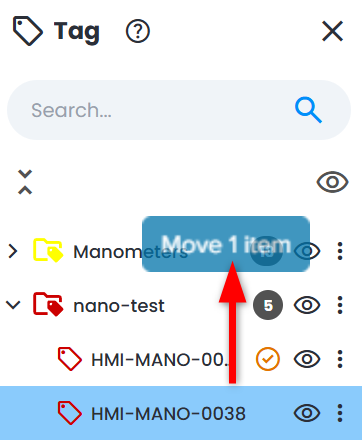
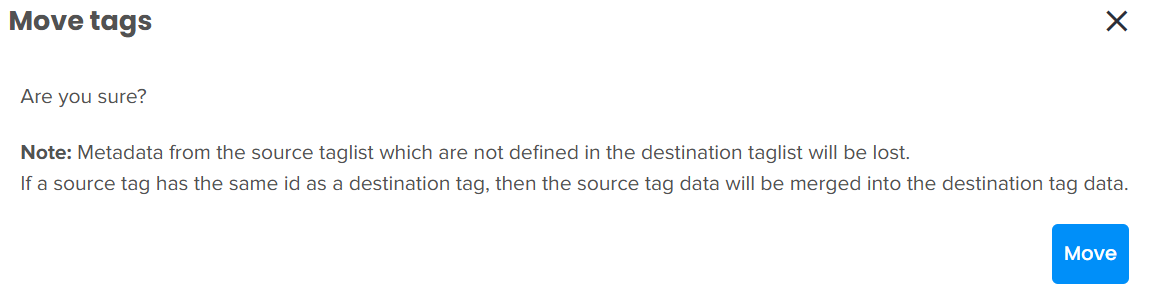
A confirmation menu will pop up to make sure that mismatching and not defined metadata is acceptable to be lost.
Search for Tags
From Tag Explorer
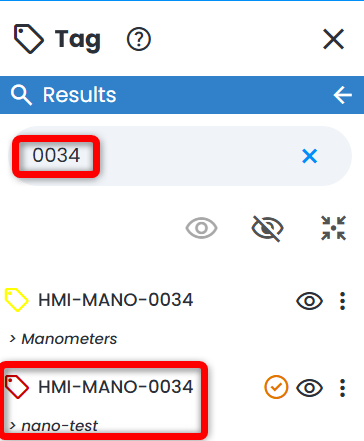
1. Type in Search tool at the top of Tag Explorer and click Enter to search for tags based on their ID or Metadata.
- All tag lists in any work zones that are toggled on will be searched, and the results will include any tag lists and tags matching the search criteria.
- Search result is limited to the first 100 items. Refine the search if the limit is reached.

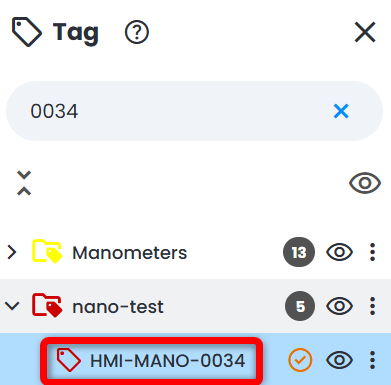
2. Double click on tag list or tag to locate it in Tag Explorer.
3.Exit the search result by clicking Clear button.

From Data tab
1. Select root work zone listed at the top of Work Zone Explorer.
2. Type in Data tab Search tool and click Enter to search for tags based on their ID or Metadata. The search is done on all the tag lists in the active work zones, or in the list opened.

Note: only Tag ID can be searched from Data tab. All other metadata are not associated with the search in this case.
Search results will be displayed together with a tag list name and a work zone path for each tag.
3. By adding a prefix "type:" and a keyword taglist find all objects of type taglist in the project. Same search is possible from Resource Explorer.

4. Use Action icons on the right side of the screen to view tag details or to open a tag in 3D View (Play 3D). Note that clicking on a tag opens tag list in Data tab.
Viewing Tags and Tag Properties (Metadata)
From Tag Explorer
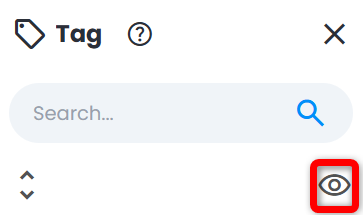
1. In 3D View, open Tag Explorer from the left toolbar and click Show all.
- Tags in the list(s) are displayed in 3D View in the color associated to its tag list. Tag color can be changed at any time by editing a tag list.
2. Hover mouse cursor over a tag (i.e., color highlighted element) in 3D View and left click to highlight a tag in Tag Explorer.
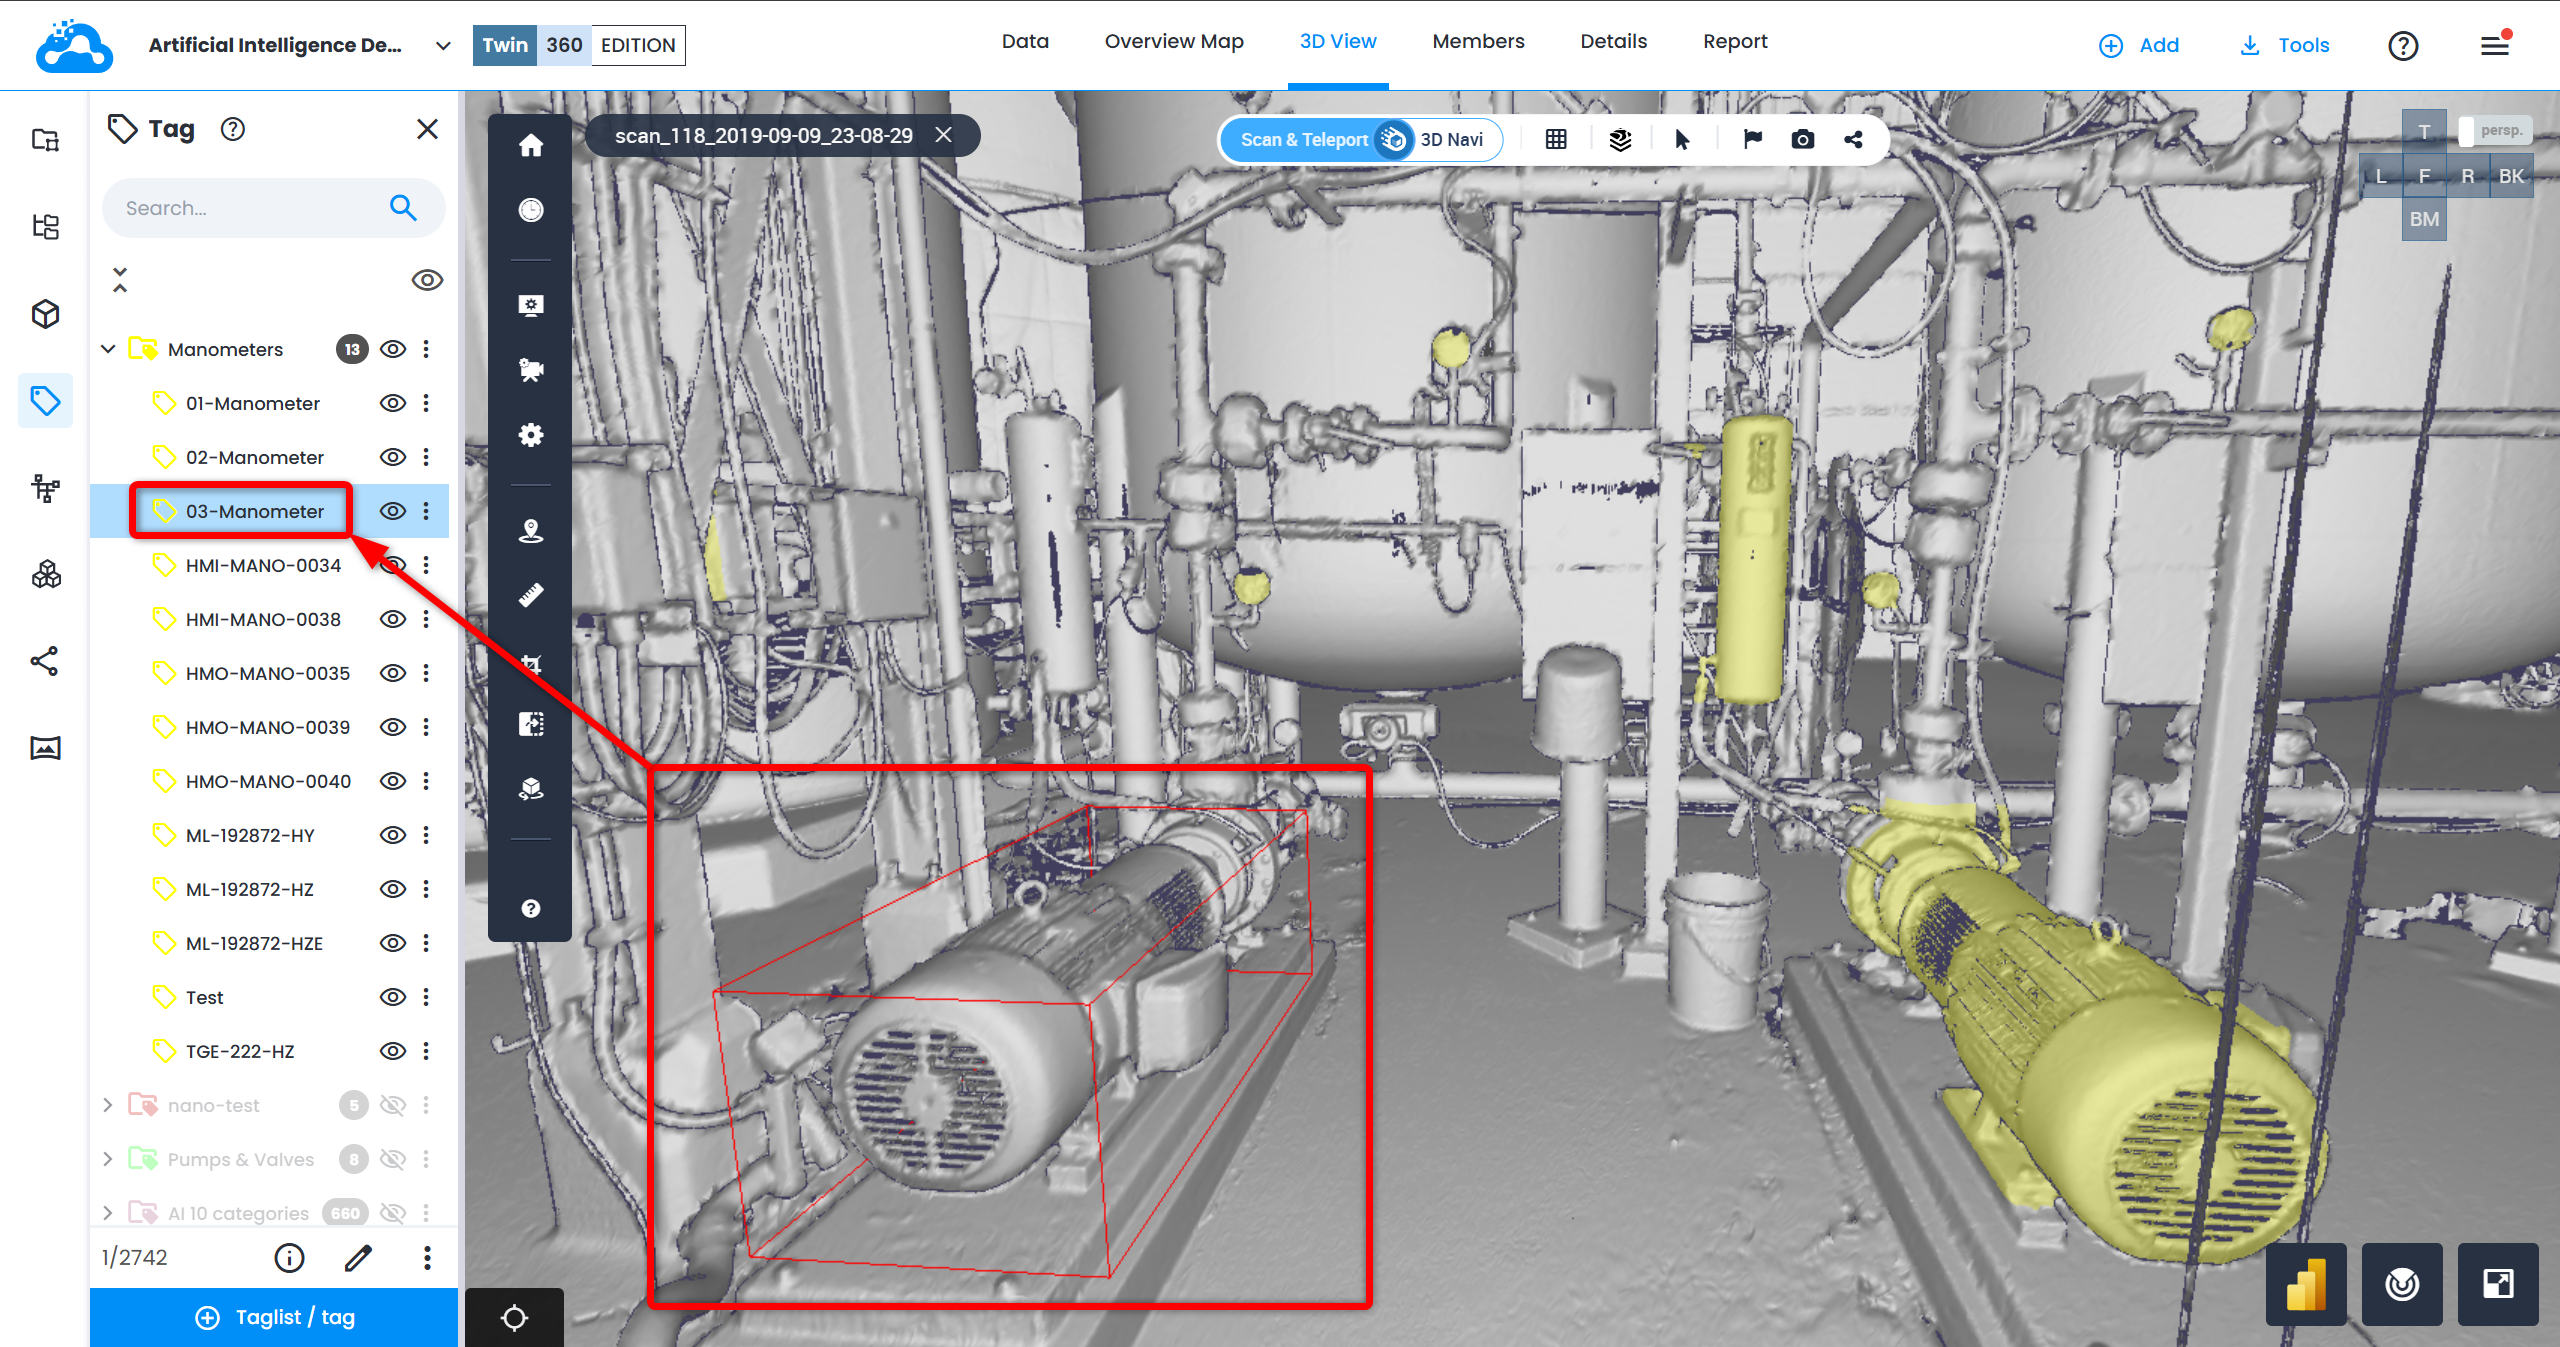
3. With a tag selected and highlighted, click Information at the bottom of Tag Explorer to view Properties and Details.
- Scroll down to review all the metadata in tag Properties. If any of the metadata contains a link, the URL is clickable and will open in another browser tab.

From Data Tab
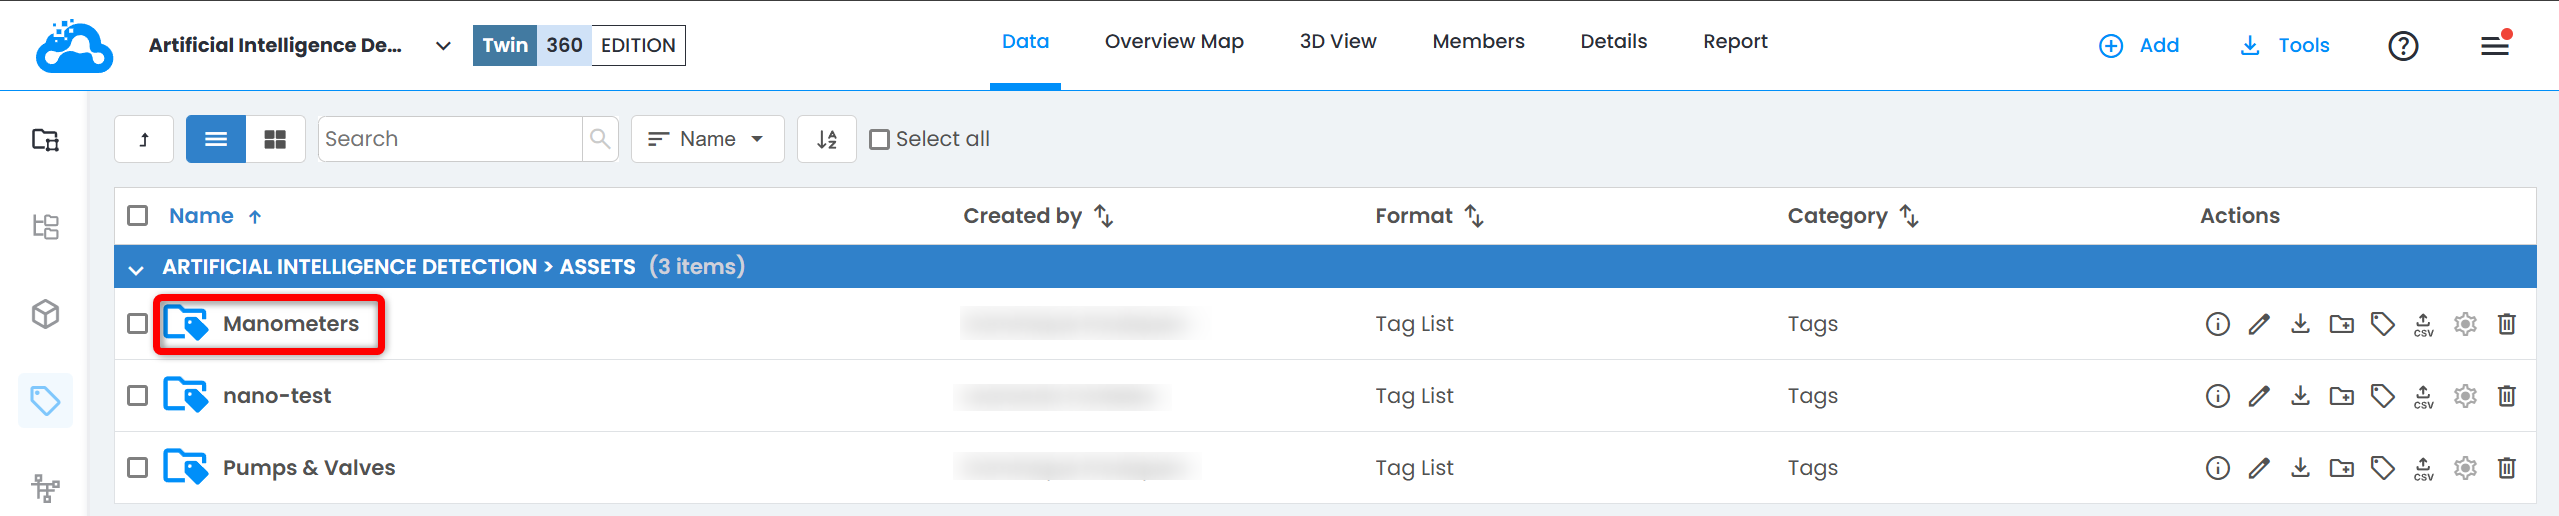
1. In Data tab, select a work zone from Work Zone Explorer that contains a tag list, and click on a tag list to display its tags.
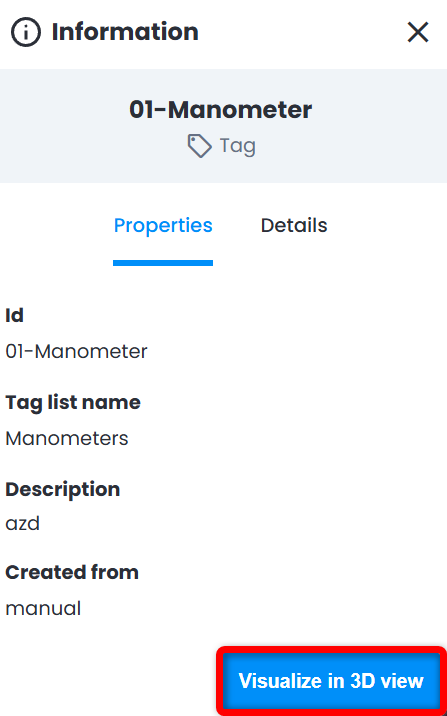
2. Click on a tag to see Properties and Details in Information panel.
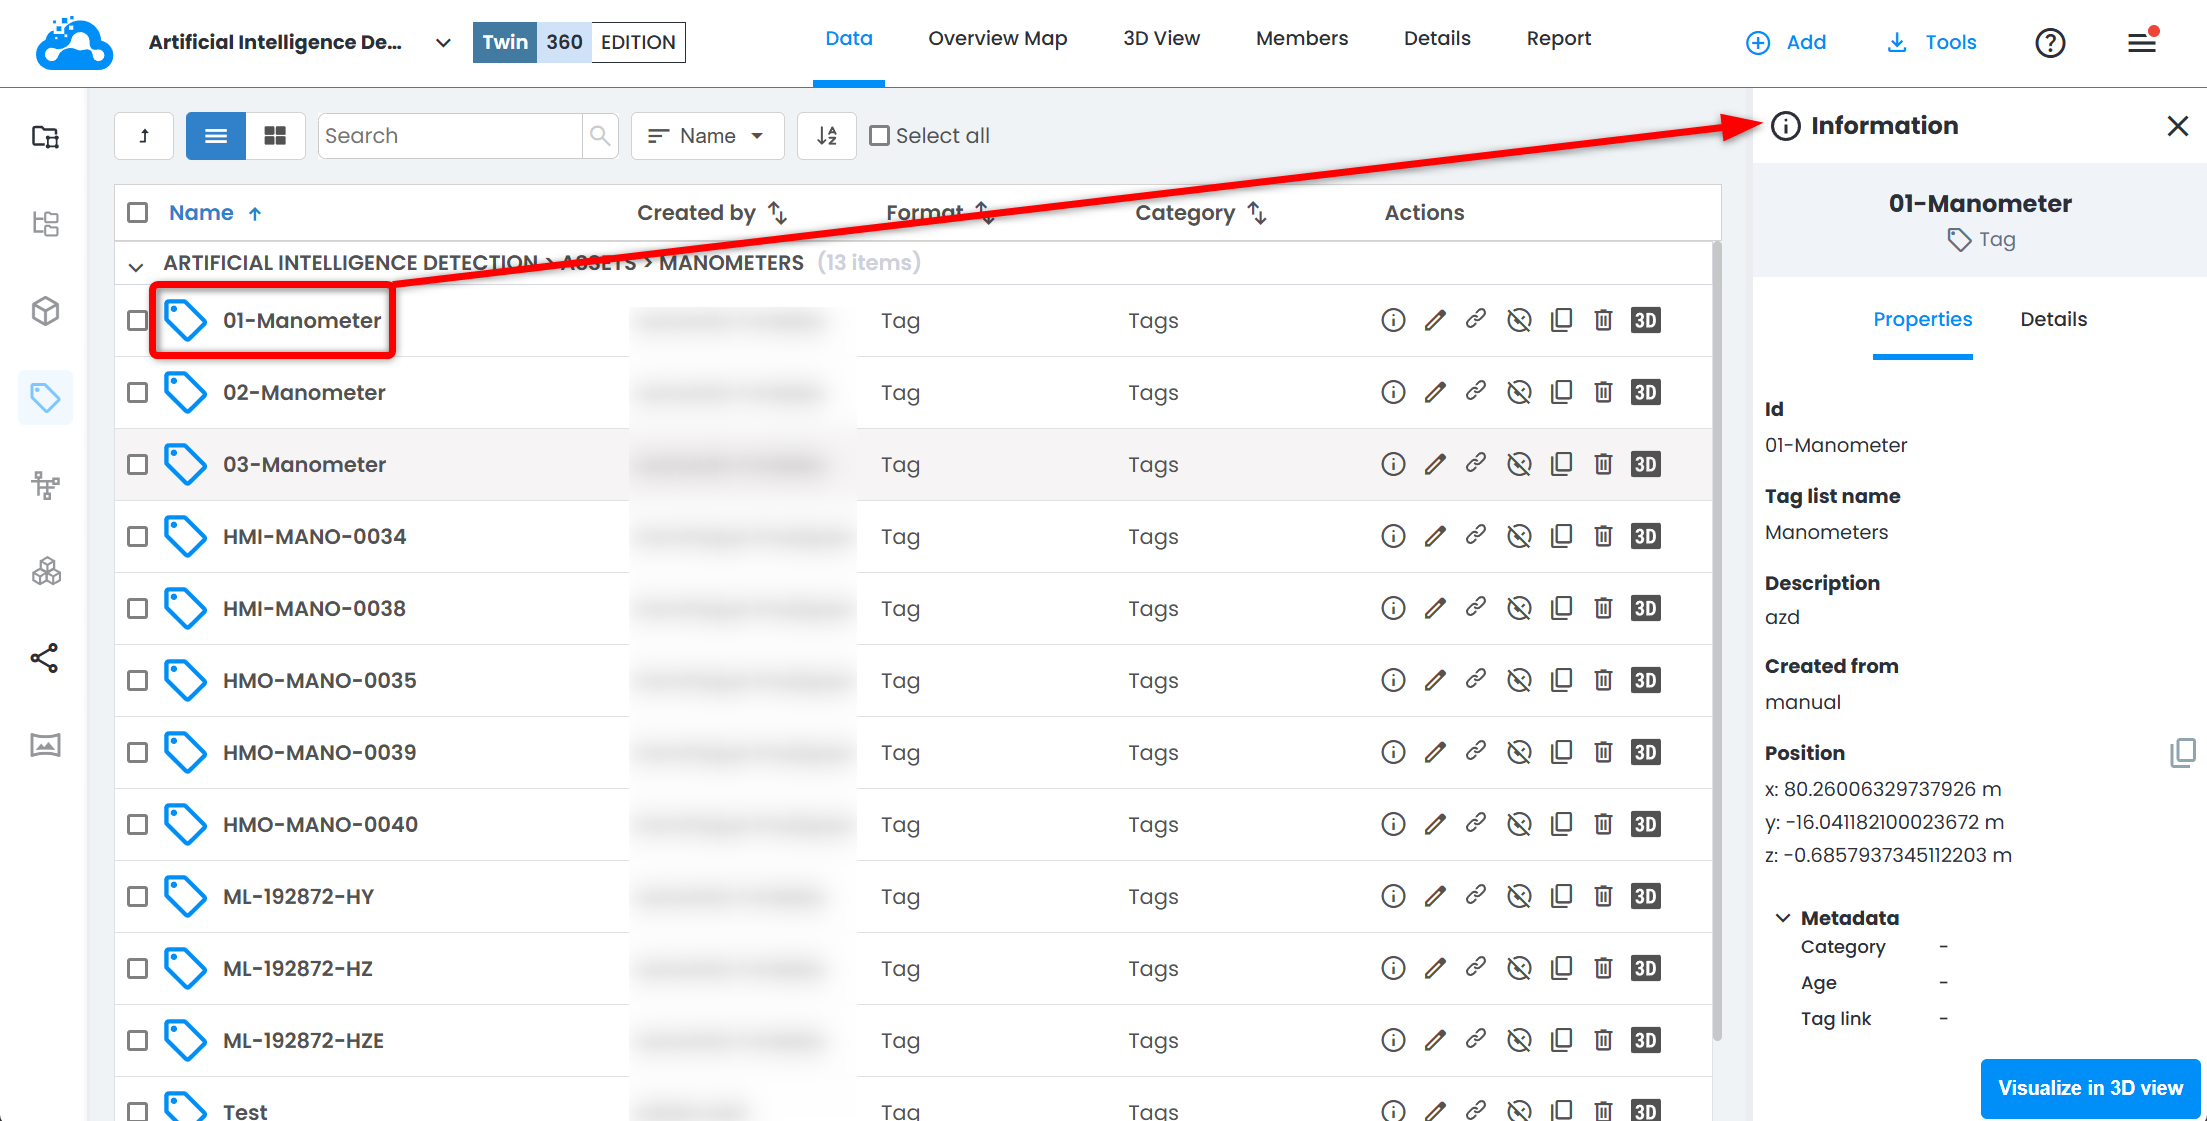
3. Click Visualize in 3D View to view the tag in 3D View.
Copy Link for a Tag
From Tag Explorer
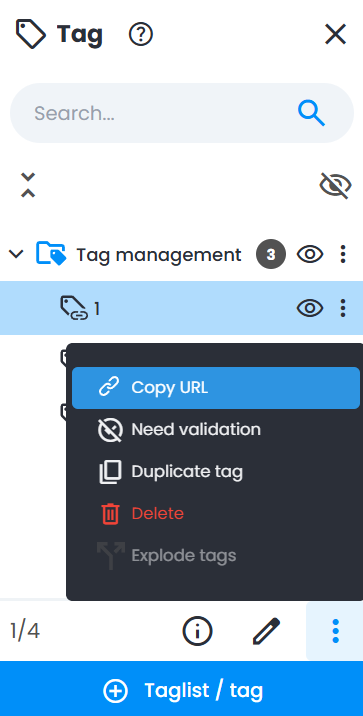
1. With a tag selected and highlighted in Tag Explorer, click Copy link icon on the action toolbar at the bottom of Tag Explorer.
4. Link notification will open at the bottom right corner of the screen. URL is now copied to clipboard.
Recipients of the URL will need to be logged into Cintoo and have the necessary permissions and access to view the tag.
From Data Tab
1. In Data tab, select a work zone from Work Zone Explorer that contains a tag list, and click on a tag list to display its tags.
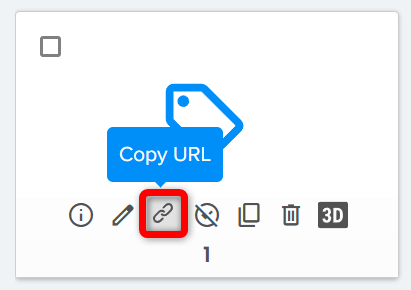
2. Hover mouse cursor over a tag and click Copy link icon.

3. Link notification will open at the bottom right corner of the screen. URL is now copied to clipboard.
Recipients of the URL will need to be logged into Cintoo and have the necessary permissions and access to view the tag.

Validate Tags
Validation step is used when there is a need to distinguish between validated and non-validated existing simple tags. By default manually created tags are Validated.
Validation is also an important step for tags created from AI Detection algorithm as by default all tags are created with status Need validation.
1. Click on Needs validation on the bottom panel (3 dot menu).
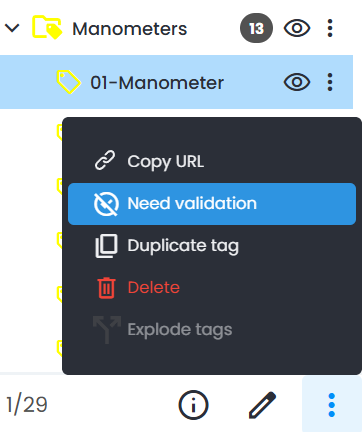
2. Now the action changes to Validate and a clearly visible checkmark appears next to the tag name.
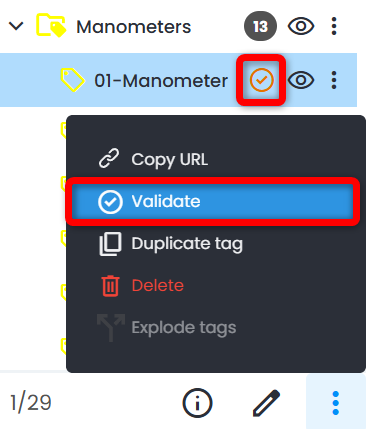
3. Clicking on either of them makes a tag Validated
Link 3D Tags with 2D Tags (P&ID)
Tags could be linked to 2D tags (P&ID Instrumentation and Pipe elements) from P&ID Explorer by following this workflow:
Export Tag List
Download tag metadata as CSV (IDs, bounding box coordinates, custom fields).
Note: to export 3D scan data inside a tag's bounding box as a point cloud or mesh file, see Export Tag as Point Cloud or Mesh
From Tag Explorer
1. In 3D View, open Tag Explorer from the left toolbar and click on a tag list to select it.
2. With a tag list selected and highlighted in Tag Explorer, click Download icon at the bottom.
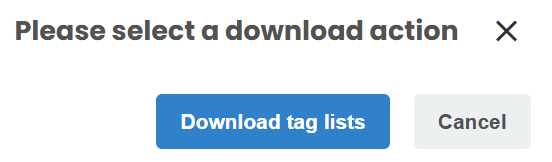
3. Click Download tag lists in the pop-up menu to proceed.
4. Downloaded CSV file contains the list of tags, and for each tag:
- ID of the tag
- 6 coordinates of tag's bounding box
- All tag metadata
- Cintoo URL of each tag (e.g., https://eu.cintoo.com/tag/xxxx)
From Data Tab
1. In Data tab, select a work zone from Work Zone Explorer that contains a tag list.
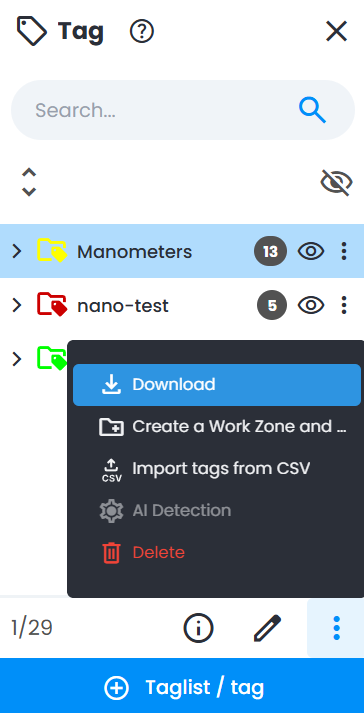
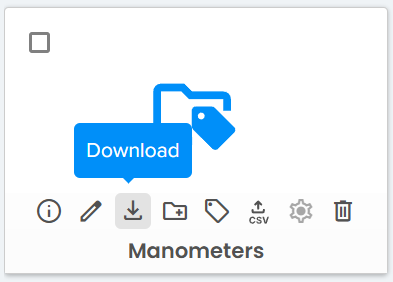
2. Hover mouse cursor over a tag list and click Download icon.

Include Tags in a Share Link
To create a share link, see Share for instructions.
When creating a share link, the user can include tags by checking tags under Select the resources to share. By default, tags are not included.
Update Tags Using Cintoo APIs
To review Cintoo APIs access and content, see Accessing Cintoo API.
Please contact Cintoo Support at support@cintoo.com to start using Cintoo APIs.
Was this article helpful?
That’s Great!
Thank you for your feedback
Sorry! We couldn't be helpful
Thank you for your feedback
Feedback sent
We appreciate your effort and will try to fix the article