This article describes how to filter various icons in 3D View, like scan sprites, 360 images sprites, different types of annotations and measurements.
Watch tutorial video: Show/Hide Icons
- On top of the toolbar click on flag button, Display Sprites and Filter Scan Sprites menu appears.
The counter on the icon shows how many types of elements were not chosen to be visualized.
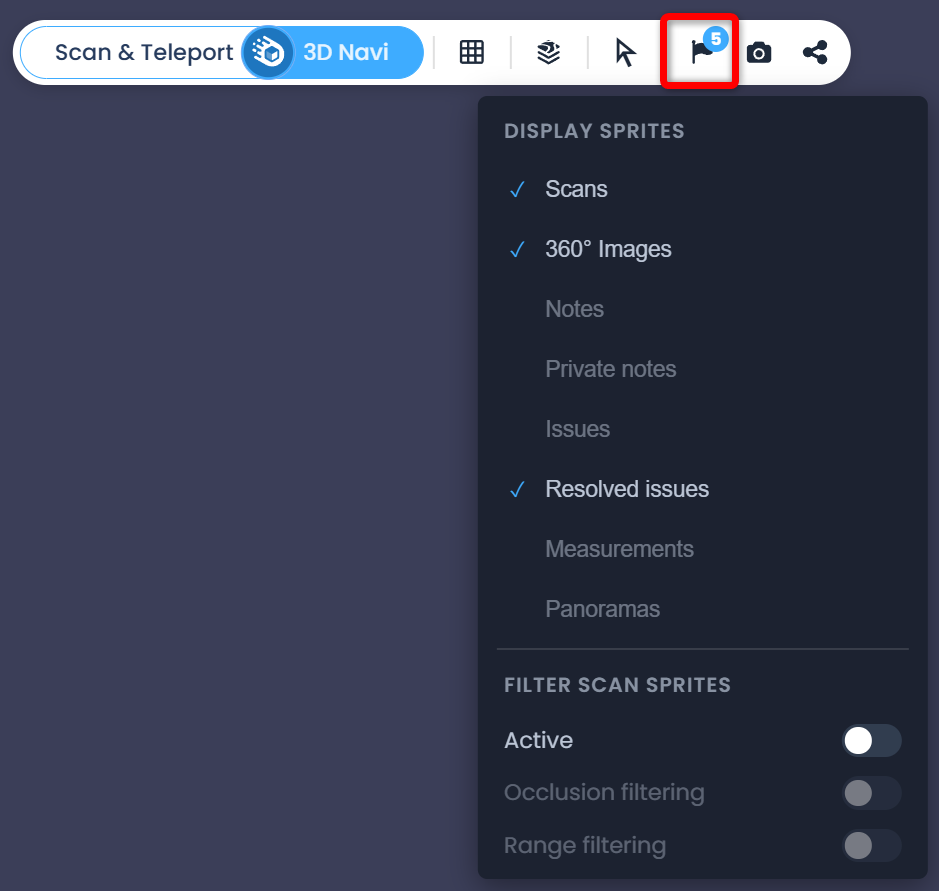
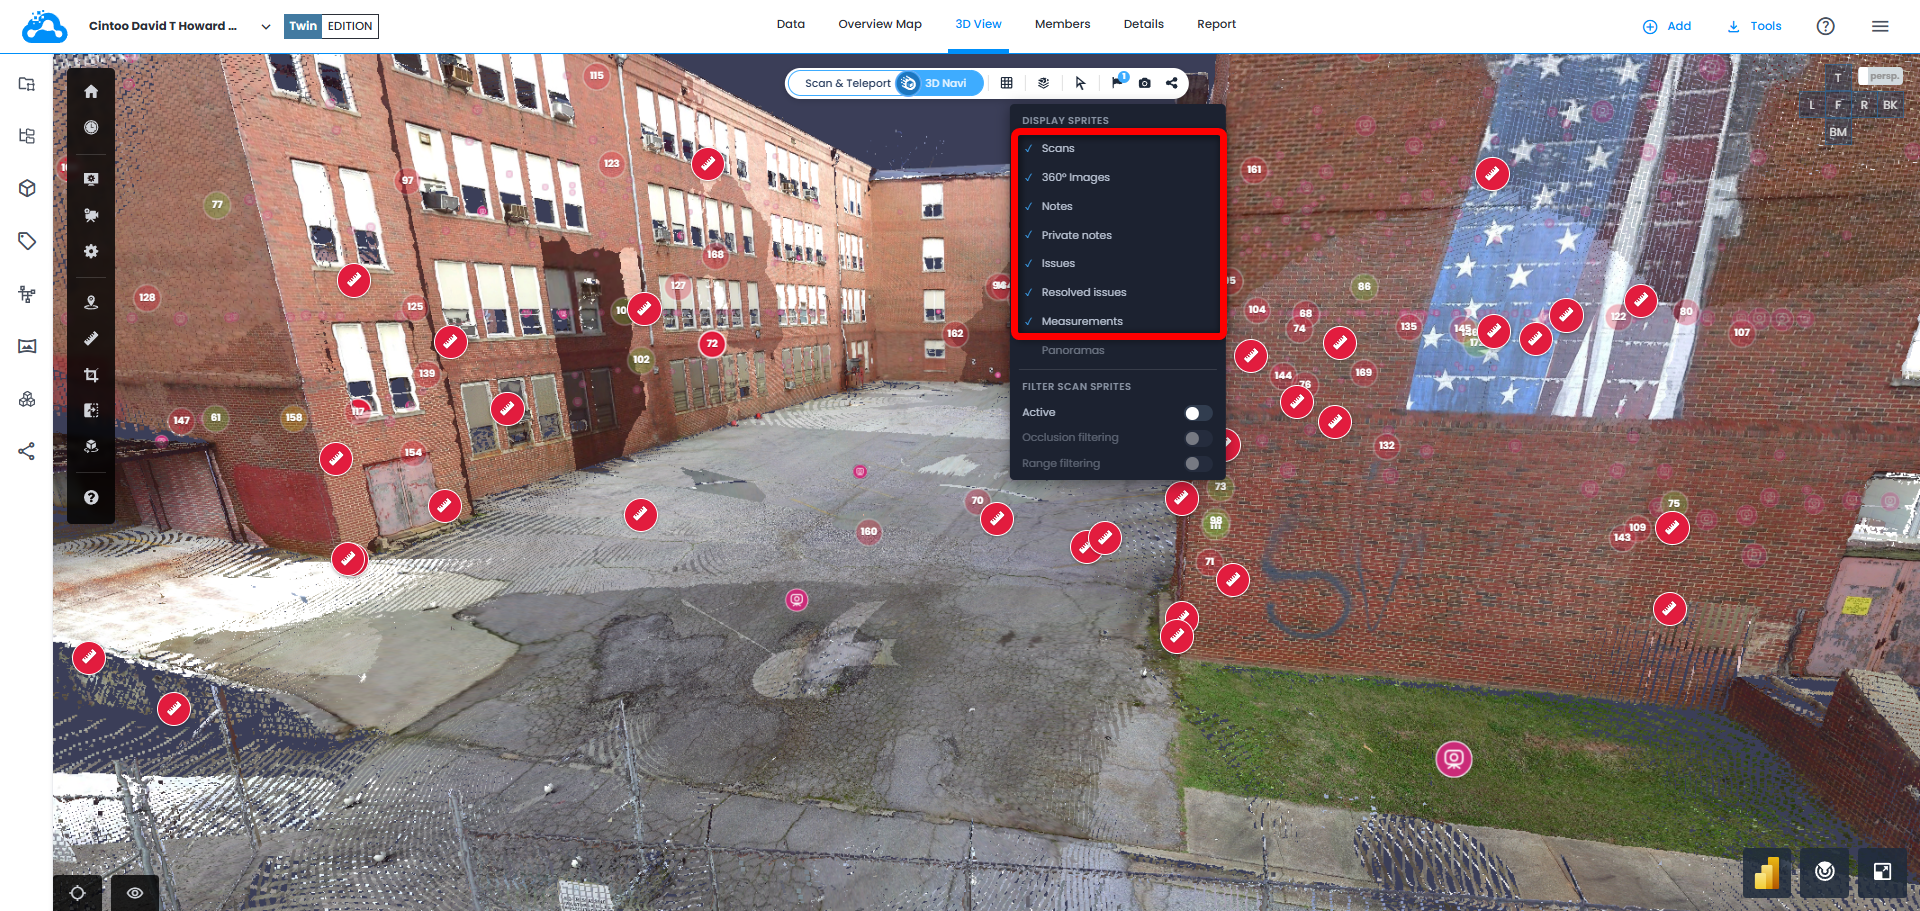
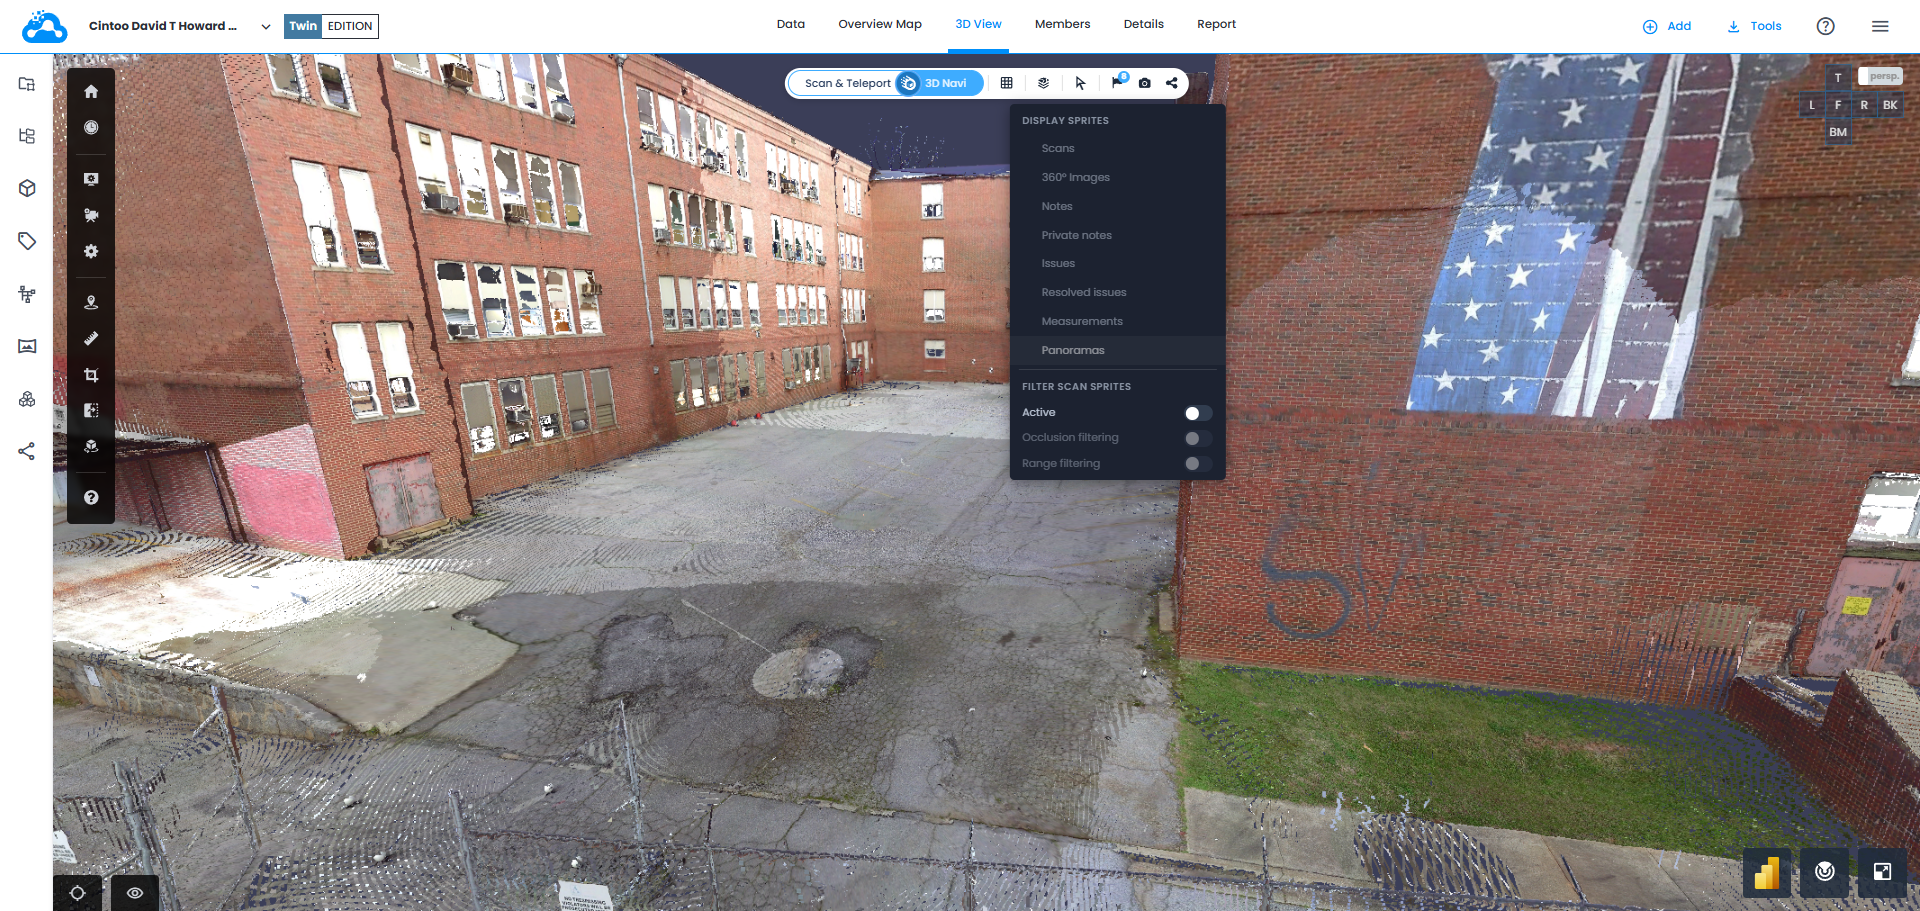
- In the list each click on the elements will change the visibility status for Scans, 360 Images, Notes, Private Notes, Issues, Resolved Issues, Measurements
All sprites toggled on
All sprites toggled off
- Filter Scan Sprites, Occlusion filtering, Range filtering and value are available in both Scan & Teleport and 3D Navi modes.
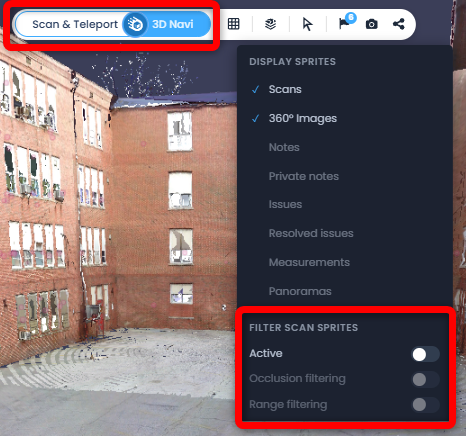
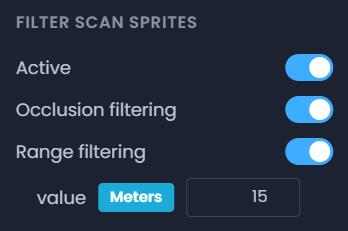
- Toggle ON Filter Scan Sprites first to be able to toggle on Occlusion Filtering, Range Filtering and value.
Toggling OFF Filter Scan Sprites disables both filters but saves their configuration. This setting is saved individually for the user profile, which means it is applied to all projects for a certain user, until changed.
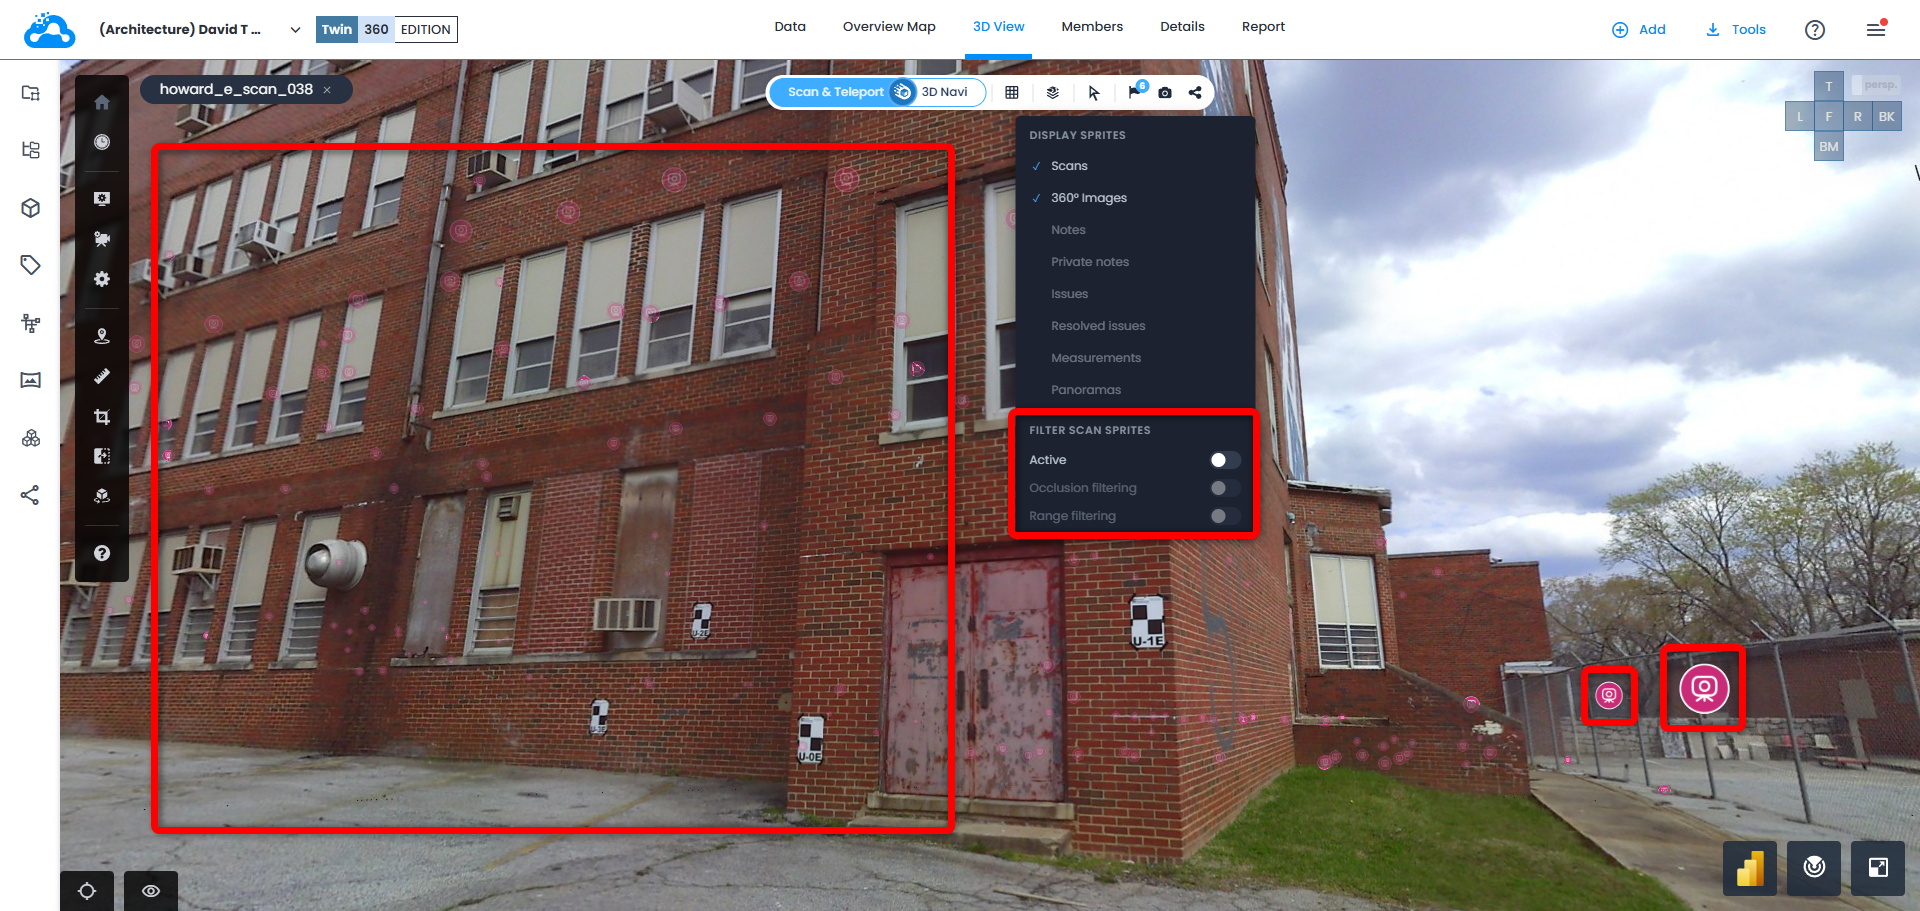
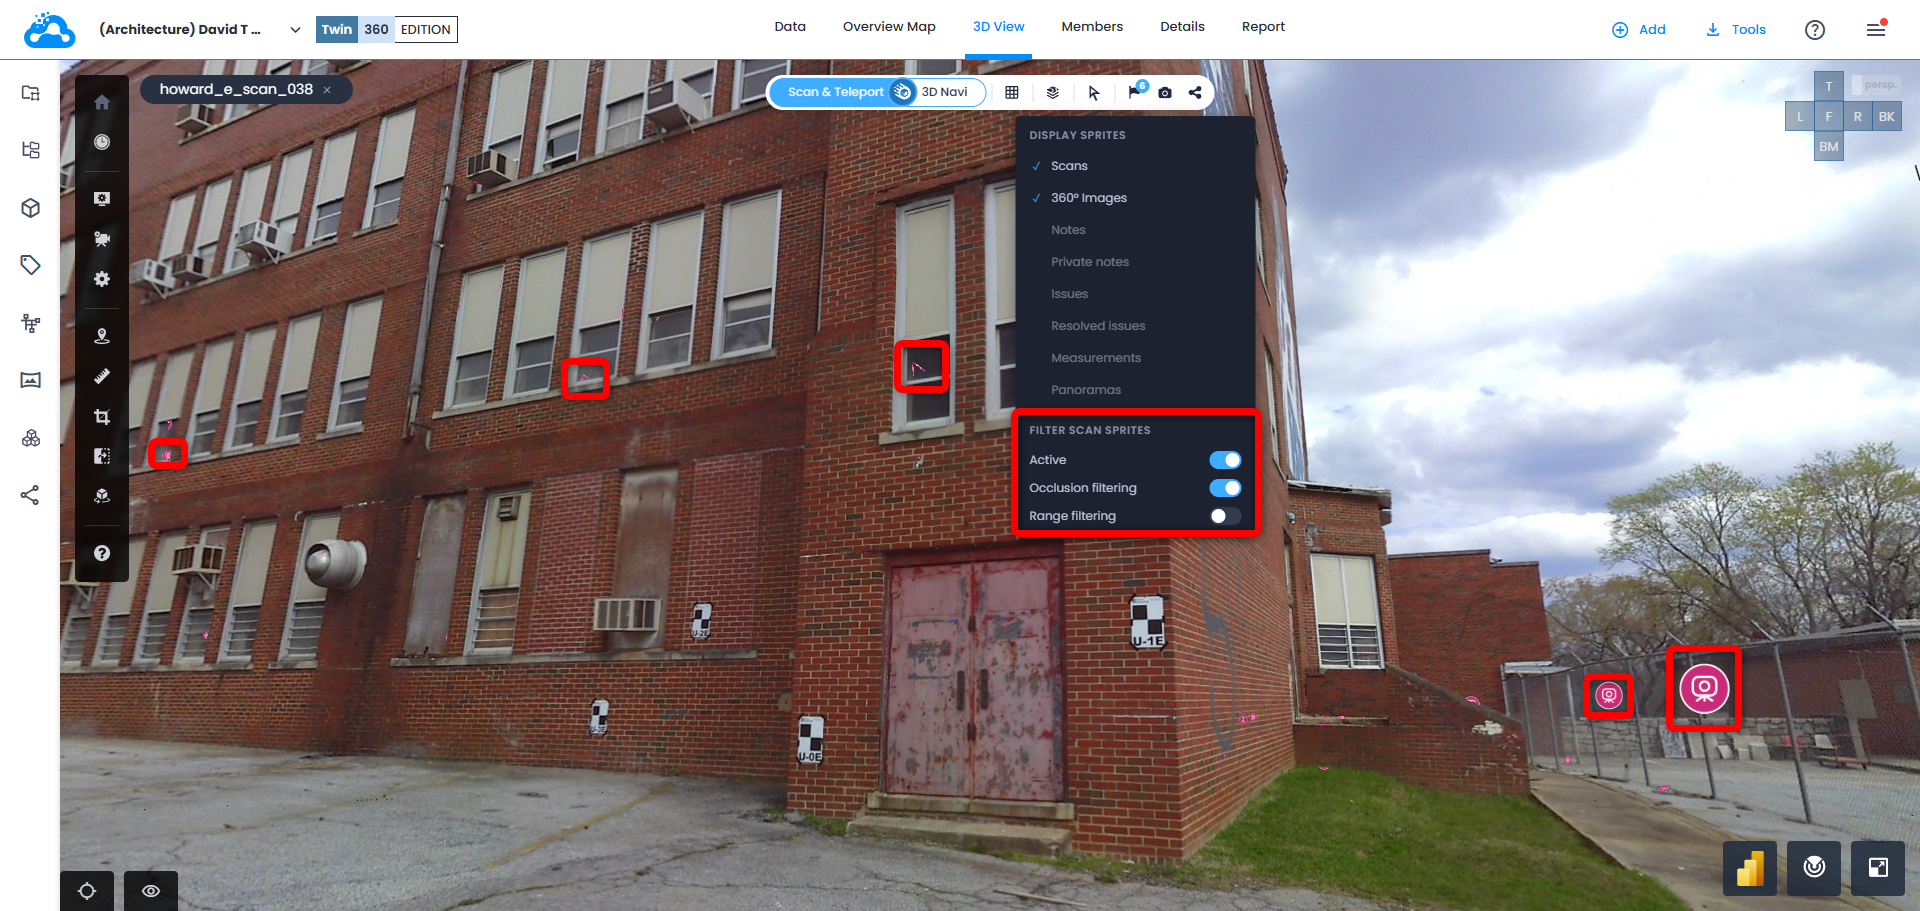
- Occlusion filtering allows to filter out visually sprites that are behind visible 3D data - scans and models. Sprites that are not visible to the user from current viewpoint are hidden in viewport. Applicable only for scan positions and not for 360 Images positions.
Occlusion filtering OFF
Occlusion filtering ON
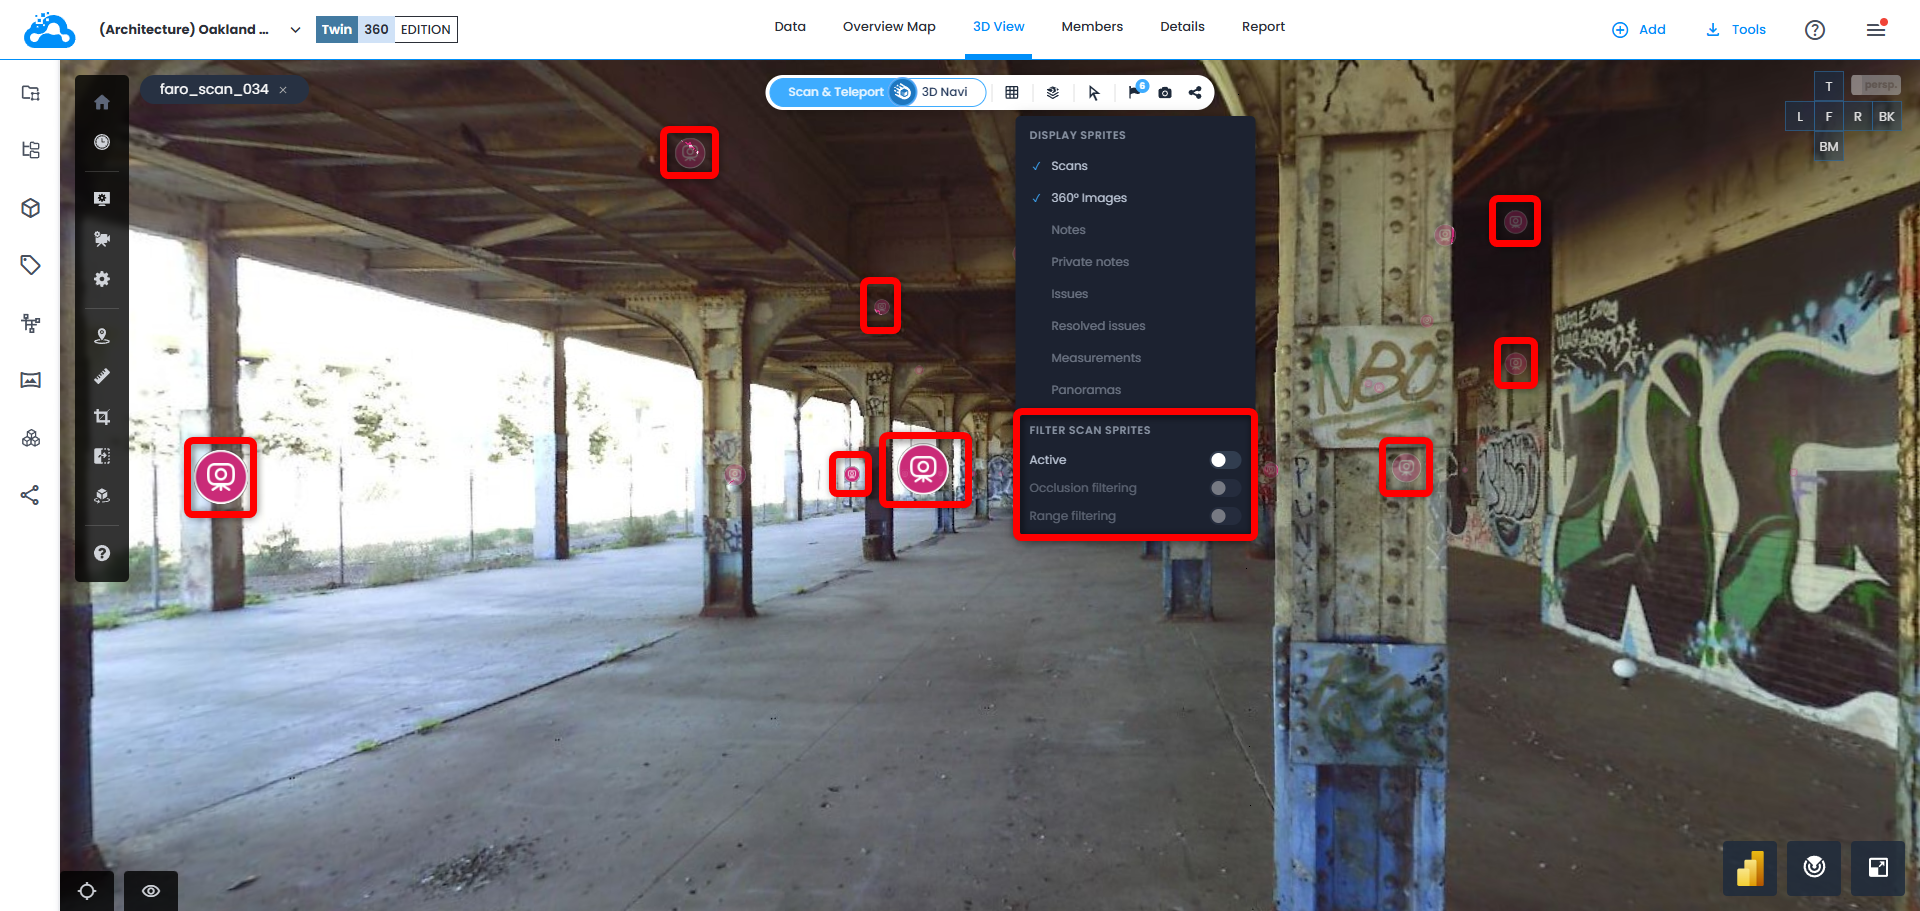
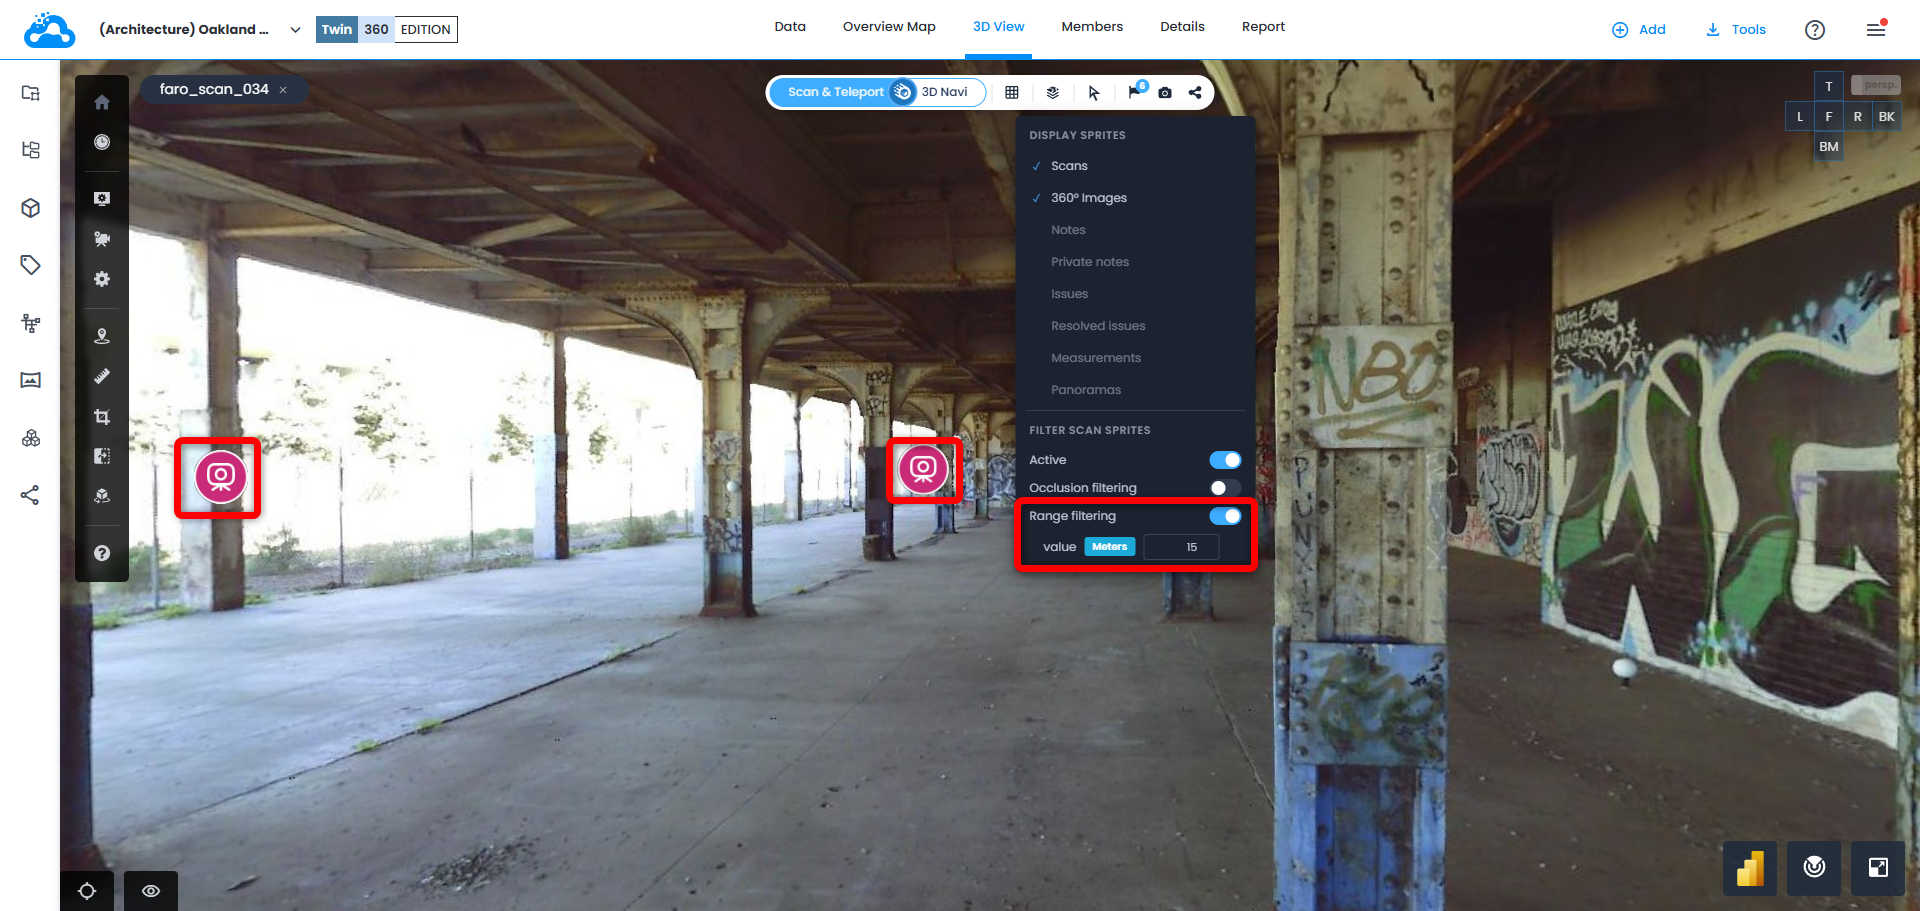
- Range filtering serves to eliminate from the viewport visualization of the sprites that are further than value in meters or in feet (user preference).
Range filtering works in all directions, solving the issue of visible sprites from other floors of the building, for example. Applicable for both scan positions and 360 images positions.
Range filtering OFF
Range filtering ON (15 meters)
Was this article helpful?
That’s Great!
Thank you for your feedback
Sorry! We couldn't be helpful
Thank you for your feedback
Feedback sent
We appreciate your effort and will try to fix the article