This article describes how to upload annotations from Cintoo project, how are they visualized and how to create annotations in Cintoo Workspace - in VR and in Desktop mode.
TABLE OF CONTENTS
- Get Annotations from Cintoo Project
- Navigation
- Create Annotation
- Draft Mode
- Edit and Comment Annotations
- Desktop Mode
- Annotations in a Multi-User Session
Get Annotations from Cintoo Project
To view annotations list, open Explorer by pressing top button (B) on Navigation controller. Navigate to Annotations tab.
By default, Annotations tab is empty.
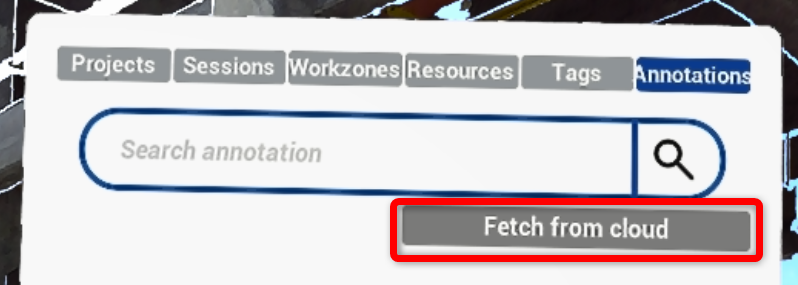
To upload Annotations from Cintoo project click Fetch from the cloud.
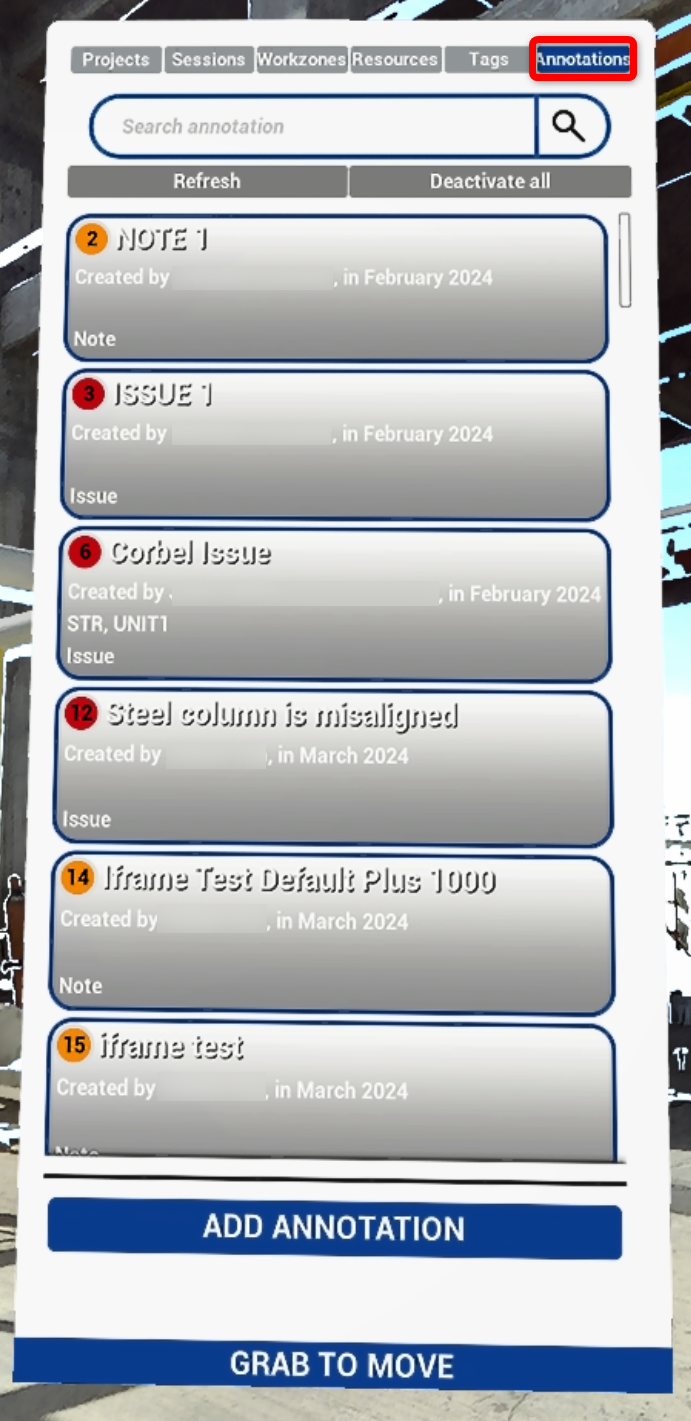
This action populates the list and the view with all annotations from Cintoo project. Annotations are listed without thumbnails, so list loads faster.
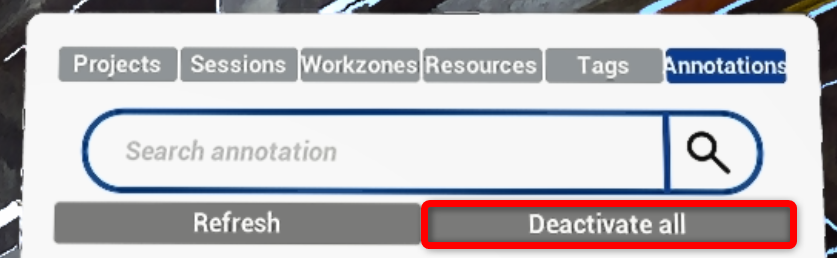
To remove them click on Deactivate all.
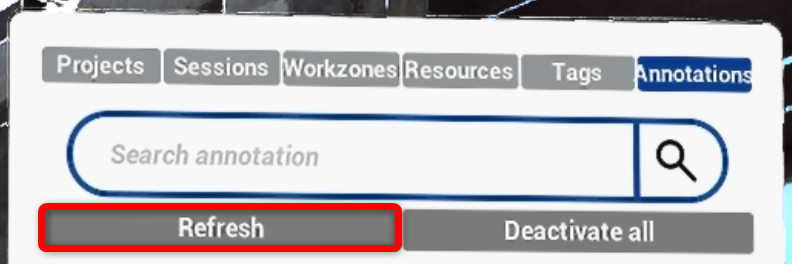
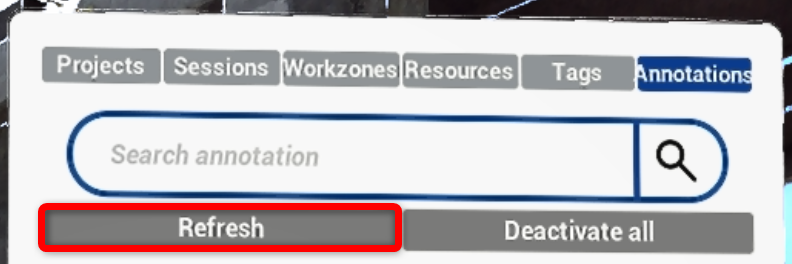
If any new annotations were added from any source - click Refresh to get the updated list.
Navigation
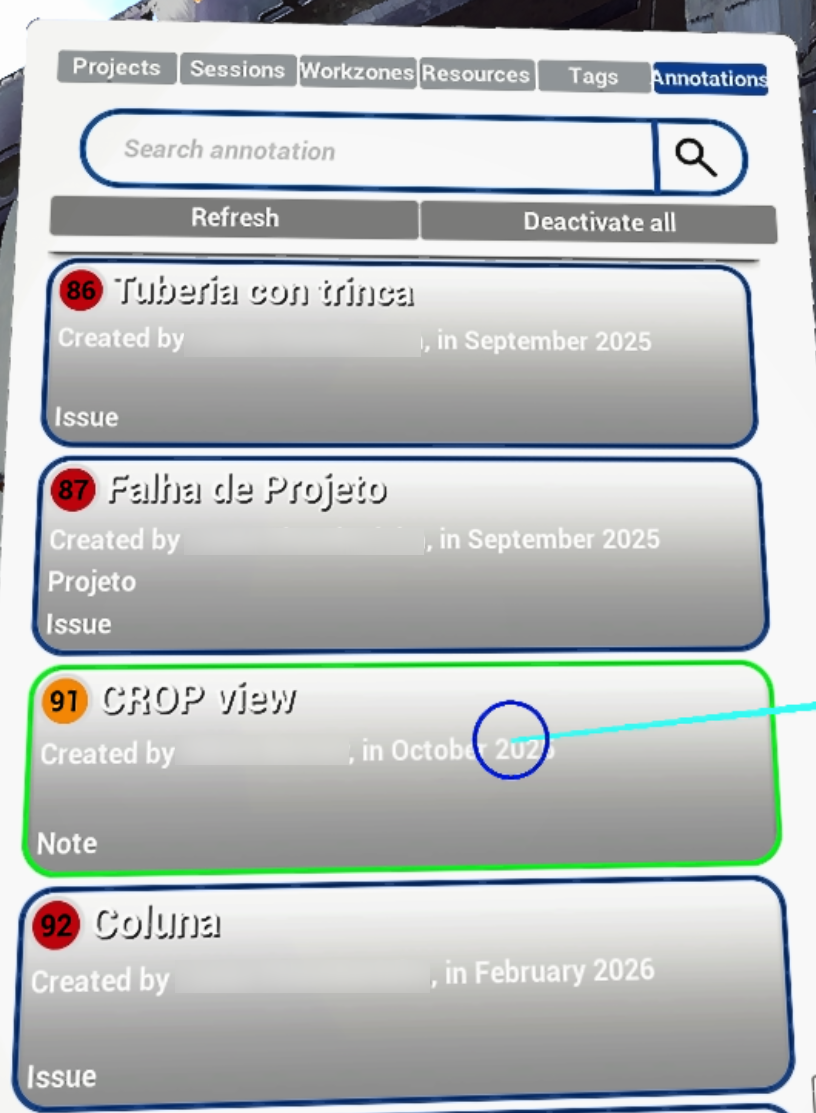
Search bar on top allows to filter out annotations by name and label.
Each annotation tile includes the following information:
- Color code (yellow Notes, red Issues, grey Private Notes) and number
- Name
- Author
- Date of creation
- Labels
- Annotation type
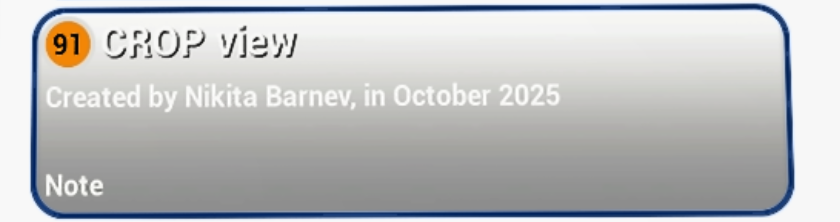
Teleport to annotation location by clicking on annotation tile in the list with Navigation controller trigger.
Create Annotation
To create an annotation, click on Add annotation at the bottom of the menu. Annotations don't need to be fetched first.
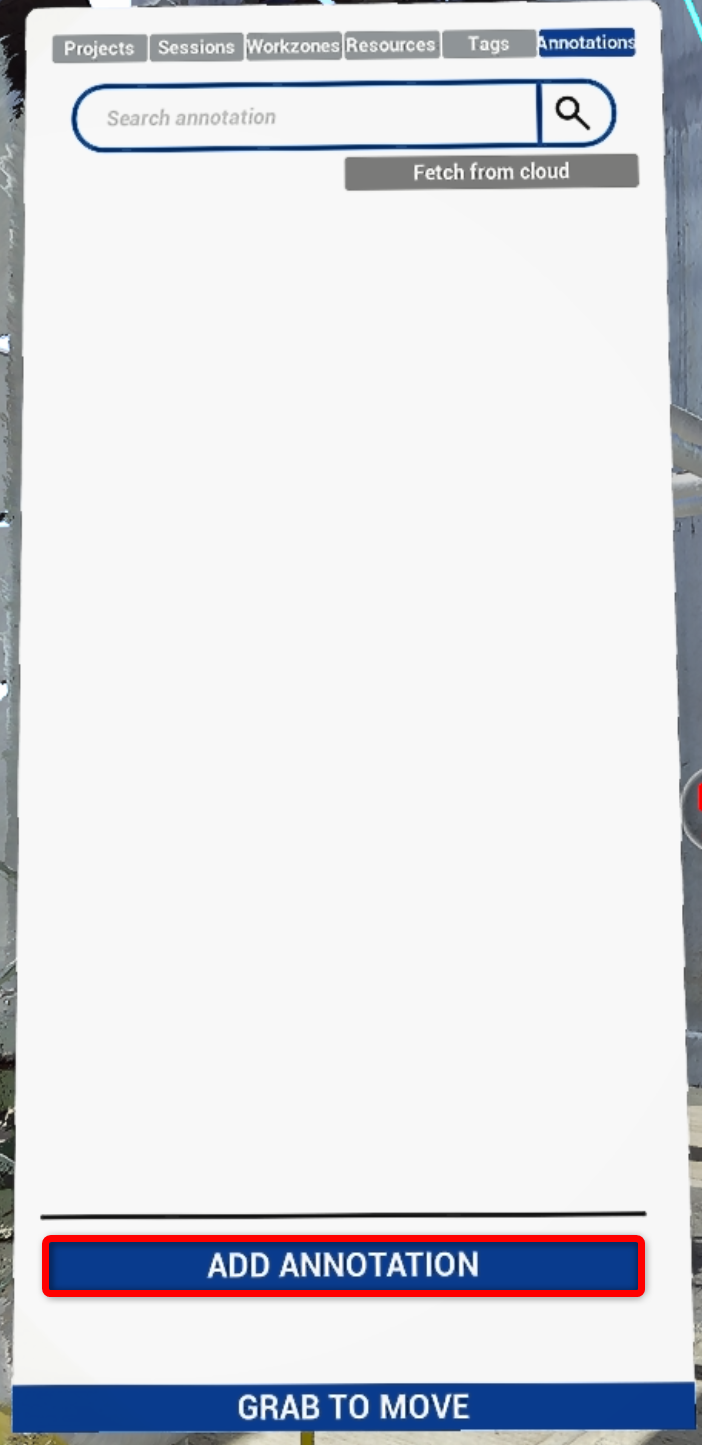
This action enables annotation placement mode which is done using Tools controller:
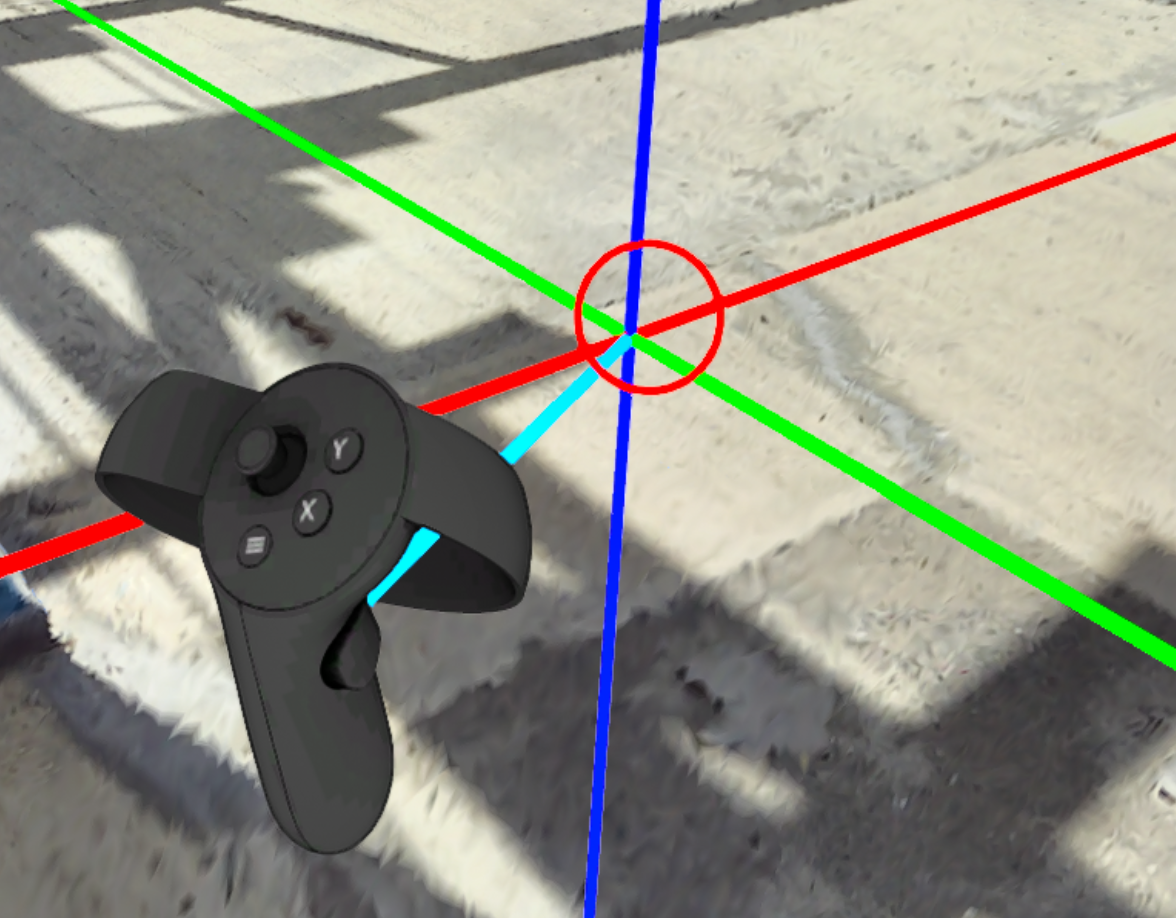
- aim with Tools controller - a gizmo shows location of the annotation
- push gizmo forward or pull it back with Tools controller joystick
- move Tools controller to change the direction of movement
- once satisfied with the positioning press Tools controller trigger
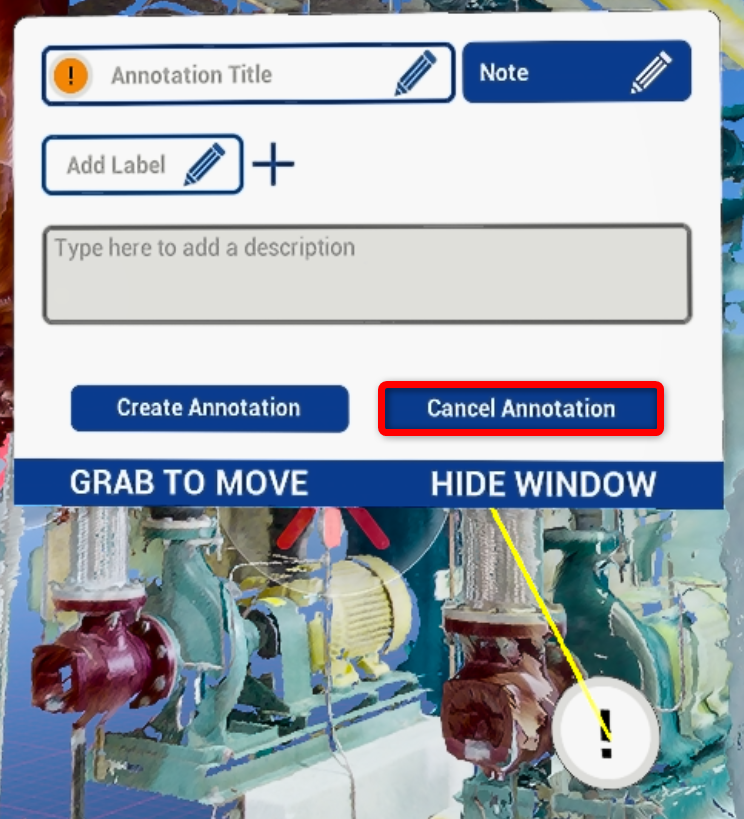
- a pop-up menu is opened and annotation is added to Annotations list as a draft
- process could be cancelled at any time by selecting and pressing Cancel Annotation - annotation and its draft entry are deleted
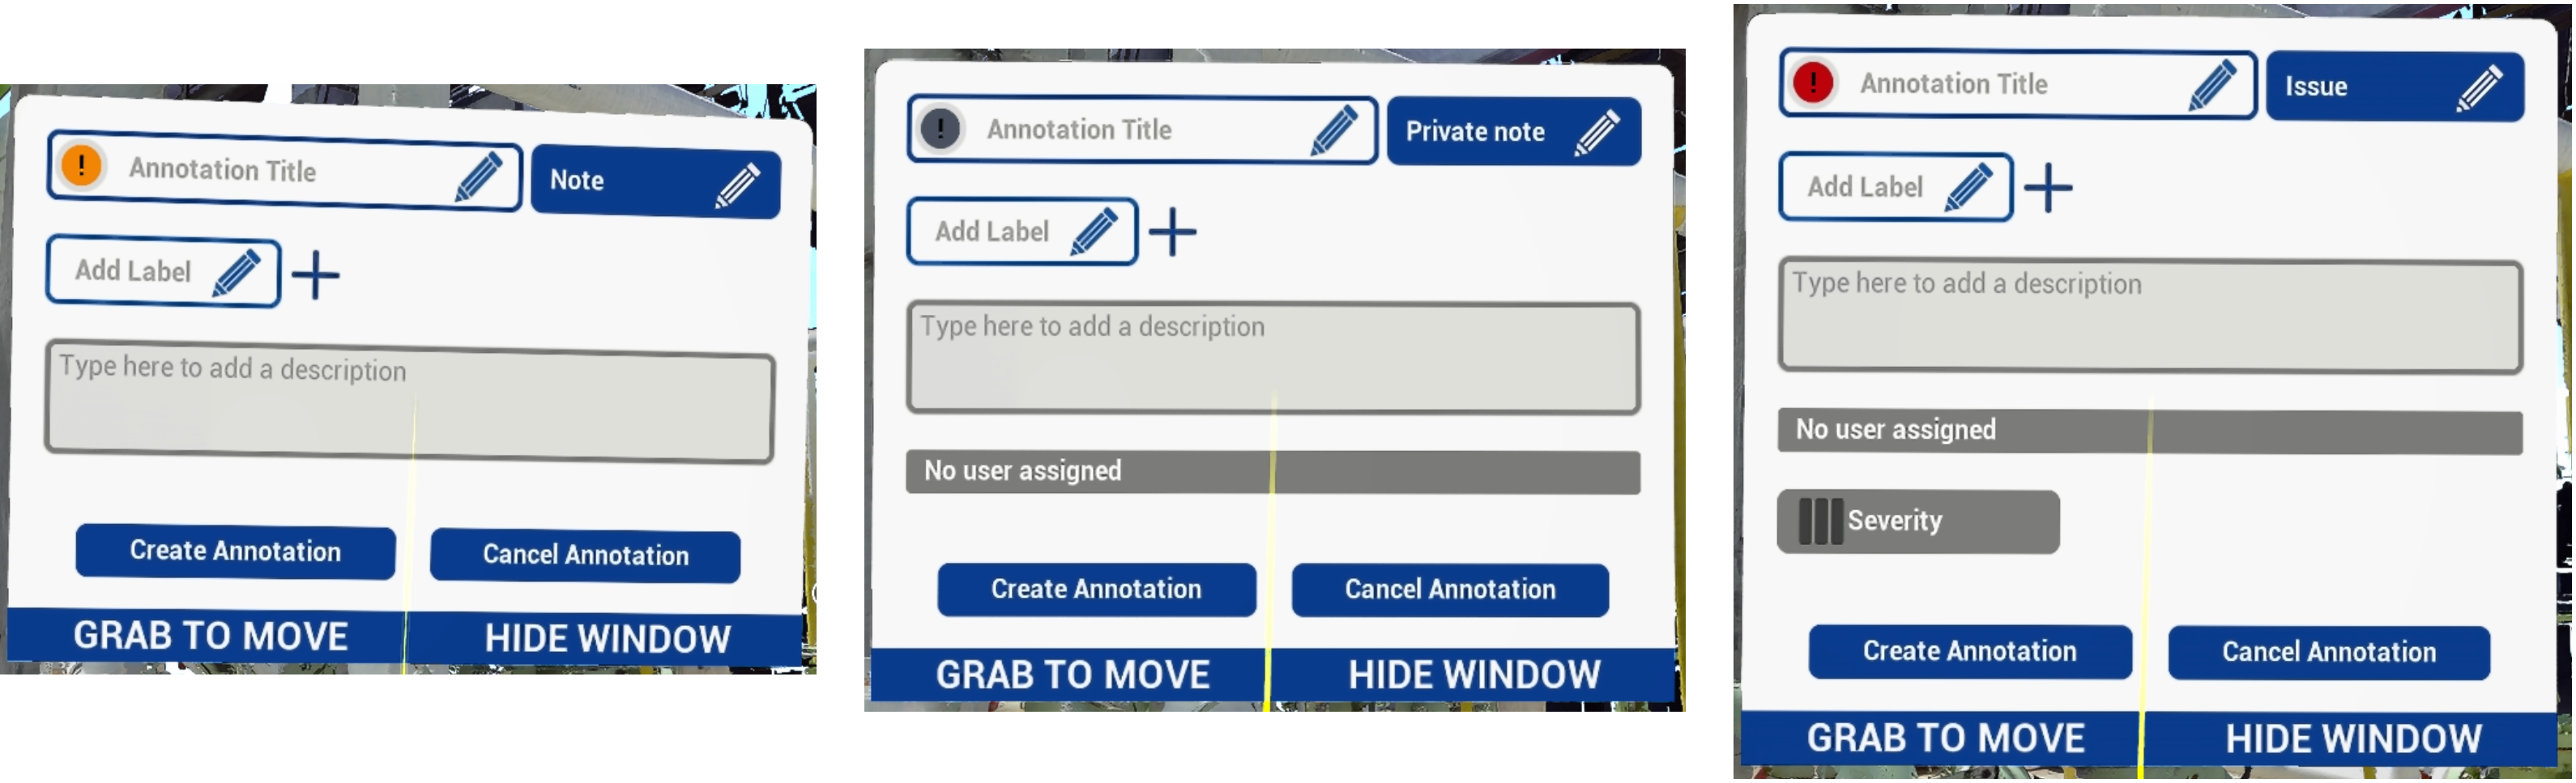
In the menu opened insert the following parameters:
- Type using drop-down menu
- Annotation Title by pressing on blue pencil icon
- Labels - add multiple labels if necessary, using '+' once set with pencil icon
- Description by pressing within the field
- Severity (only for Issues) - Low, Medium, High, Critical.
- Assigned to (only for Private Notes) - enter private message recipient
Validation follows web app rules - if a required field is missing, a warning is shown and annotation is not created until it is fixed. If creation fails, an error is shown. Annotation Title and Description are required, the rest is optional.
To finish the process click Create annotation. Once clicked, annotation is sent automatically to Cintoo project and after a short timeout it will be visible from Web Application. To abort the operation click Cancel annotation.
Draft Mode
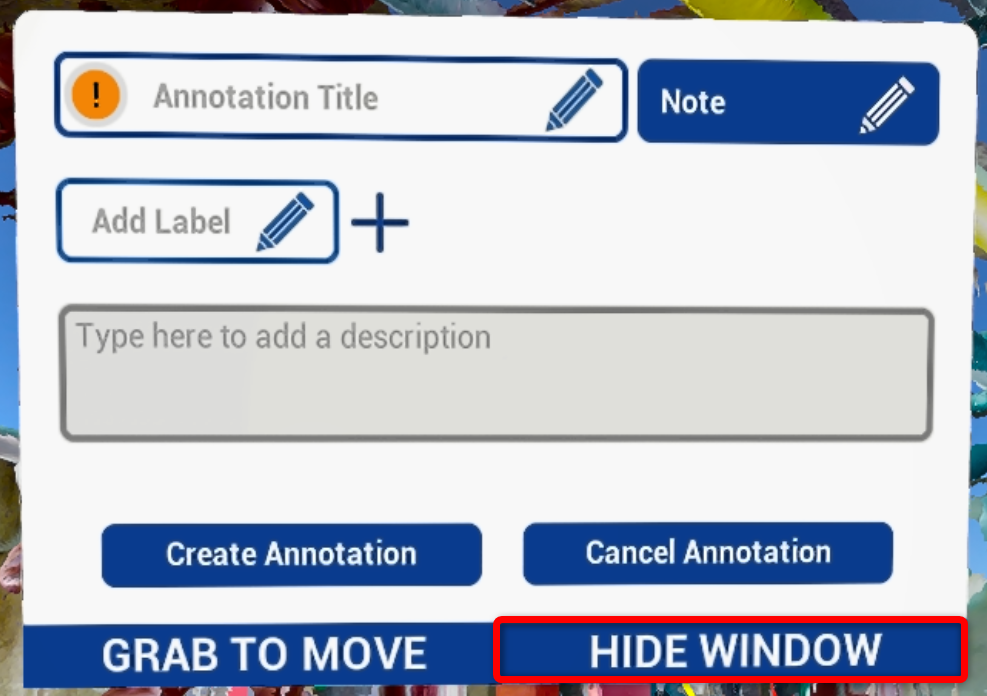
Click Hide Window before creating annotation to close creation menu - annotation stays in list as a draft. Several drafts can be kept at once. All annotations in draft mode are not created and not pushed to Cintoo!
Annotations in this status have a Draft label in the list to be distinguished.
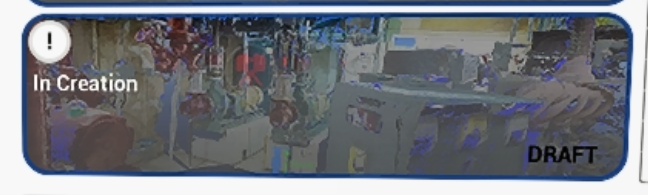
To finish annotation creation, reopen a draft - click it in Annotations list, which also teleports to it, or click on a white exclamation mark icon in 3D space.
Drafts are kept when annotations are fetched, refreshed or turned off. To remove a draft, open it and click Cancel annotation.
If any new annotations were created in Cintoo project since Fetch from the cloud was pushed, clicking Refresh will populate the updated list.
Edit and Comment Annotations
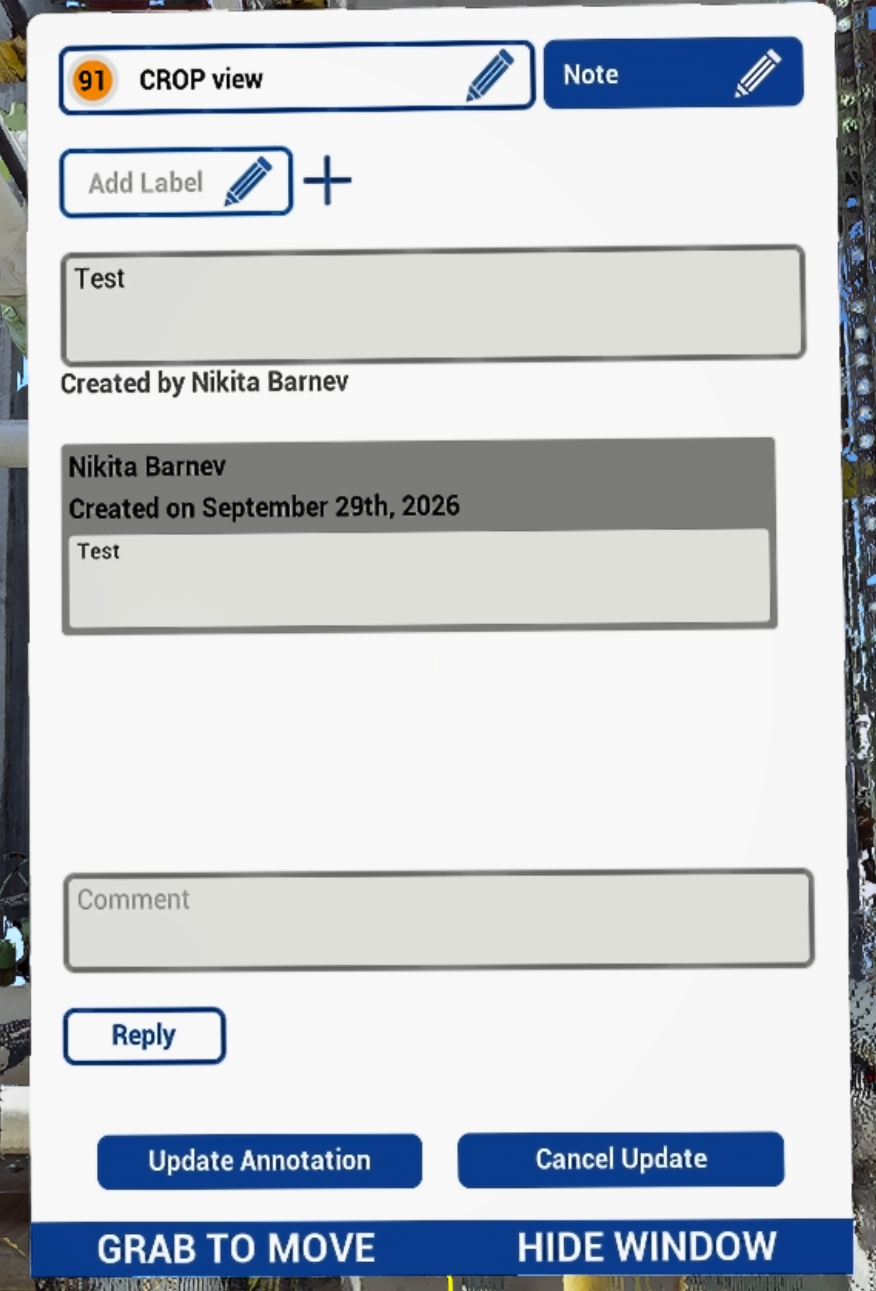
Click on any annotation in 3D space to open editing menu where it is possible to:
- Comment on an annotation - to submit a comment click Reply. Each comment shows its explicit date
- Change type between Note, Issue and Private Note
- Change Severity (for Issues)
- Change Assigned to (for Private Notes and Issues)
- Change Annotation Title
- Remove or add Labels - click '+' to add, click cross to remove
- Hide Window - closes the window
- Cancel update - removes all the changes except comments within this session
To validate changes, press Update Annotation button, otherwise all changes will be lost!
It's possible to update annotations while in Exocentric scale.
Desktop Mode
Annotations can also be reviewed and created in Desktop mode, without entering VR.
Annotations Explorer sits on right side of screen and works same way as Annotations tab in VR - fetch or refresh annotations from there to get latest list.
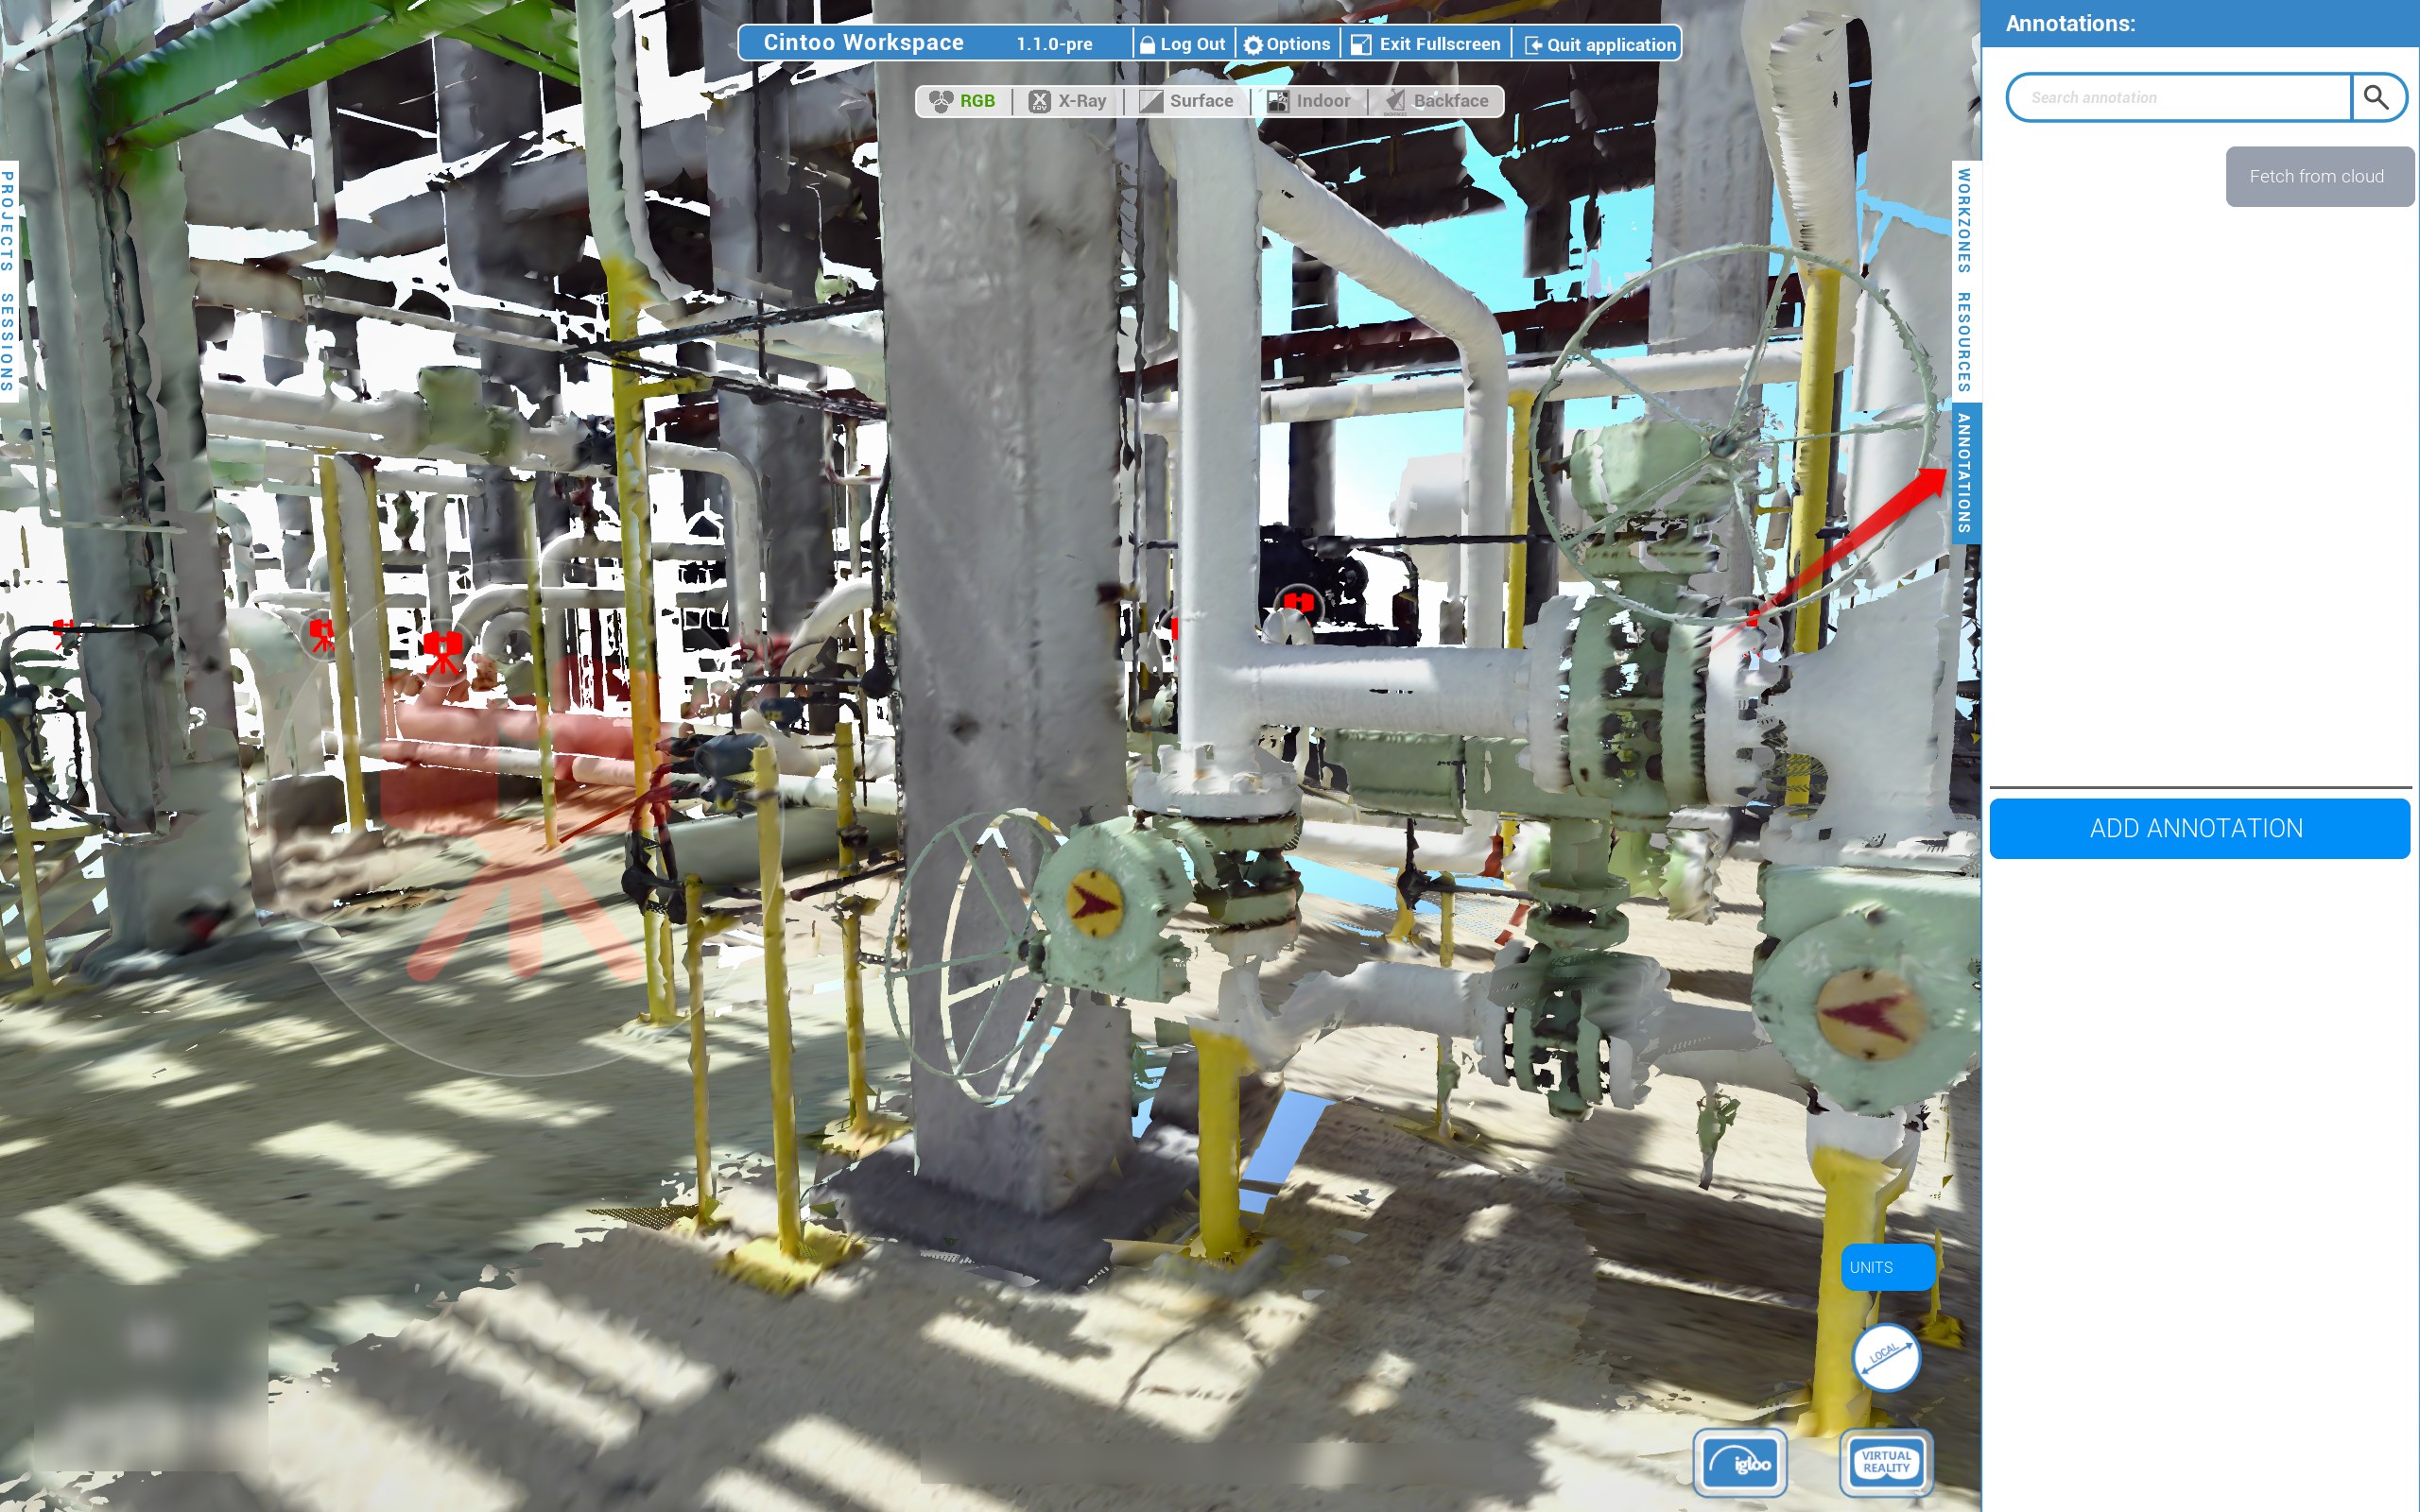
To create an annotation:
- Click Add Annotation
- Aim placement laser at target location
- Press J or Up arrow key to extend laser, K or Down arrow key to shrink it
- Press Enter to confirm position
- Fill in annotation fields as described in Create Annotation, then create annotation or keep it as a draft - see Draft Mode
Placement laser has no separate quit option - to stop adding an annotation, press Enter to confirm position, then cancel it from annotation menu.
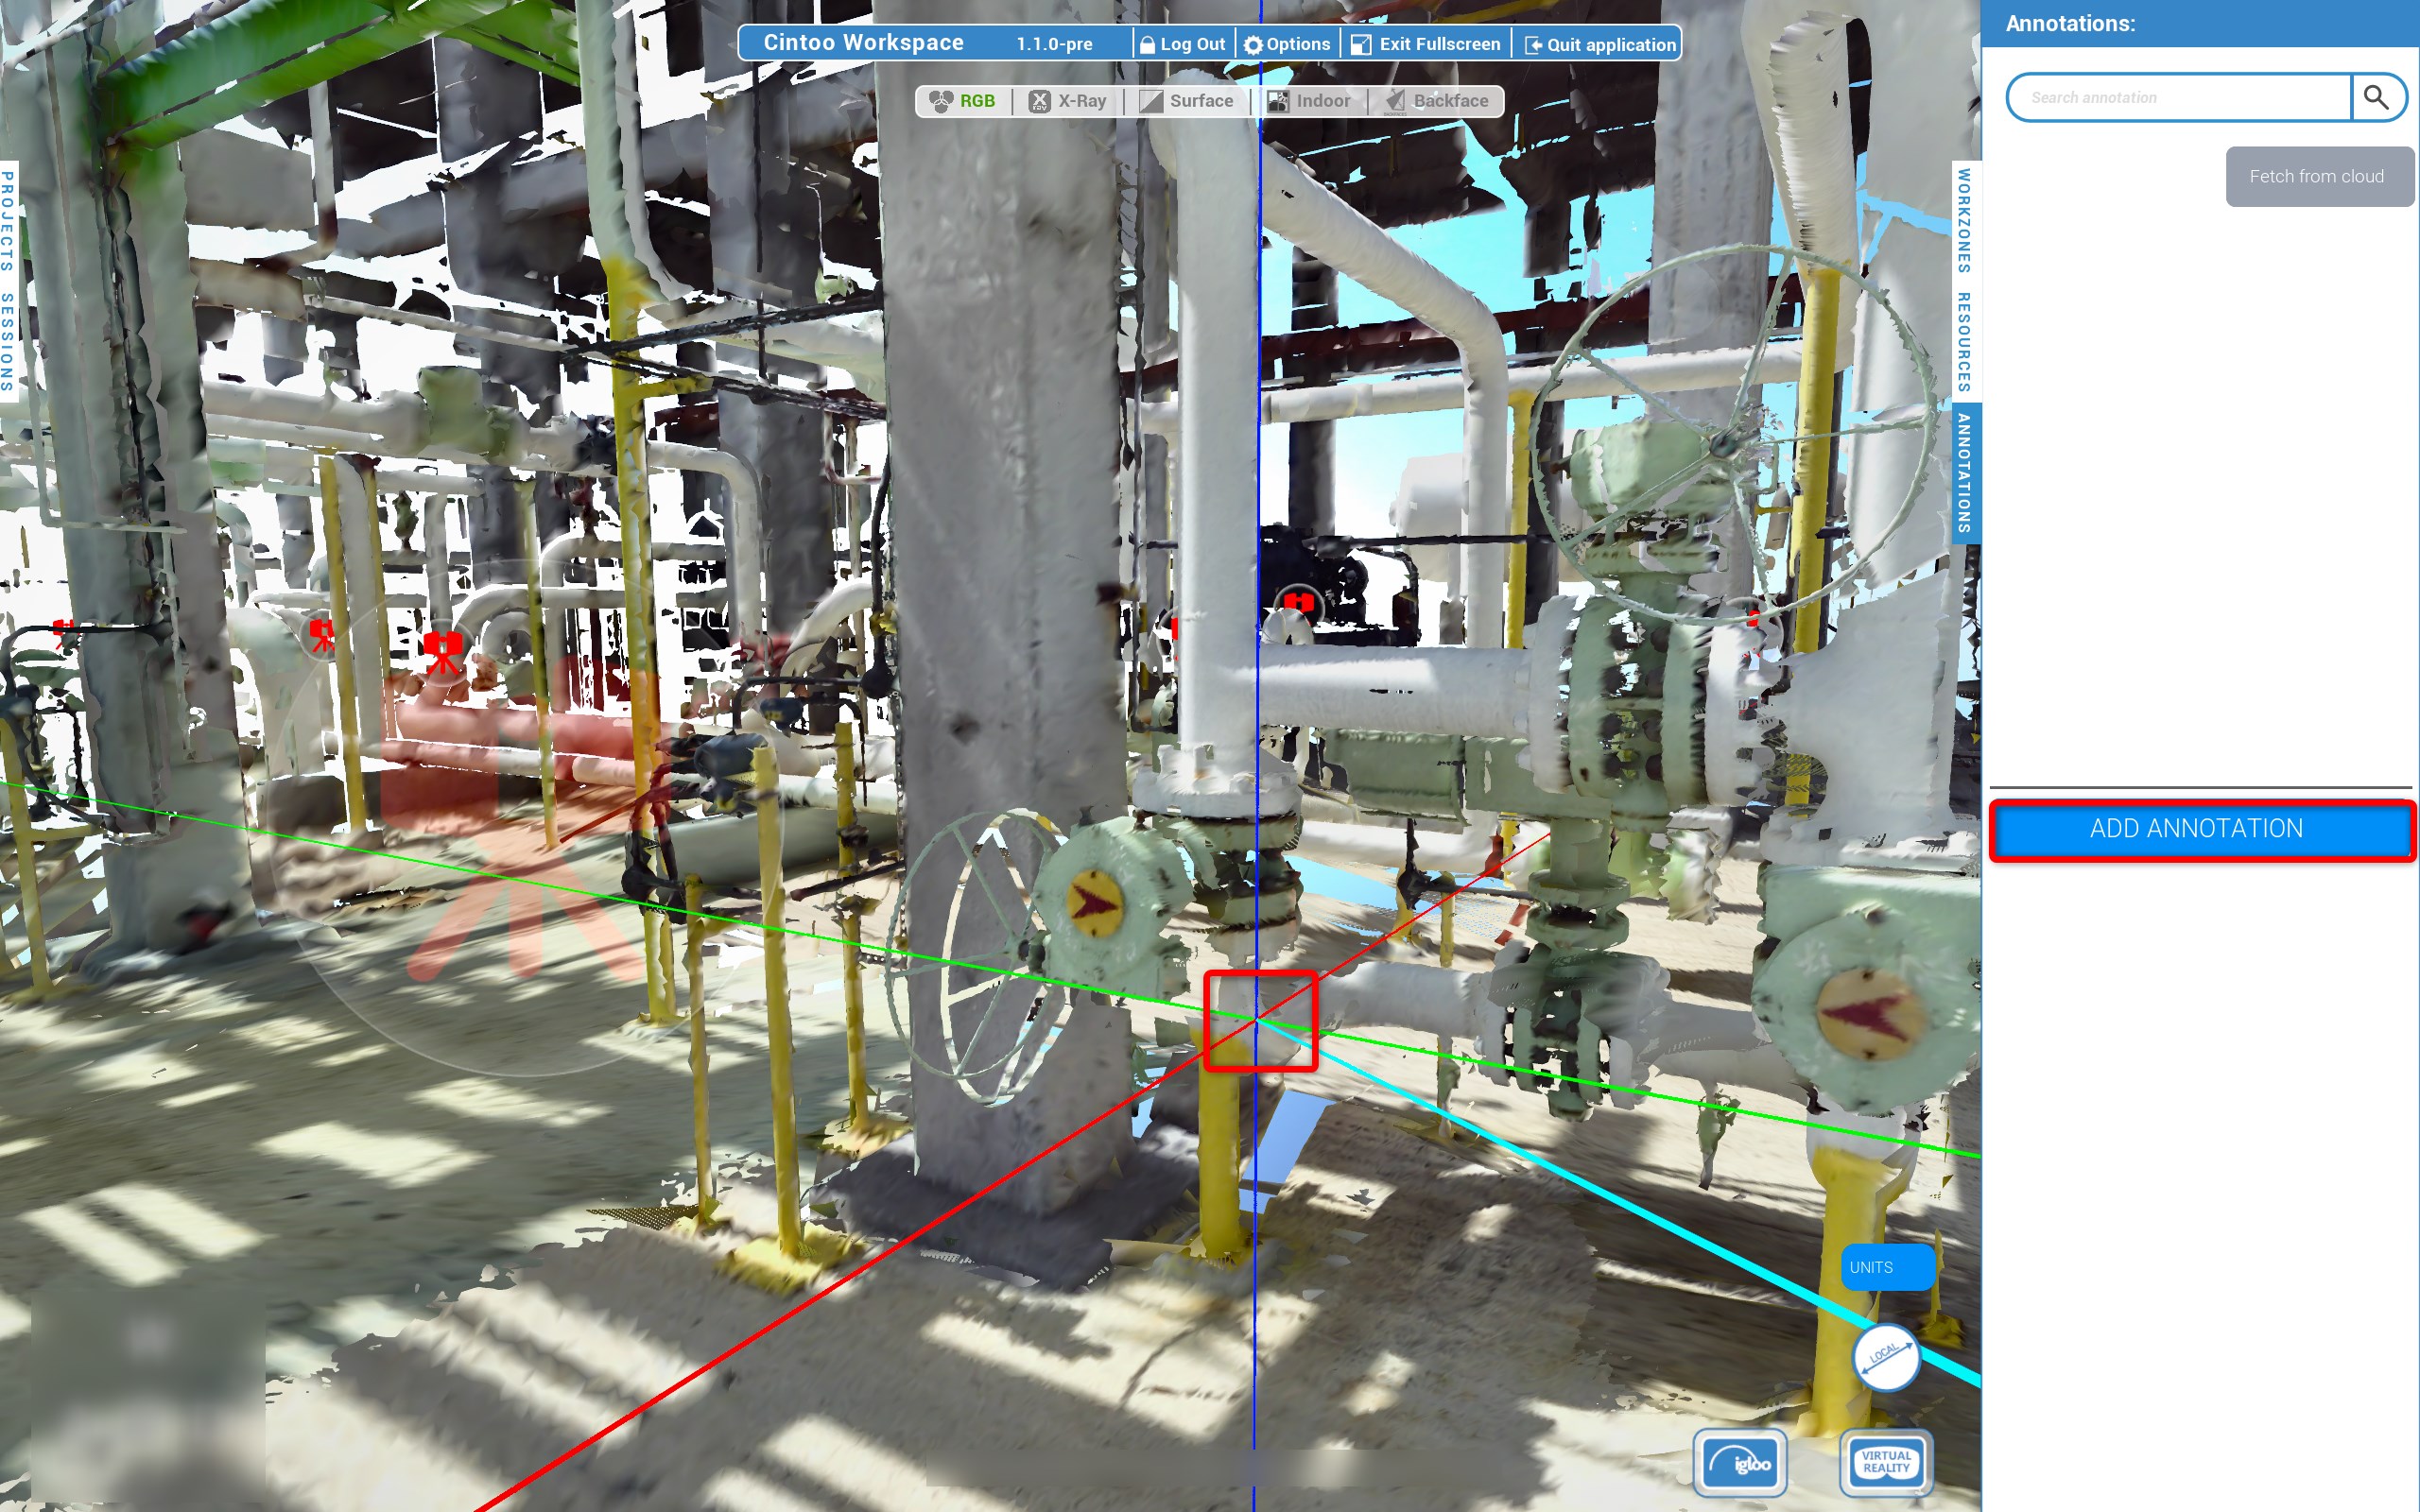
Click an annotation entry in Annotations Explorer to open it and go to its location, or click its bubble in 3D scene to open it.
Switching between Desktop mode and VR does not interrupt work:
- Fetched annotations carry over - no need to fetch them again
- Drafts are kept
- An open annotation pop-up is closed on switch
Annotations in a Multi-User Session
In a multi-user session with a Leader:
- When Leader fetches or refreshes annotations, annotation list of Participants is refreshed too
- When Leader opens an annotation - by clicking it in Annotations list, which also teleports there, or its bubble in 3D view - its details open for Participants too. Users are not affected. Descriptions of several opened annotations are stacked
- When a Participant pushes an annotation, Leader gets a discreet notification in session chat
- Drafts stay local - only pushed annotations are shared
In a session without a Leader, everyone uses annotation features freely.
Was this article helpful?
That’s Great!
Thank you for your feedback
Sorry! We couldn't be helpful
Thank you for your feedback
Feedback sent
We appreciate your effort and will try to fix the article