This quick guide covers every step from a first launch of Cintoo Workspace to exploring scans in real time and meeting colleagues inside a project in a multi-user session. Desktop and VR users join same session and collaborate in real time. Every session tool is described in detail in Multi-User Collaboration.
TABLE OF CONTENTS
Install Cintoo Workspace
- Complete Cintoo Workspace request form and click Get Cintoo Workspace.
- Open email with subject line Download the app and click link in it to download Windows installer.
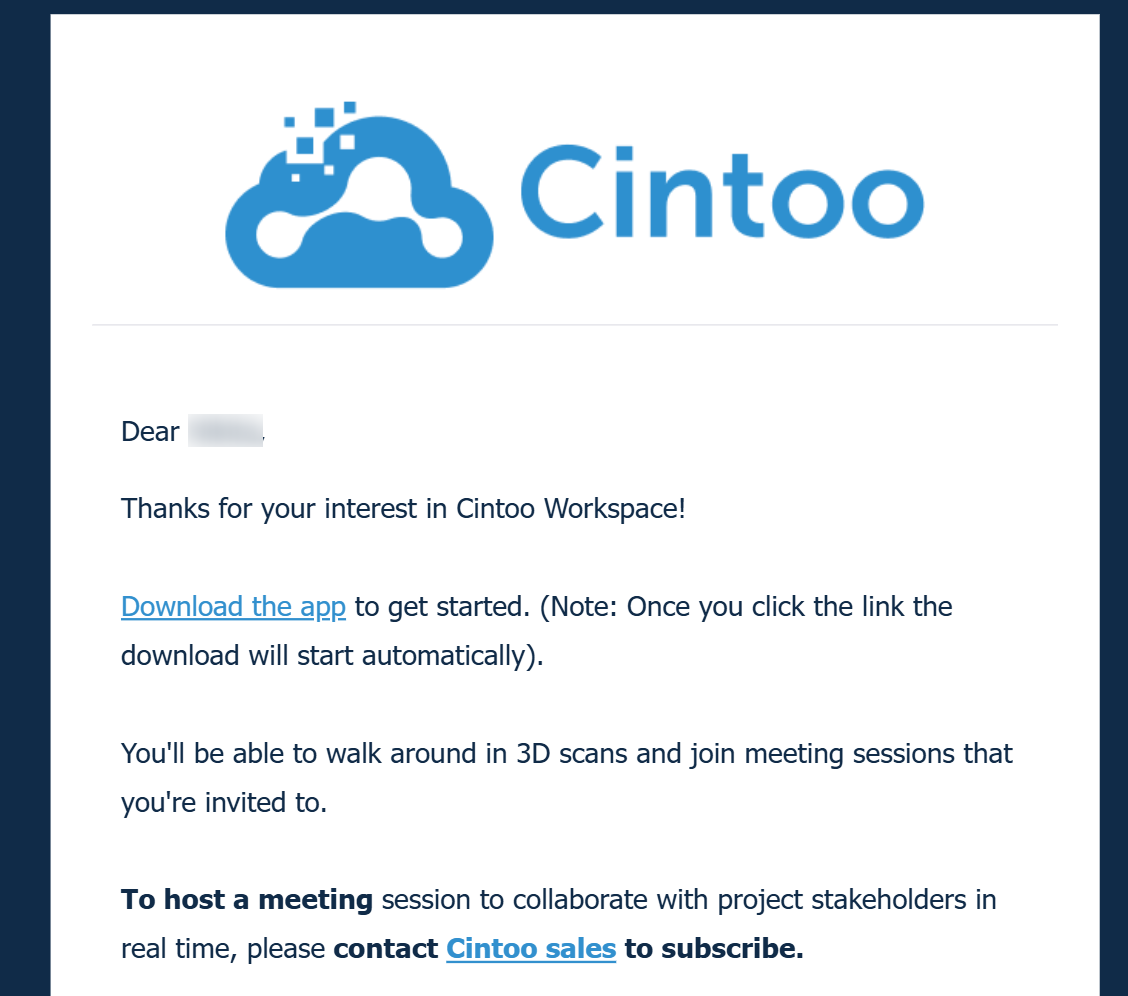
- Run installer, follow standard Windows installation process, then launch Cintoo Workspace. More details in Download and Install Cintoo Workspace.Note: Cintoo Workspace is an online application - internet connection and a signed-in Cintoo account are required. Recommended PC setup is described in Cintoo Workspace Specs & Performance.
Explore Scans in Real Time
Explore project scans alone, on Desktop or in VR, without starting a session. Pick a workflow below - each step links to its detailed description.
Explore on Desktop
- Sign in, click Projects tab on the left and choose a project.
- Activate scans and models in Workzones and Resources tabs.
- Navigate from scan to scan or fly freely in 3D space, and switch views from Display Modes Panel.
- Adjust visual and scans quality in Options menu.
Explore in VR
- Prepare headset following Setup VR headset and connect it to PC.
- Open a project on Desktop, then click Virtual Reality in low right corner to start streaming to headset.
- Learn controller buttons with Control Tips.
- Move around by walking, teleporting or flying, and switch between egocentric and exocentric scale.
Work with Scans and Models
With a project open, on Desktop or in VR:
- measure distances in scans
- upload and create annotations
- discover and manage tags
- compare scans with CAD models
Join a Session
Create a Cintoo Account
Optional - this step is for users who have never used Cintoo. With a Cintoo account already in place, skip to Sign In.
Cintoo Workspace signs in with a Cintoo account and only lists projects that account can access. A new user gets both through a project invitation:
- Session host or project administrator invites new user to project from web app.
- Two emails are received - one with subject line "Cintoo: Username has invited you to join the team" and another with subject line "Cintoo: Username has invited you to Project Name".
- Open "Cintoo: Username has invited you to join the team" email and click Join The Team.
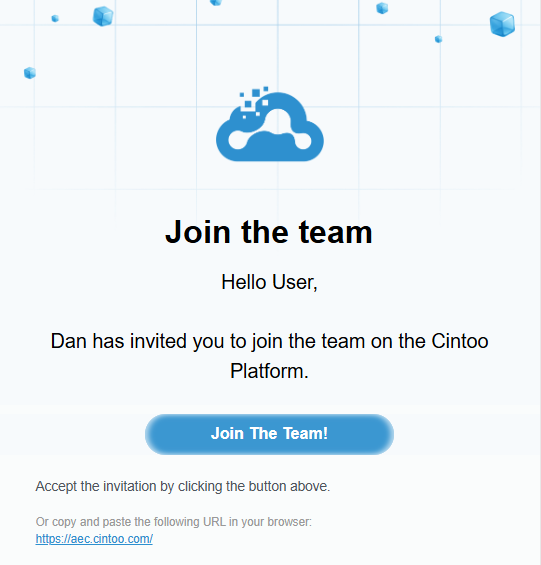
- Fill out form, accept Terms of Service and Privacy Policy, and click Join Now.

- Note Cintoo address shown in "Cintoo: Username has invited you to Project Name" email - eu.cintoo.cloud, us.cintoo.cloud, ca.cintoo.cloud or a custom company domain. Same address is used as Targeted tenant when signing in to Cintoo Workspace.Note: if emails from Cintoo do not arrive, check Spam or Junk folder. Full account creation steps are in Accessing Cintoo for the First Time - Project Invitation.
Sign In
- In starting menu, set Targeted tenant to Cintoo address from invitation email - eu.cintoo.cloud, us.cintoo.cloud, ca.cintoo.cloud or [company name].cintoo.cloud.
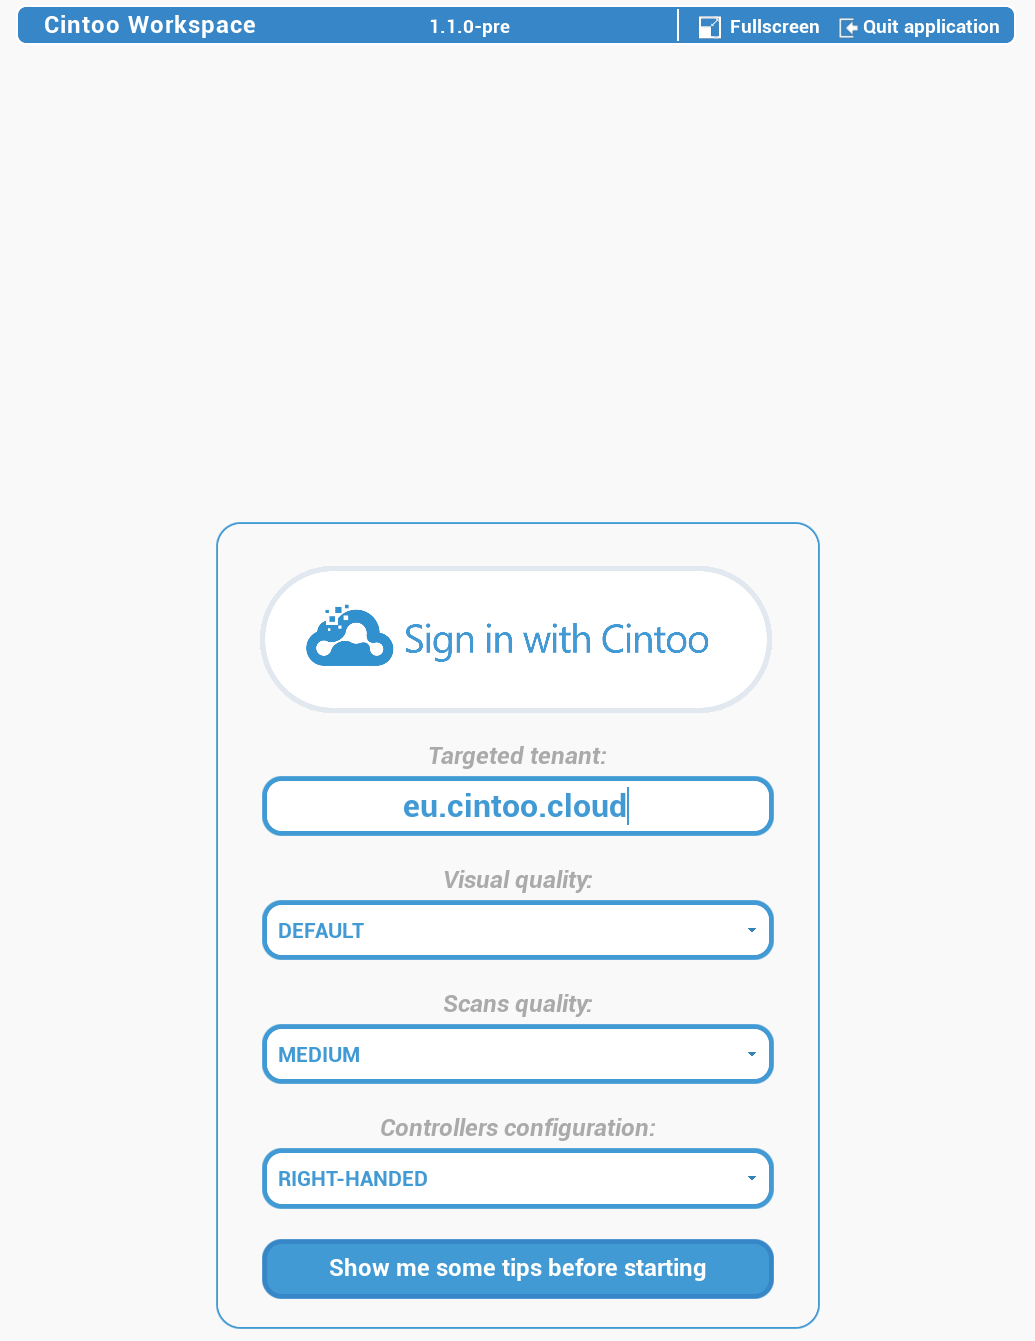
- Click Sign in with Cintoo. Cintoo login page opens in browser - enter same credentials as in Cintoo web app.
- In Authorize application dialog, click Allow, then return to Cintoo Workspace.
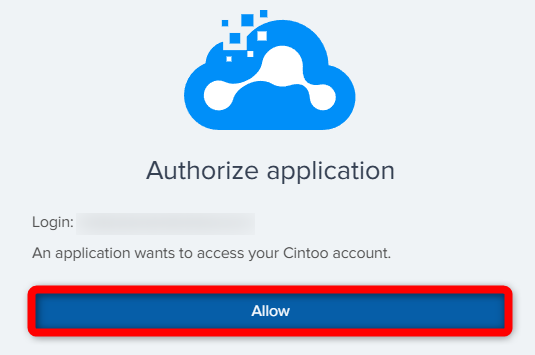 Note: a project used in a session must be accessible to Cintoo account - access is managed in Cintoo web app by project administrator. A user just added to a project must sign out of Cintoo Workspace and sign back in - project list is refreshed at login only.
Enter Session ID
- Open Sessions tab.
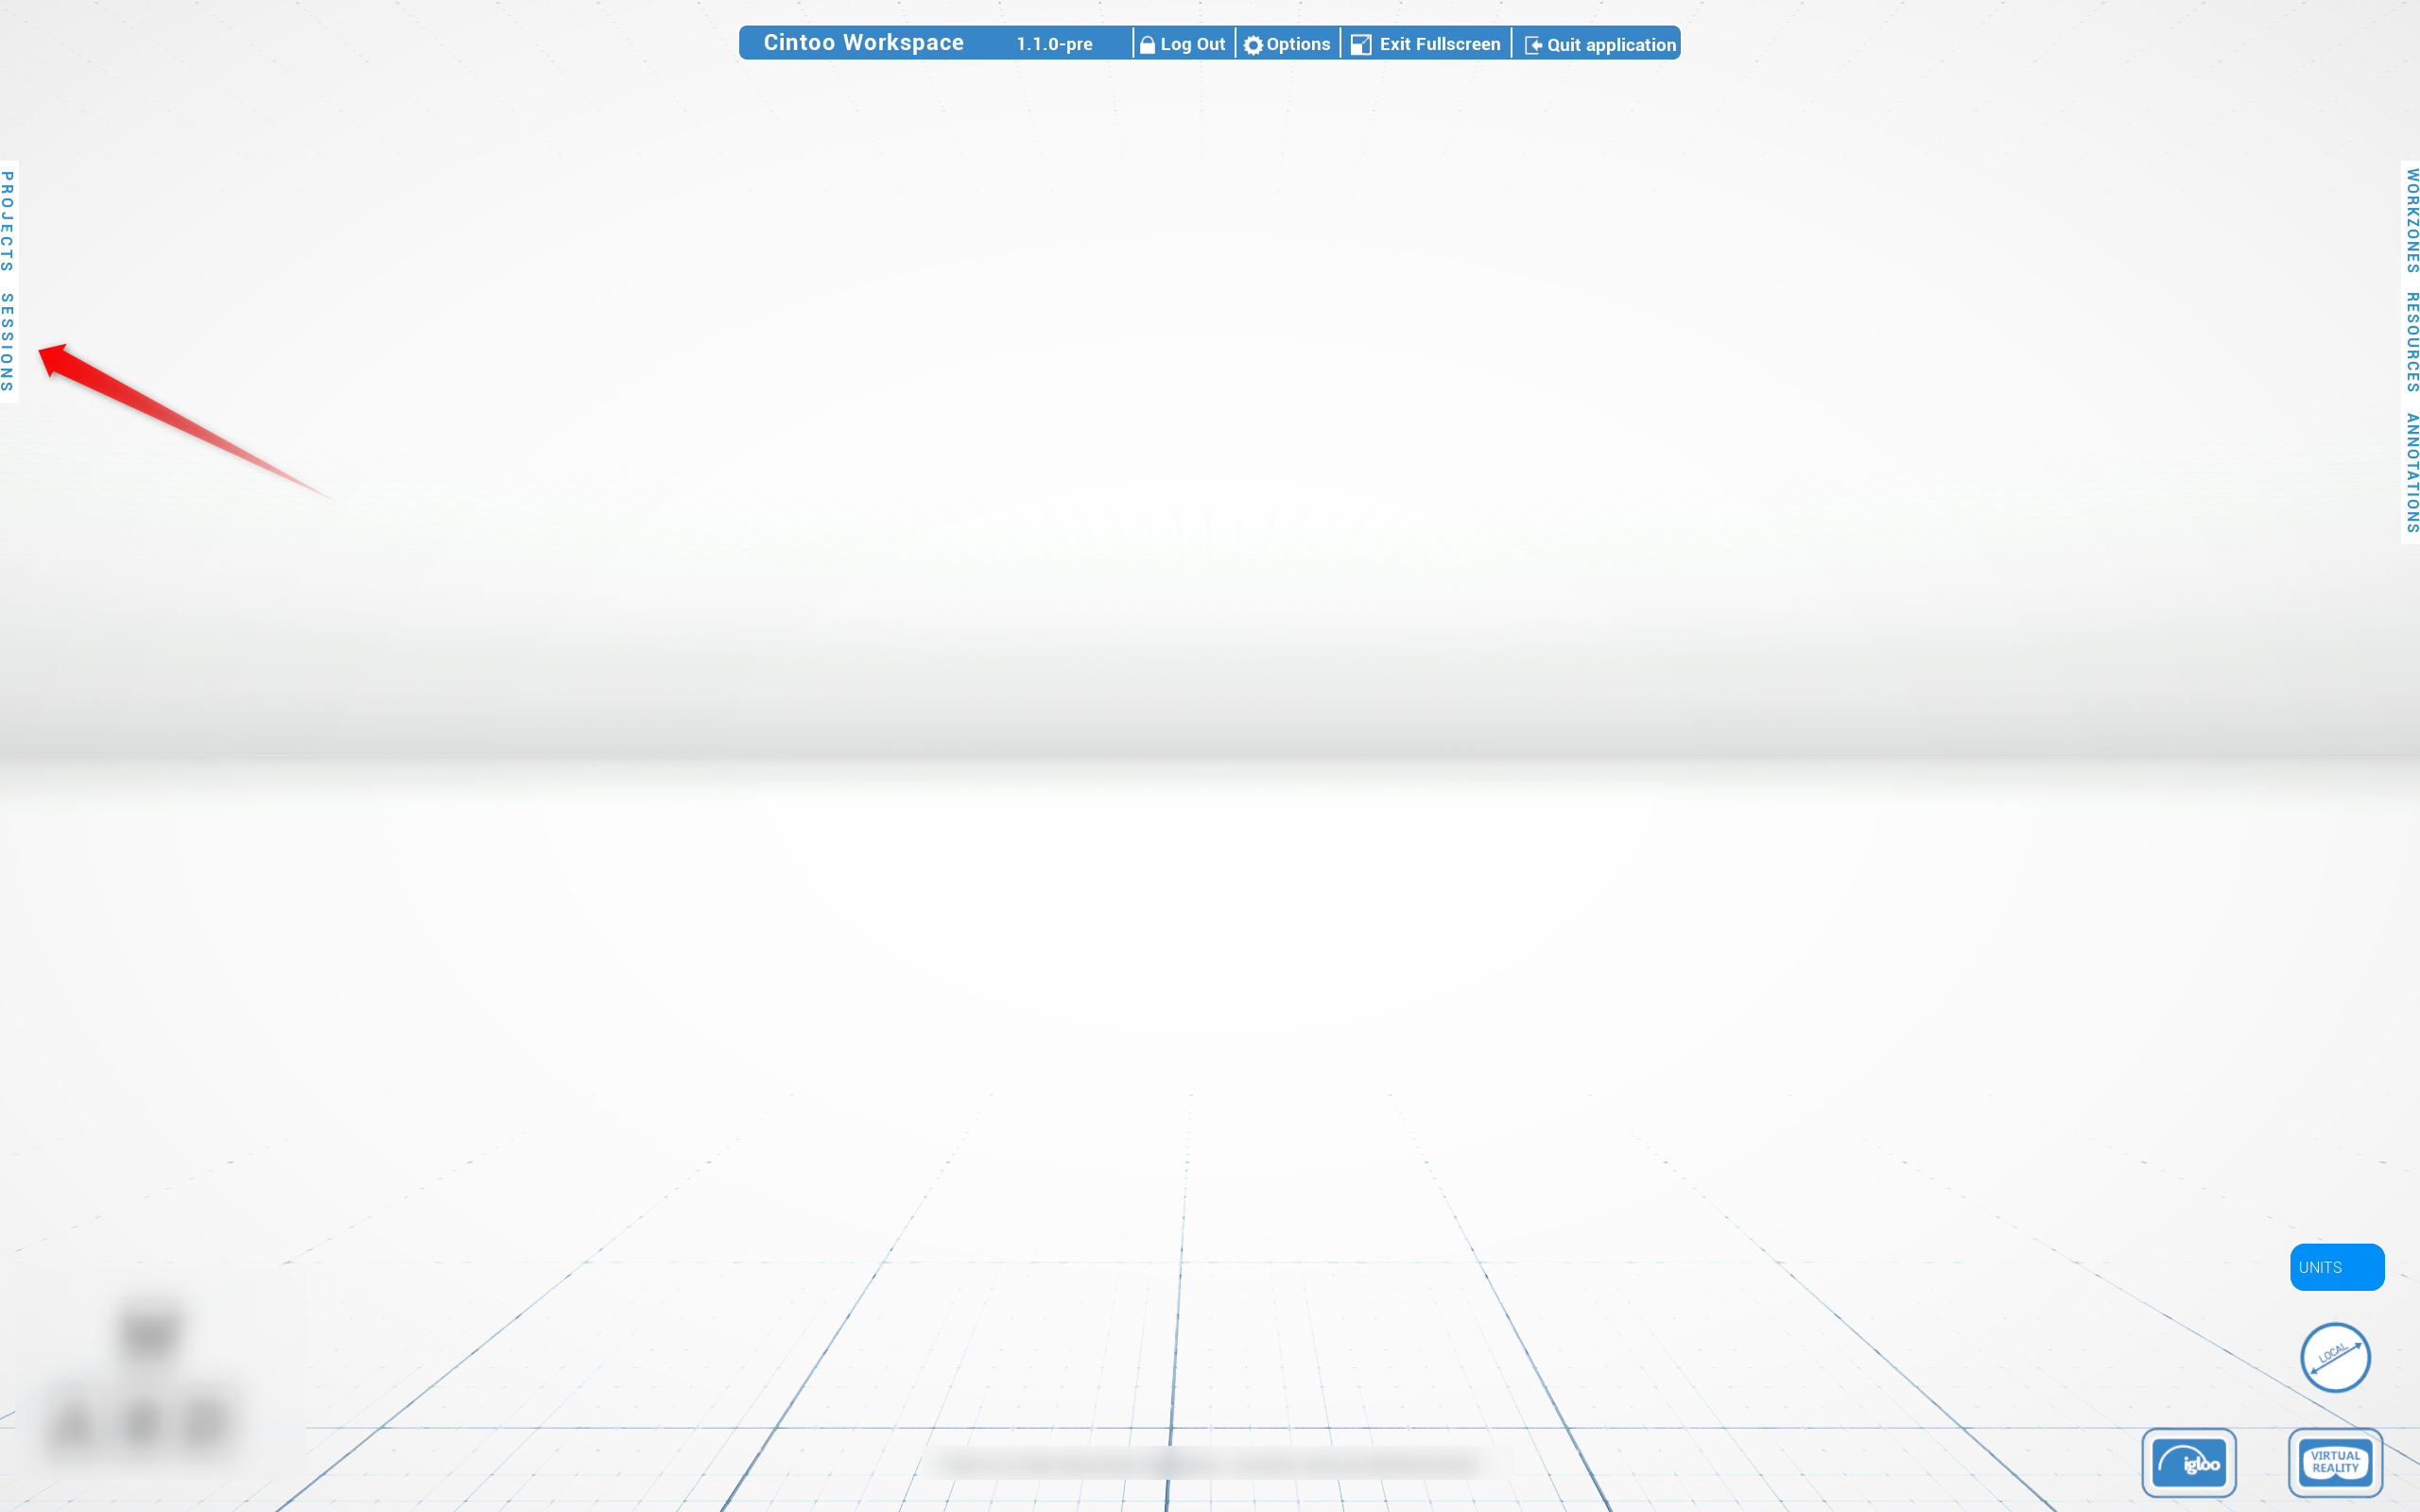
- Enter Username - obligatory step, saved between sessions
- Click Join Session
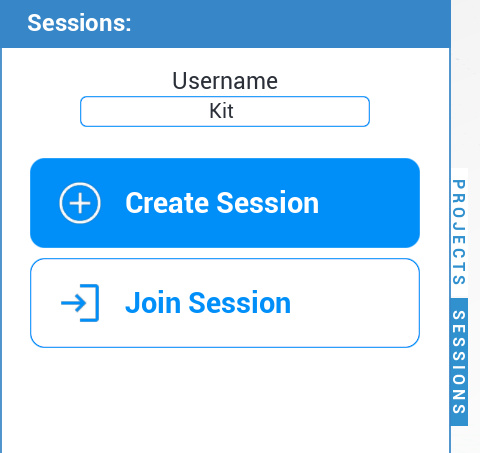
- Paste session ID shared by session host and click Join
Once connected, collaboration tools become available - avatars, text chat and voice chat, laser pointer, and guided collaboration with Lead, Gather and Follow.
Note: want more details? Check out how to leave a session in Multi-User Collaboration article.
Host a Session
- Make sure every participant already has access to project. There is no in-app way to invite a user to a project - invite them from web app first.
- Sign in to Cintoo Workspace.
- Click Projects tab on the left and choose a project. Once it opens, choose objects to activate in Workzones and Resources tabs.
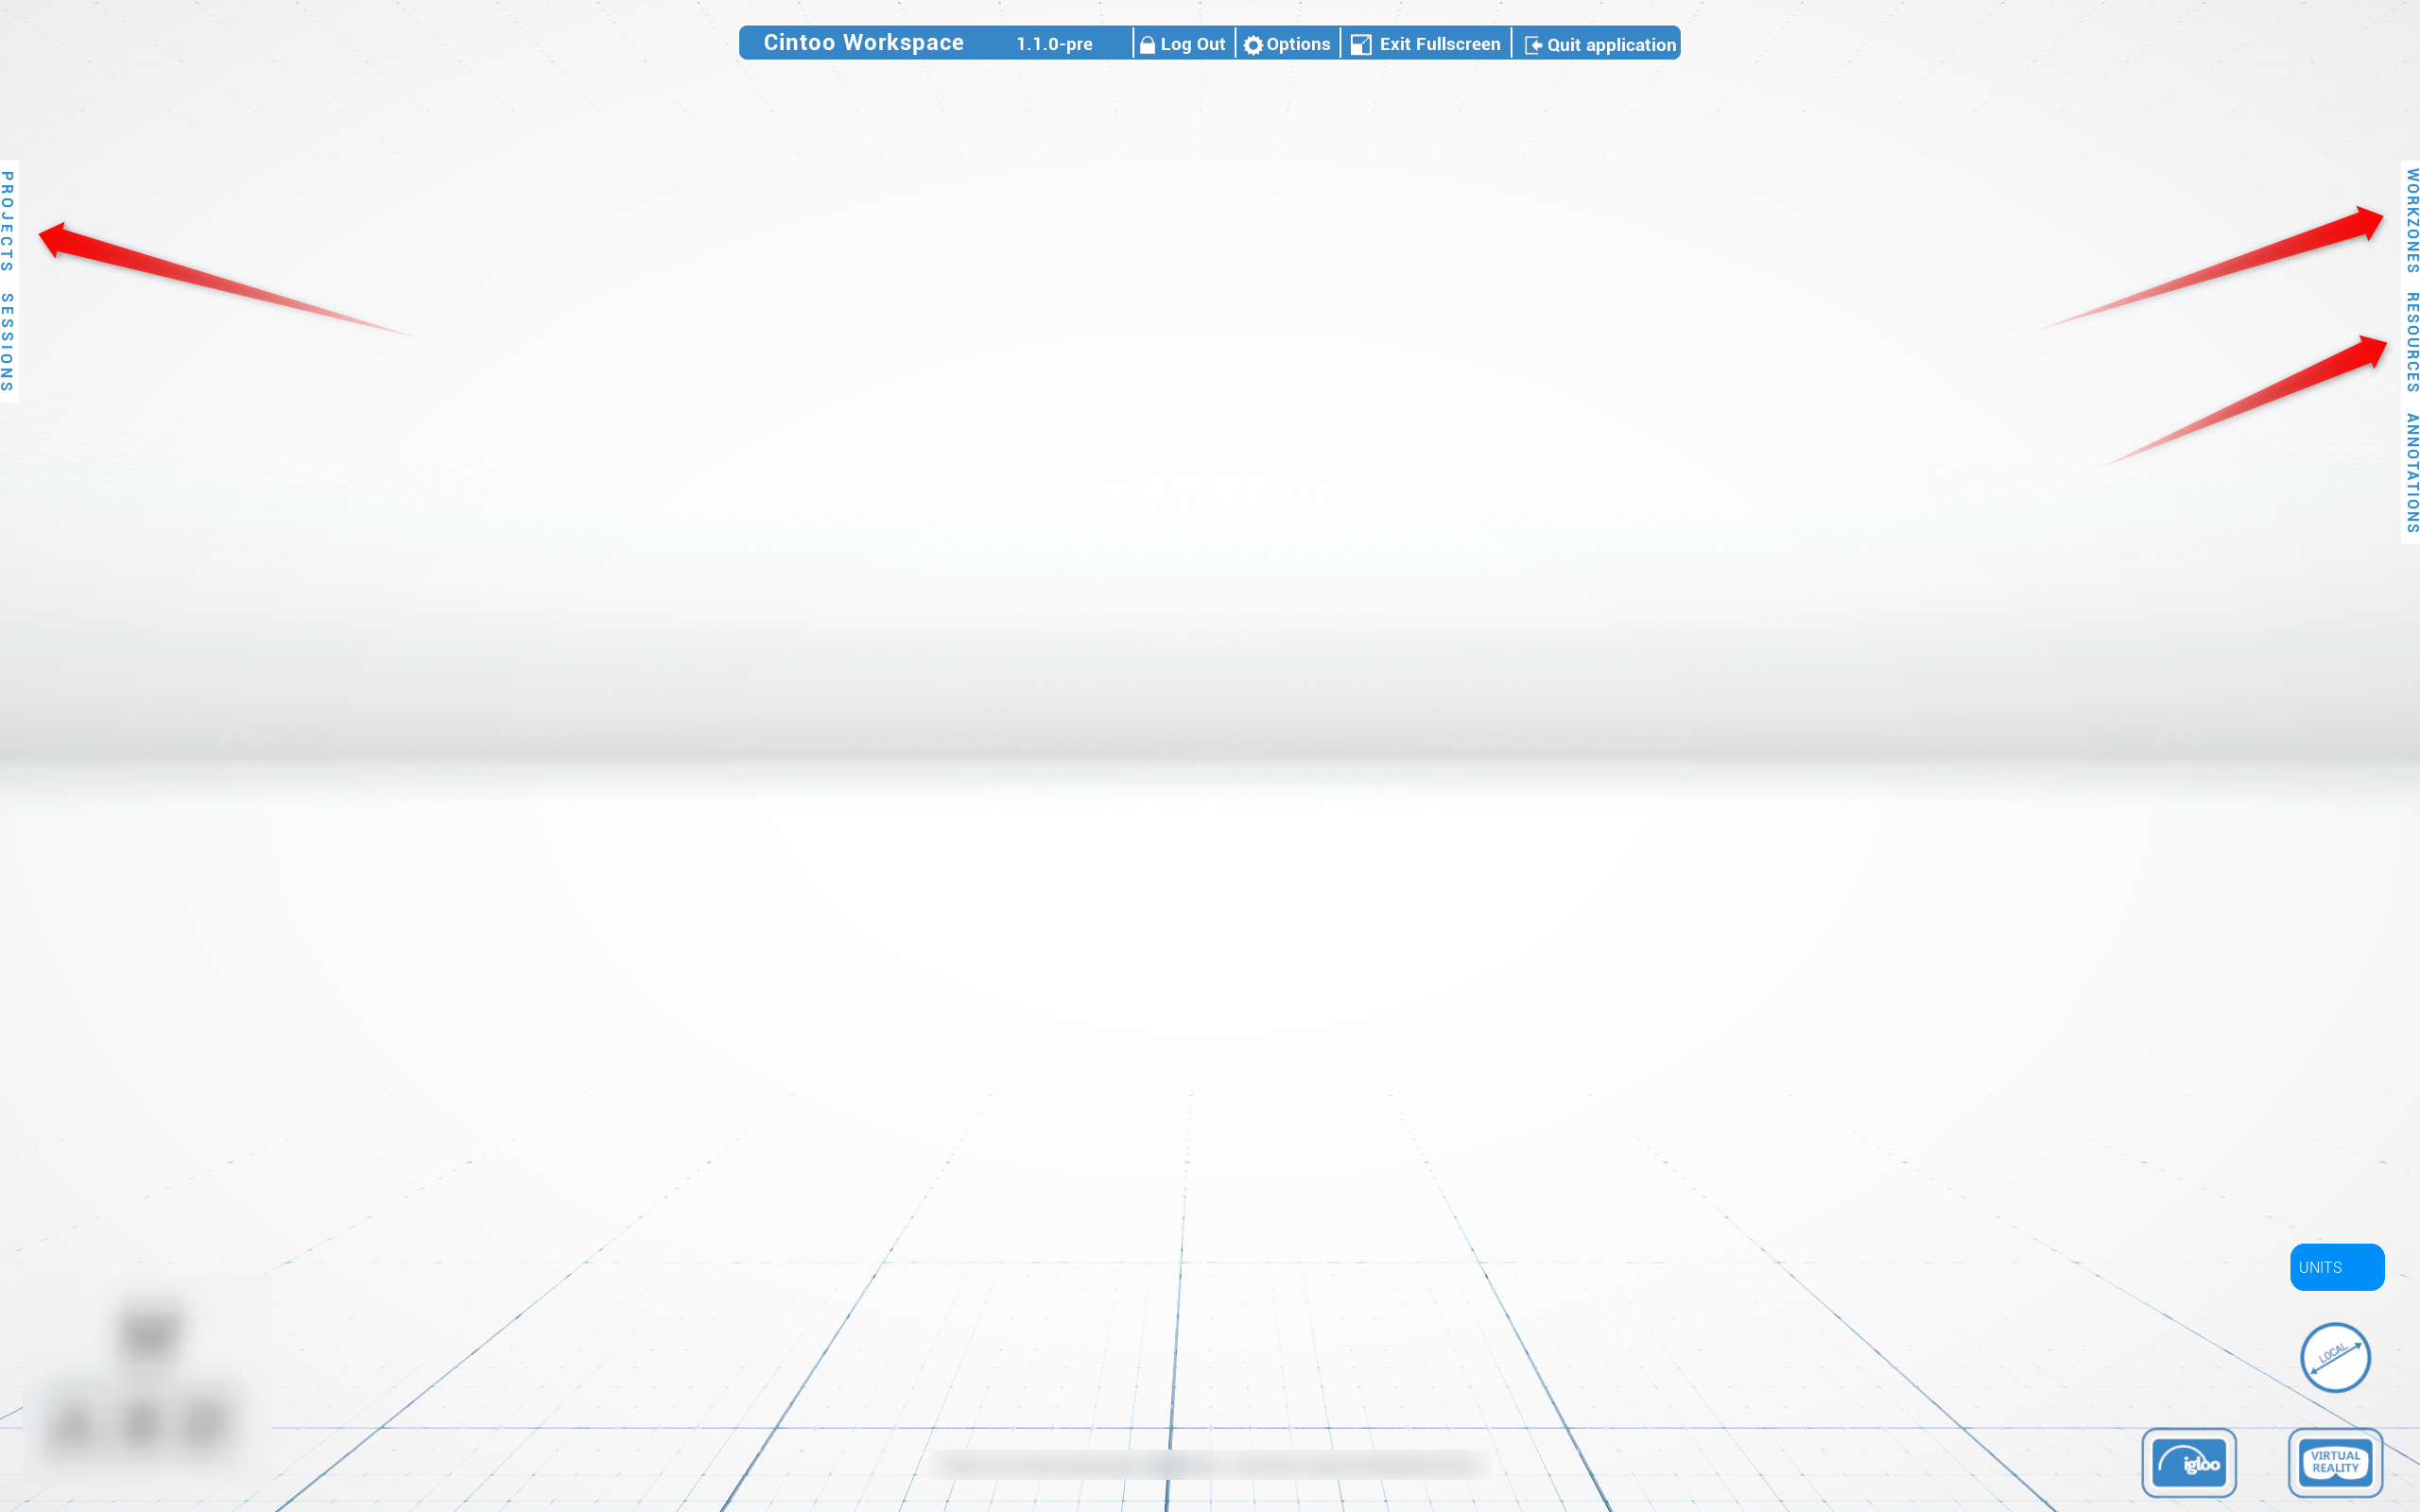
- Open Sessions tab, enter Username and click Create Session.
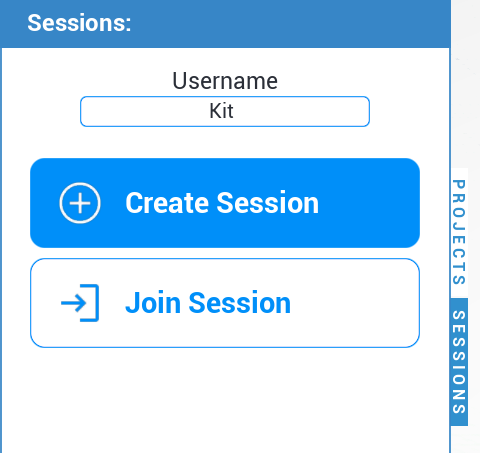
- Wait for creation confirmation. Connection to a new session is automatic.

- Copy session ID and share it with participants.
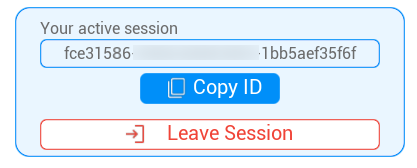 Note: a session lasts 6 hours. Session ID stays same for entire duration.Note: want more details? Check out how to guide participants as a Leader in Lead, Gather & Follow in Multi-User Collaboration article.
Was this article helpful?
That’s Great!
Thank you for your feedback
Sorry! We couldn't be helpful
Thank you for your feedback
Feedback sent
We appreciate your effort and will try to fix the article