This article explains difference between all kinds of measurements available and gives a quick overview on how to manage them in Cintoo Workspace application, in VR and in Desktop mode.
TABLE OF CONTENTS
- How to Open Measurements Menu
- Types of Measurements
- How to Place a Measurement
- Interaction with Existing Measurements
- Measurement Units
- Measurements in Desktop Mode
- Measurements in a Multi-User Session
How to Open Measurements Menu
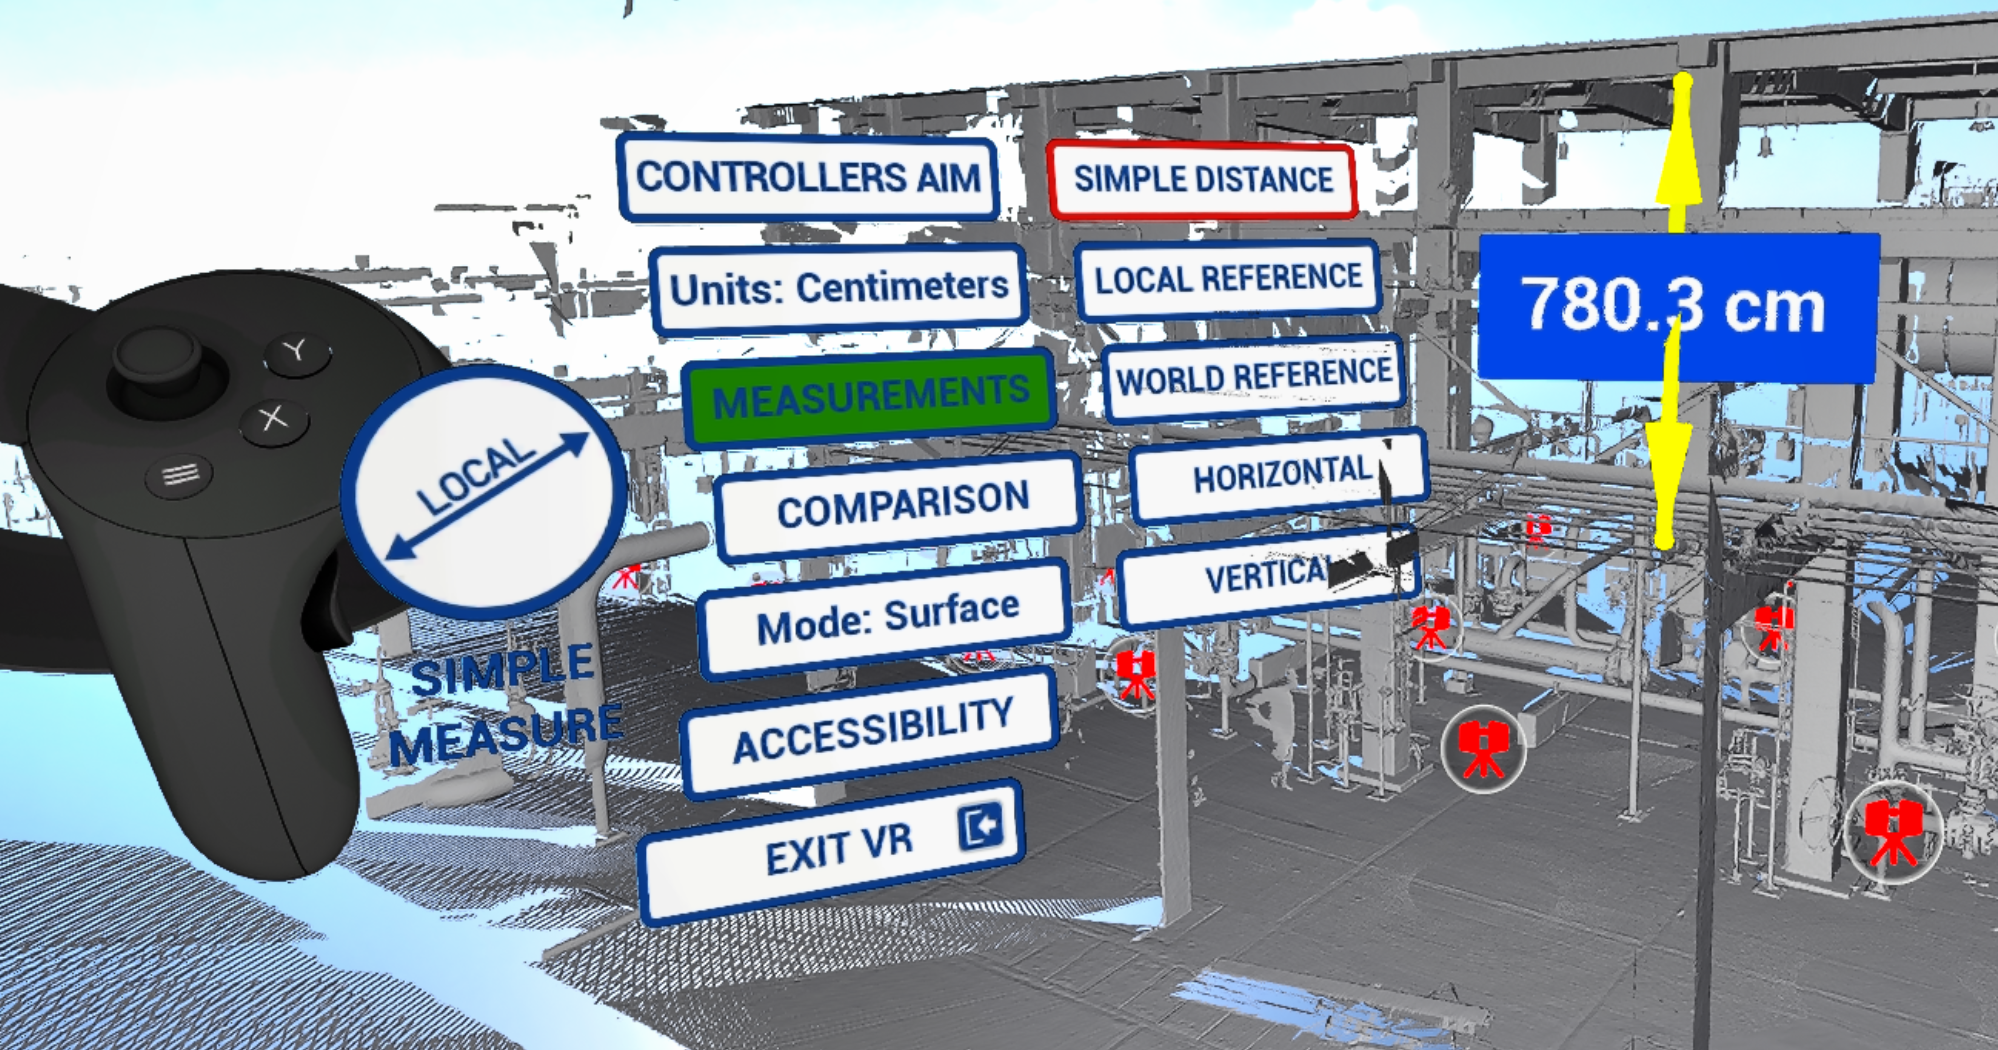
Press Y on Tools controller to open VR Tools menu. Select an entry by clicking it with Navigation controller, or move through entries with Tools controller joystick and select with Tools controller trigger - for example to open Measurements.
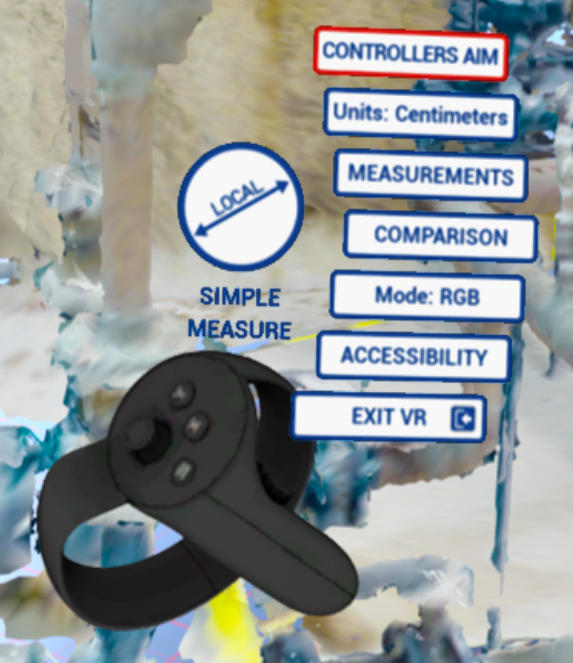
To activate measurements, select Measurements - green color indicates that measurements are visualized.
Types of Measurements
In Measurements menu find different ways of acquiring measurements:
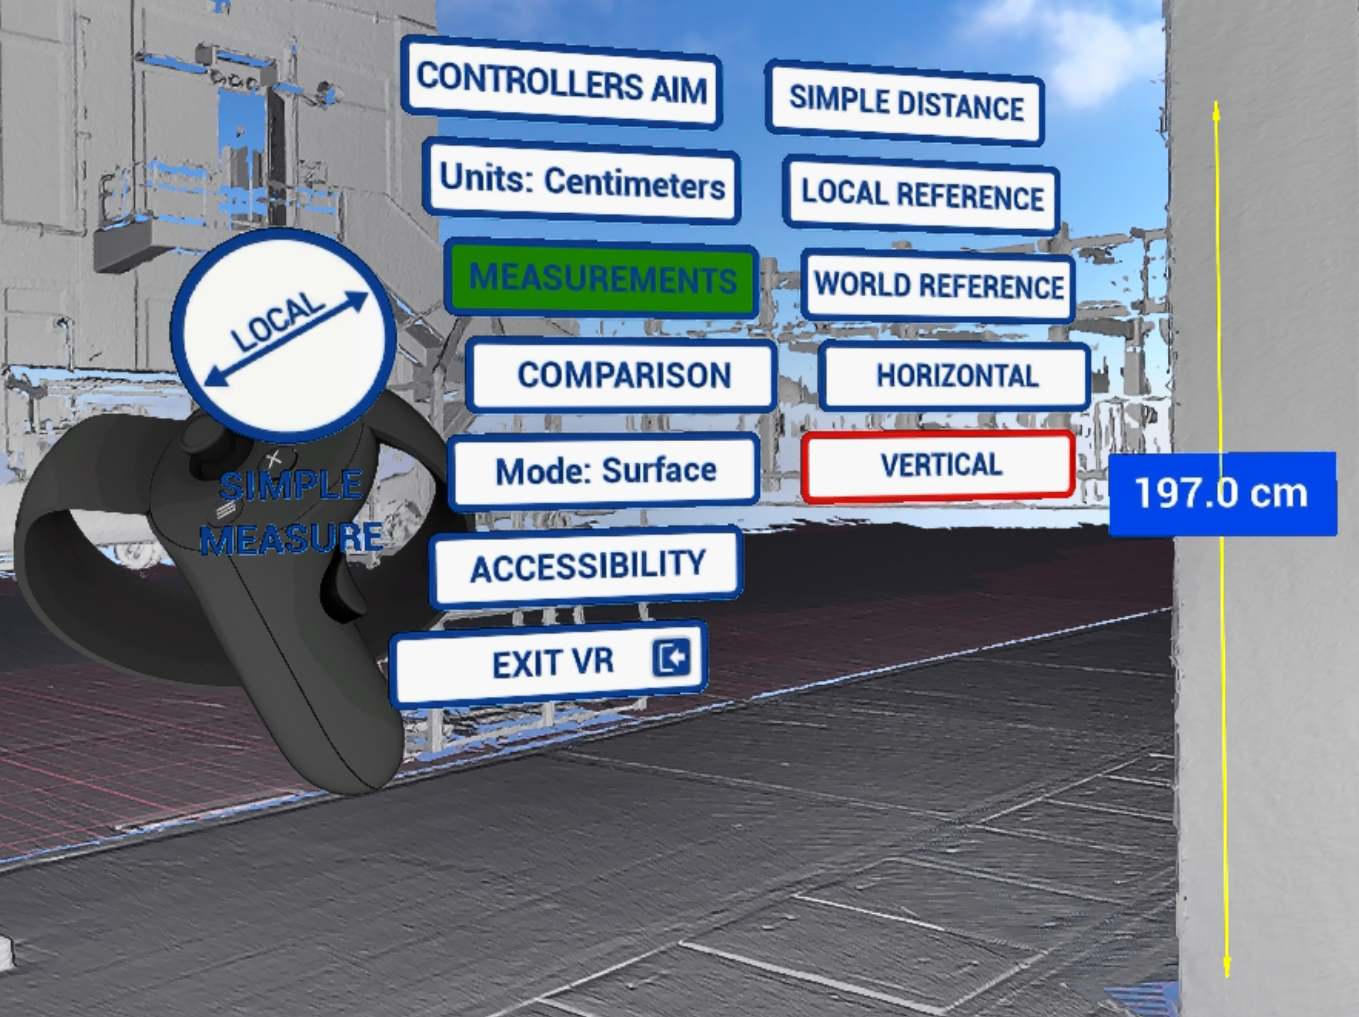
- Simple distance – distance from one point to another
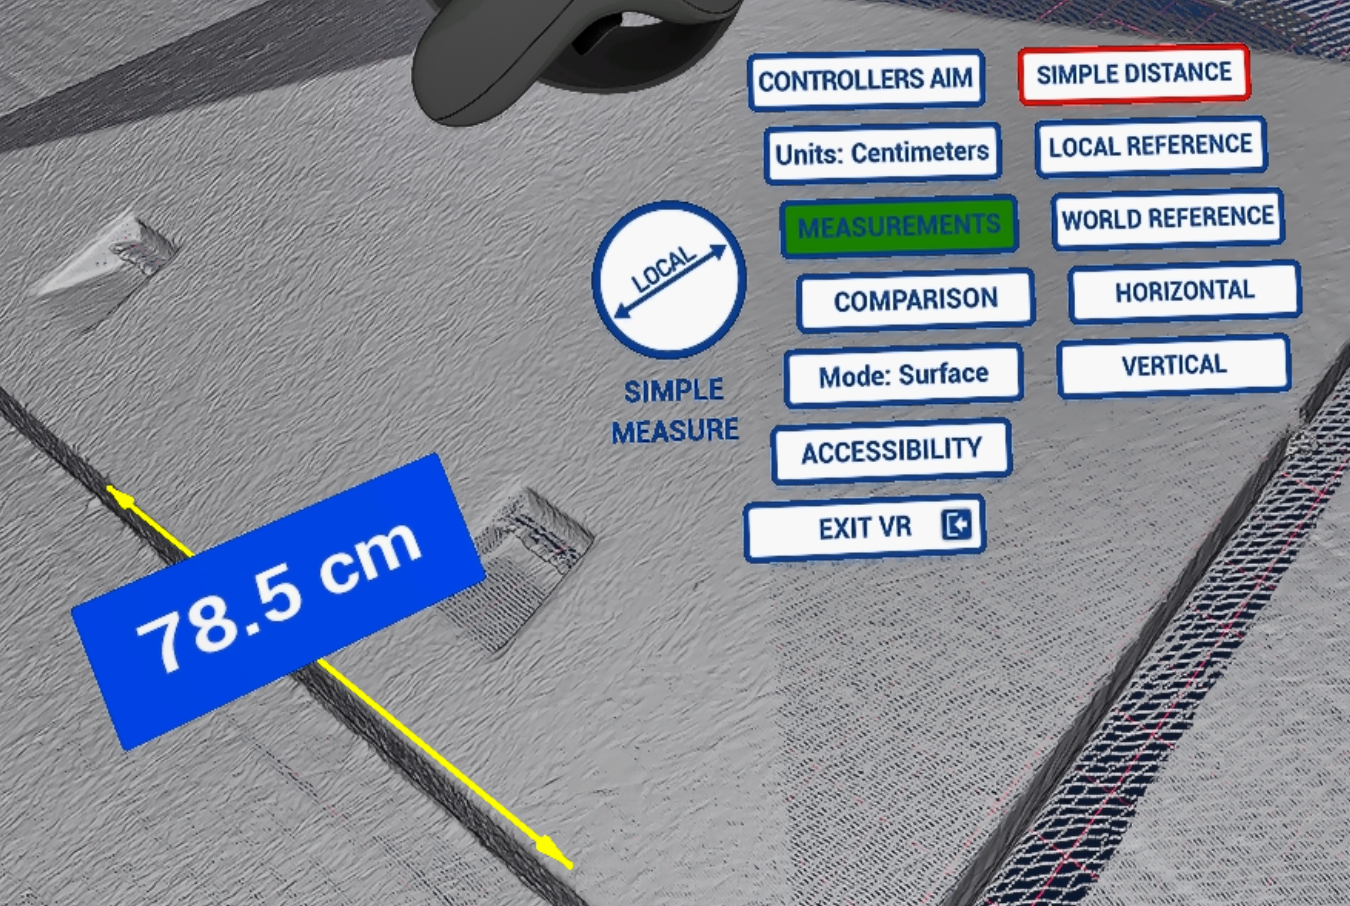
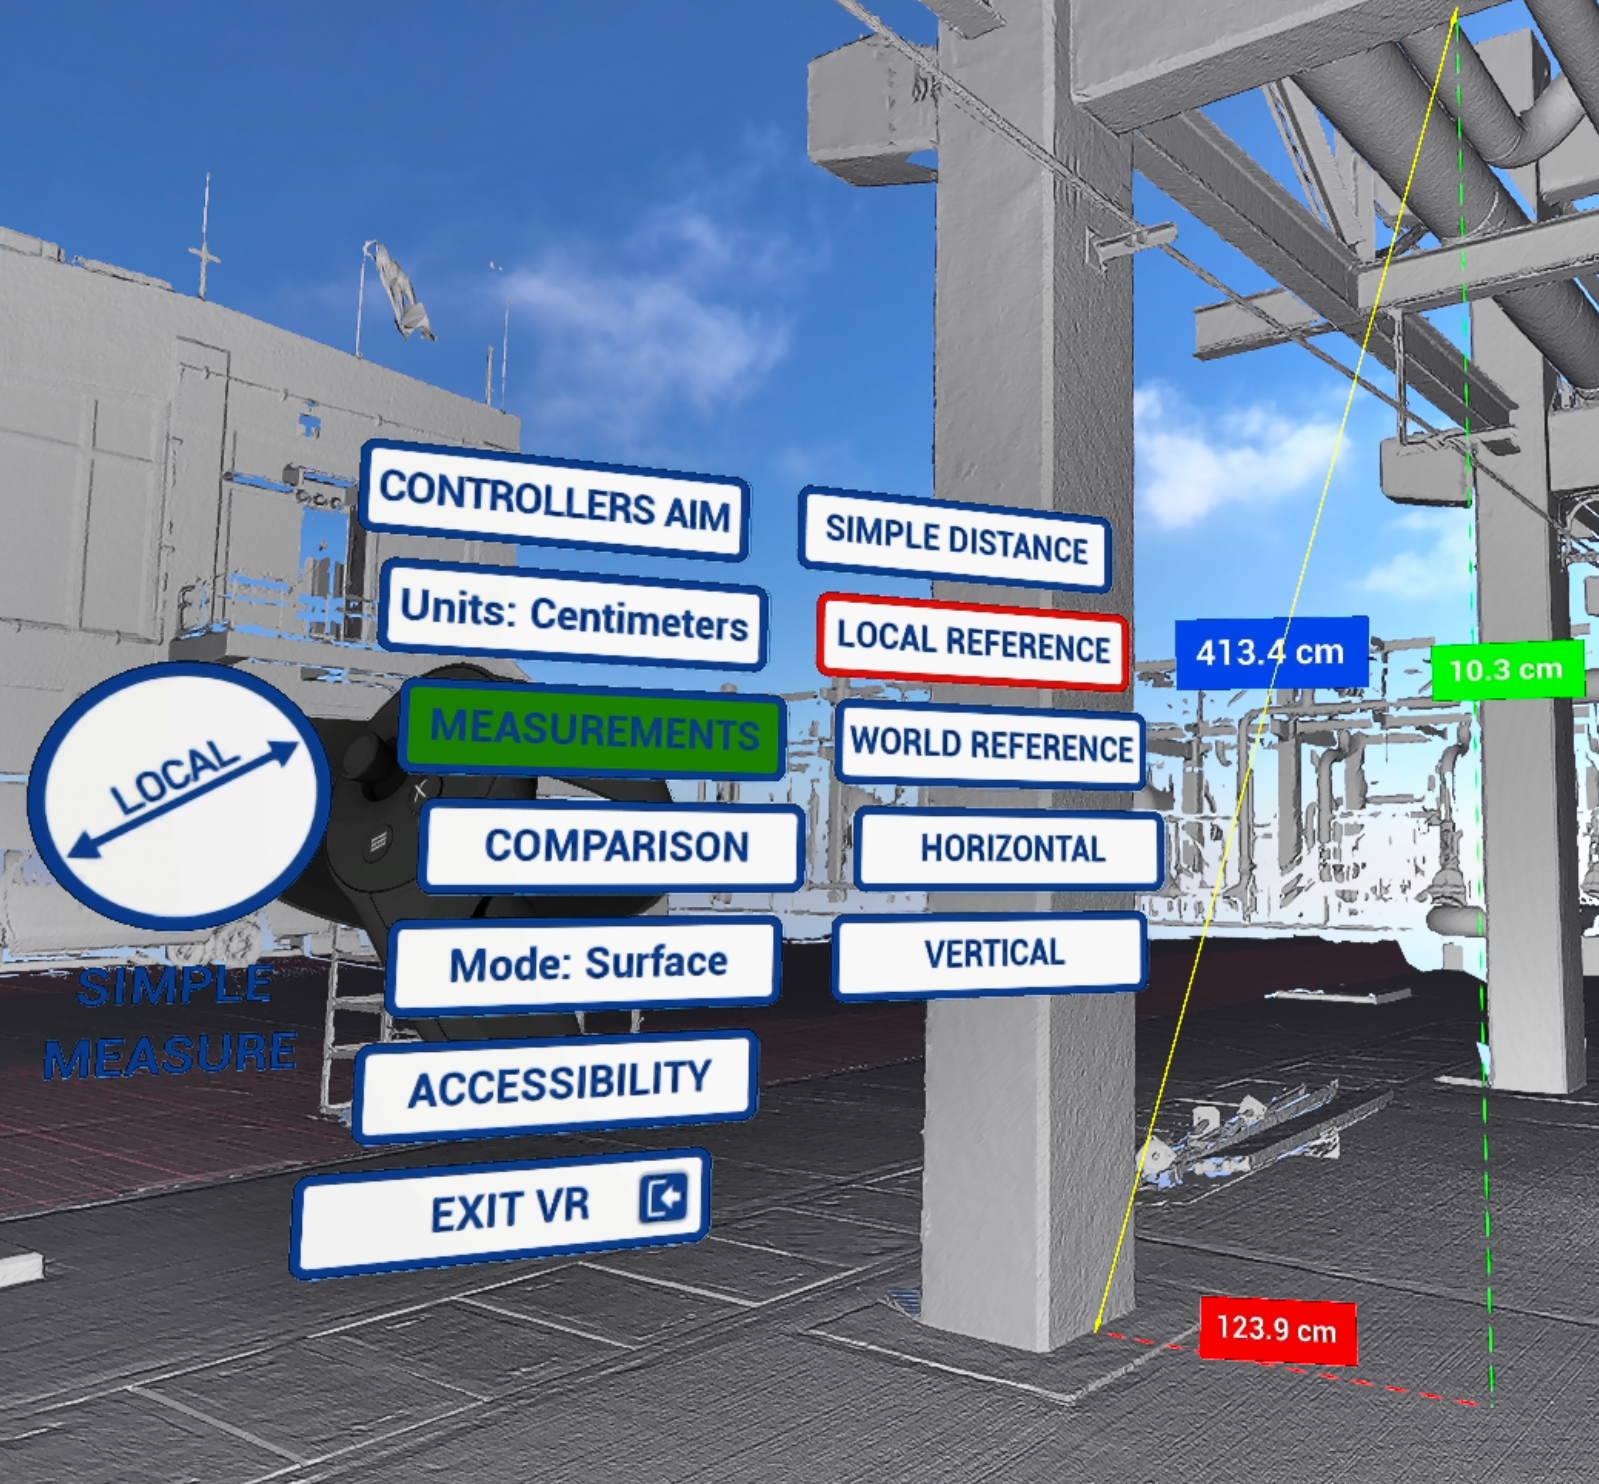
- Local reference - used to get aligned measurements between two points, showing distances and angles
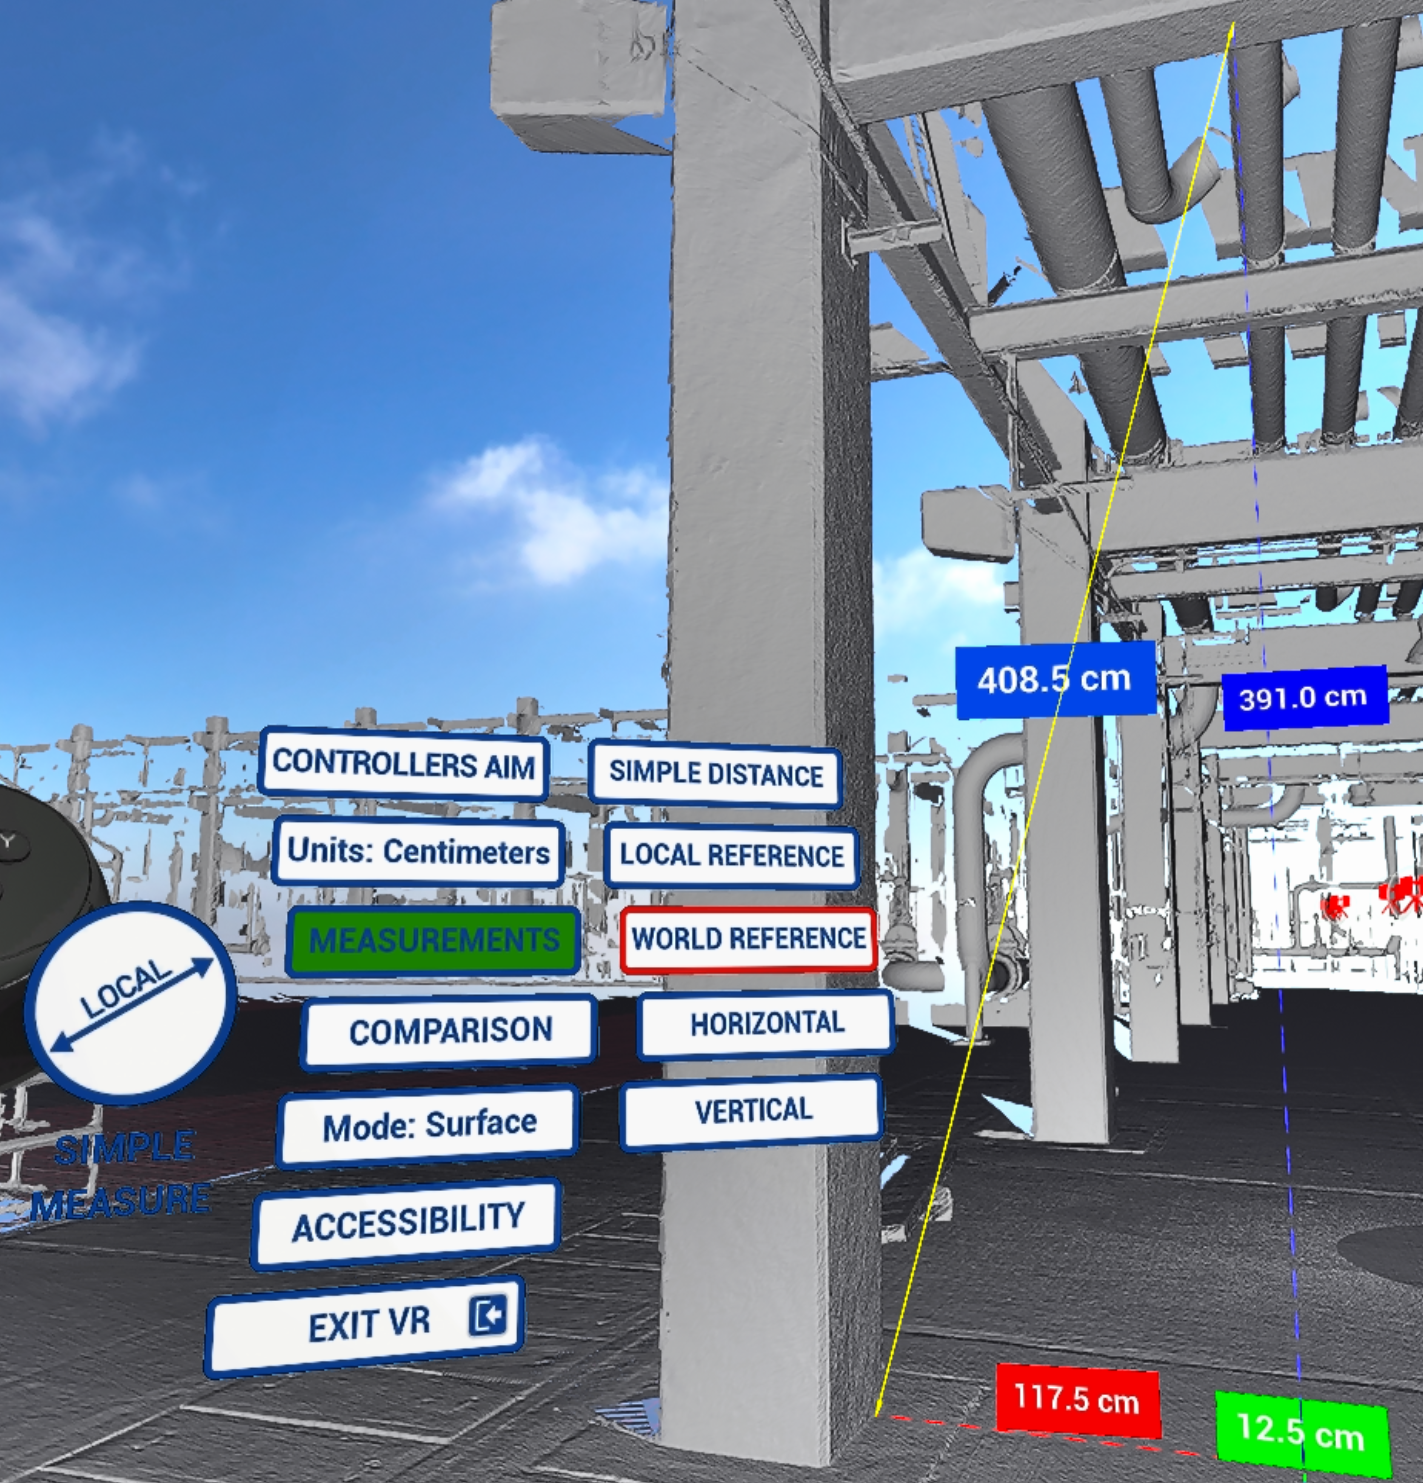
- World reference - same as Local reference, but world aligned
- Horizontal - strictly horizontal measurements
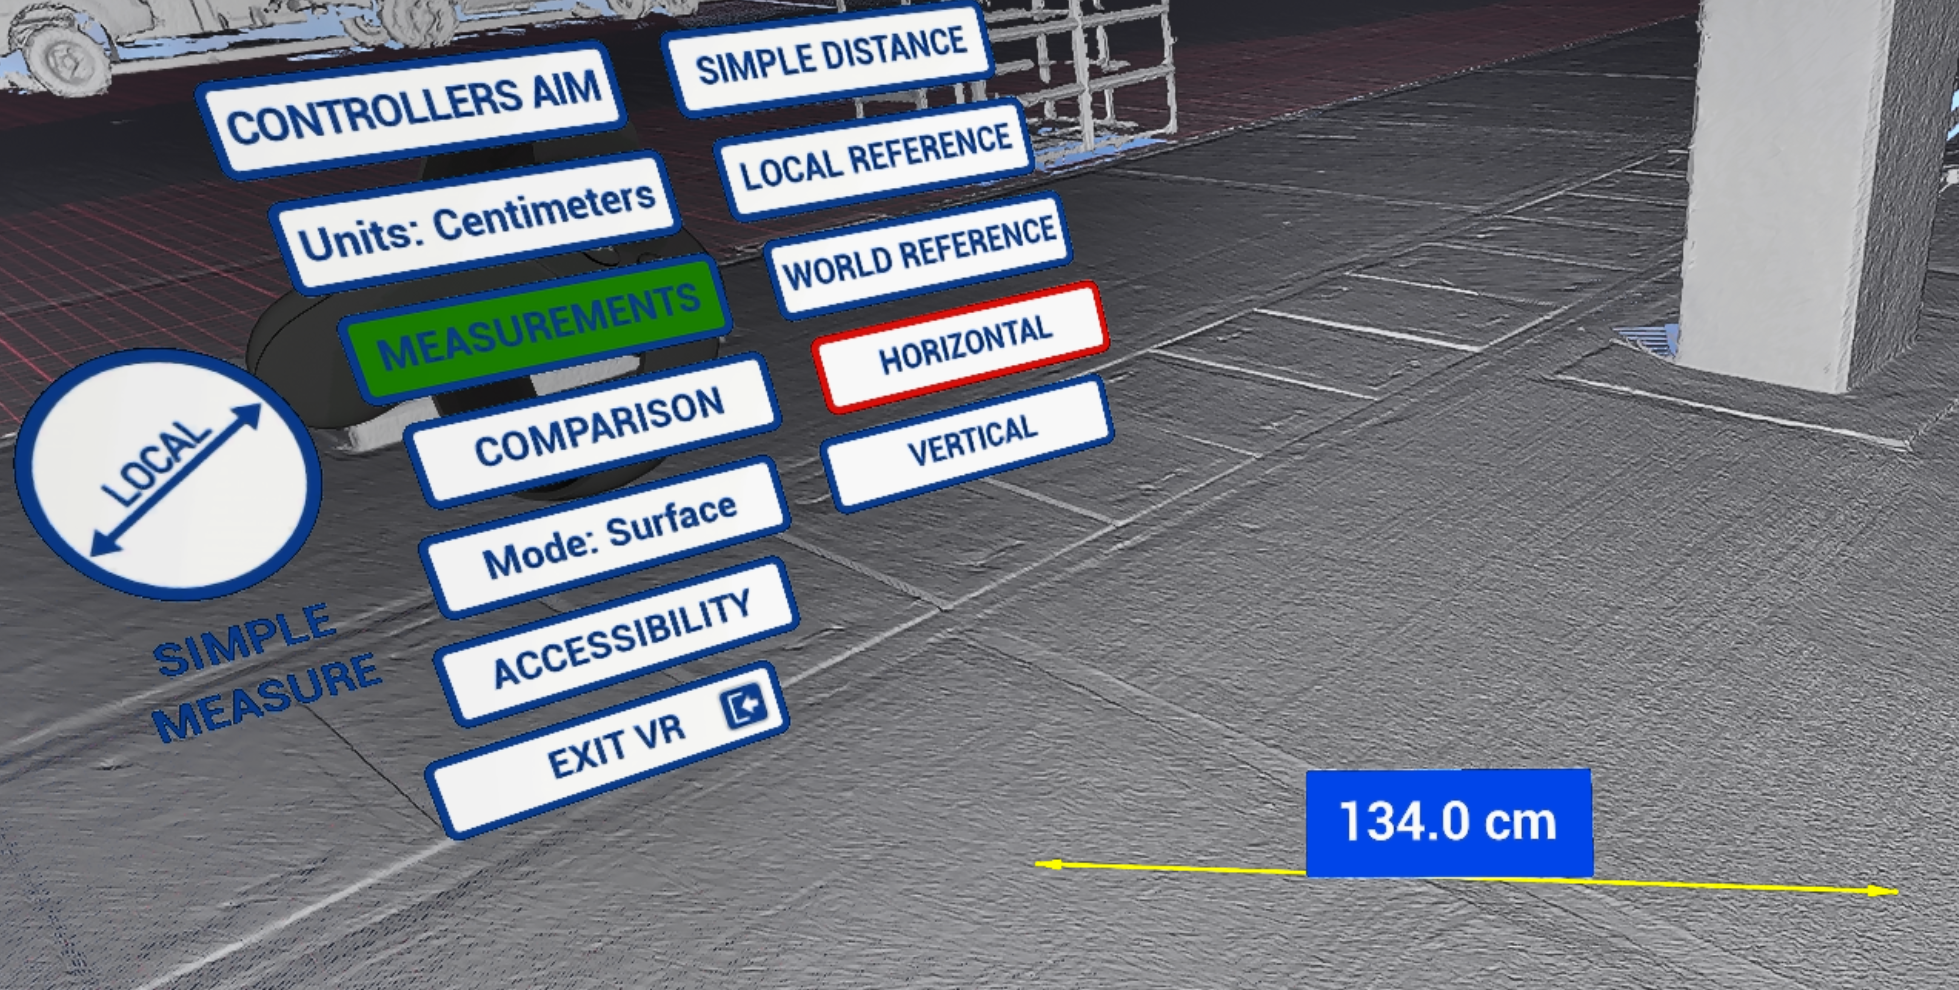
- Vertical - strictly vertical measurements
How to Place a Measurement
Pick the appropriate measurement type.
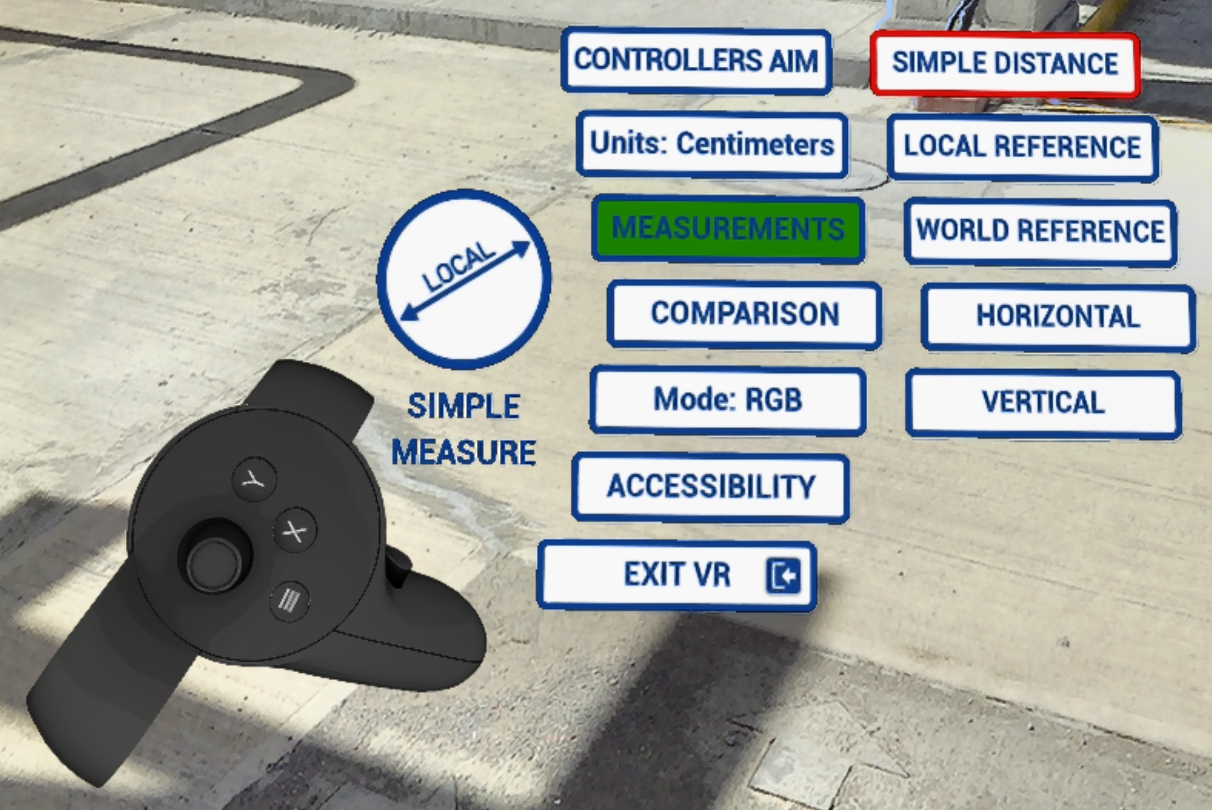
This action enables measurement placement mode which is done using Tools controller:
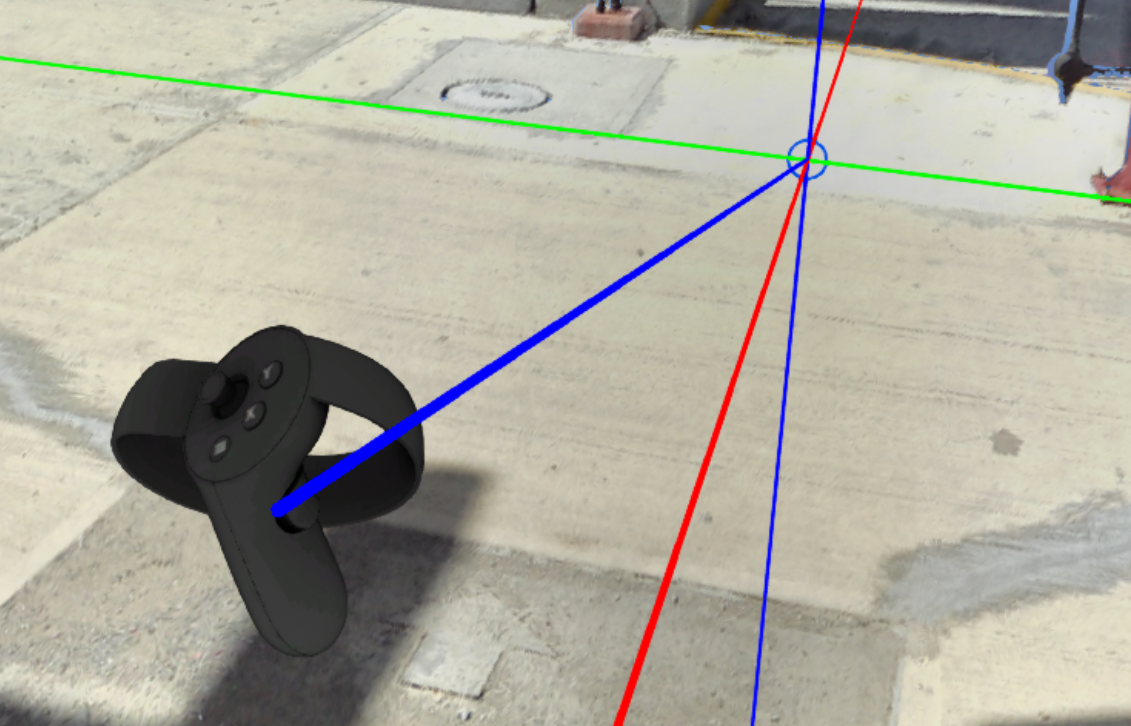
- a probe (gizmo) appears as soon as measurement type is picked - aim with Tools controller to position measurement point
- push probe forward or pull it back with Tools controller joystick. Speed follows joystick deflection - a small push moves probe slightly for fine positioning, a full push moves it faster
- move Tools controller to change direction of movement
- to look at a point from another angle, orbit, scale or pan at any time - points already placed are kept
- once satisfied with positioning, press Tools controller trigger
- repeat same process for second point
- Validate message with measurement value is opened. Click on it with Tools controller trigger to save measurement
- to cancel a placed point before validating, press X on Tools controller - first press cancels last point, second press cancels first point
Once placed, measurement is visible in 3D space as long as Measurements remains green in VR Tools menu.
Exocentric Scale Measurements
The only difference for placing a measurement in Exocentric scale is the fixed position of the placing point corresponding to Tools controller. User doesn't push or pull the point with Tools controller joystick, but moves the controller itself to move the point. Orbit and pan remain available while placing points in Exocentric scale.
All other workflow steps are exactly the same as described in How to place a measurement.
Interaction with Existing Measurements
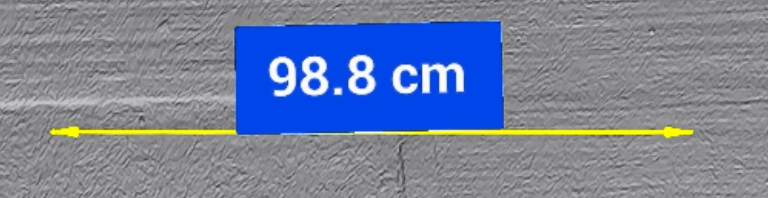
Measurements remain in their places, and it is possible to interact with them by clicking on the number box.
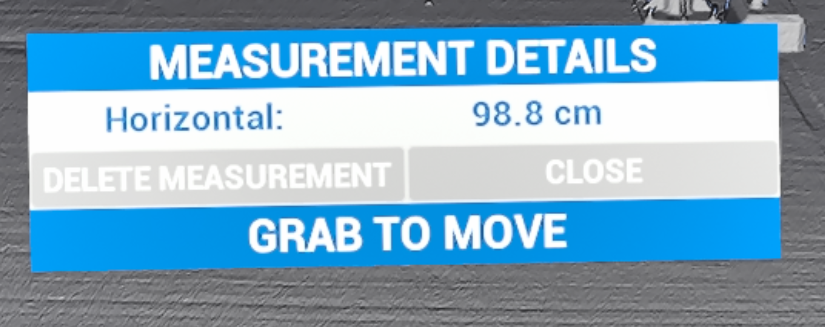
Dialogue box appears that allows to either delete a measurement (Delete measurement) or close the dialogue box (Close). It also contains all information about a measurement.
Measurement Units
Units used in measurements and height management are changed with Units button in VR Tools menu. Available units are millimeters, centimeters, meters, inches, feet, and feet and inches.
- Changing units immediately refreshes existing measurement labels, future measurements and height management - measurements don't need to be recreated
- Selected unit is saved between sessions and applied automatically on next launch
Measurements in Desktop Mode
Measurements can also be taken in Desktop mode, without entering VR.
- Click measurement button at right bottom corner of screen - it has no label of its own and shows name of current measurement type, Simple Distance by default - and pick one of 5 types: Simple Distance, Local Reference, World Reference, Horizontal Measure or Vertical Measure. Selected type is highlighted in green and measurement tool is activated
- Aim placement laser at first point
- Press J or Up arrow key to extend laser, K or Down arrow key to shrink it
- Press Enter to place first point
- Place second point same way and press Enter again to validate measurement
Switching measurement type while measurement tool is active cancels measurement in progress.
To cancel measurement process, click same measurement type again, or close list by clicking measurement button.
To open measurement details, click floating measurement value. Dialogue box works same as in VR - Delete measurement or close it with Close, see Interaction with Existing Measurements.
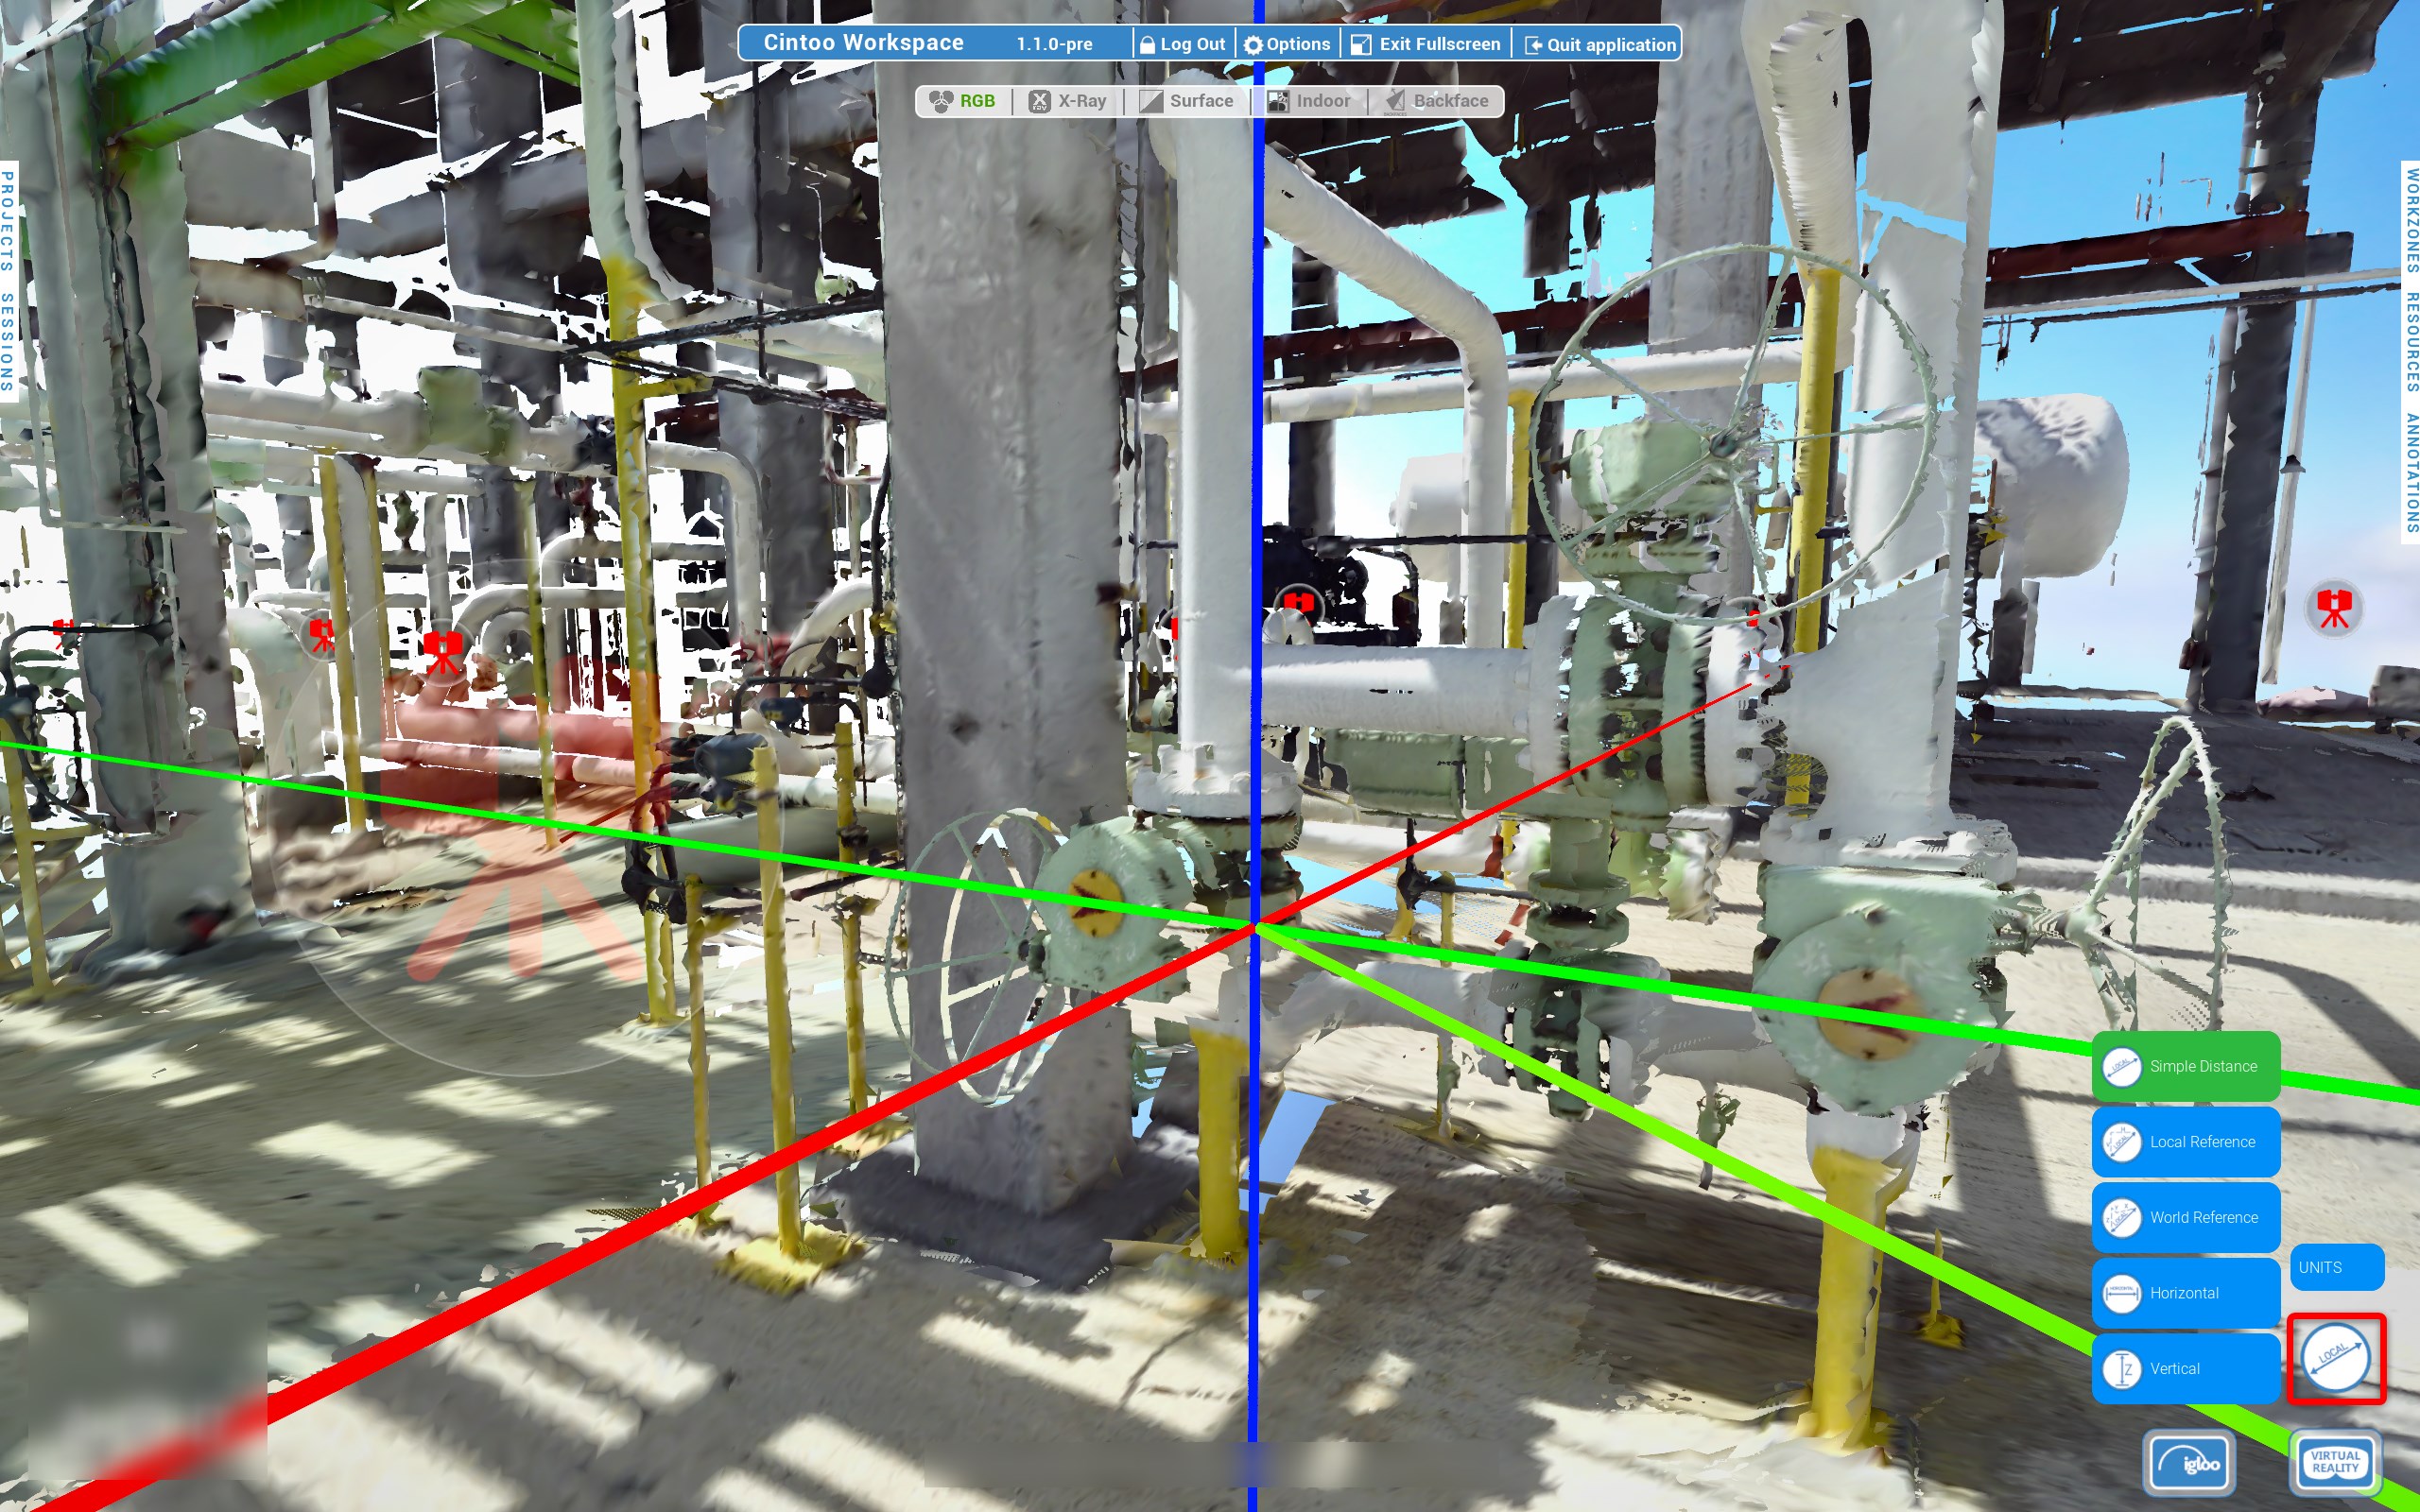
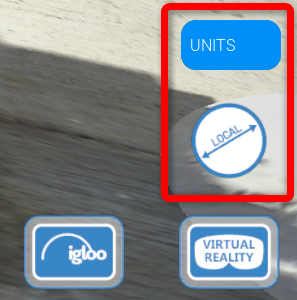
In Desktop mode, measurement units and reference are adjusted from right bottom corner of screen, above Virtual Reality button. Same 6 units as in VR are available.
- Change applies to all measurements in scene
- Selected unit is kept after logging out, quitting application, and creating or joining a multi-user session
- Unit is shared between modes - measurements and height management keep unit selected in Desktop mode when switching to VR, and the other way round
- Changing unit while placing a measurement does not interrupt it
Measurements in a Multi-User Session
In a multi-user session, any member can take measurements, whatever their role.
- Once validated, a measurement is visible to everyone in session
- Only Leader can delete a measurement - deletion applies to everyone, and other members have no Delete measurement button
- Measurement details are visible only to member who opened them
- Members joining a session do not see measurements taken before they joined
- Measurements are temporary - they are not saved to Cintoo project, and are gone after changing project or leaving session
Was this article helpful?
That’s Great!
Thank you for your feedback
Sorry! We couldn't be helpful
Thank you for your feedback
Feedback sent
We appreciate your effort and will try to fix the article